Production & Installation: Step-by-Step
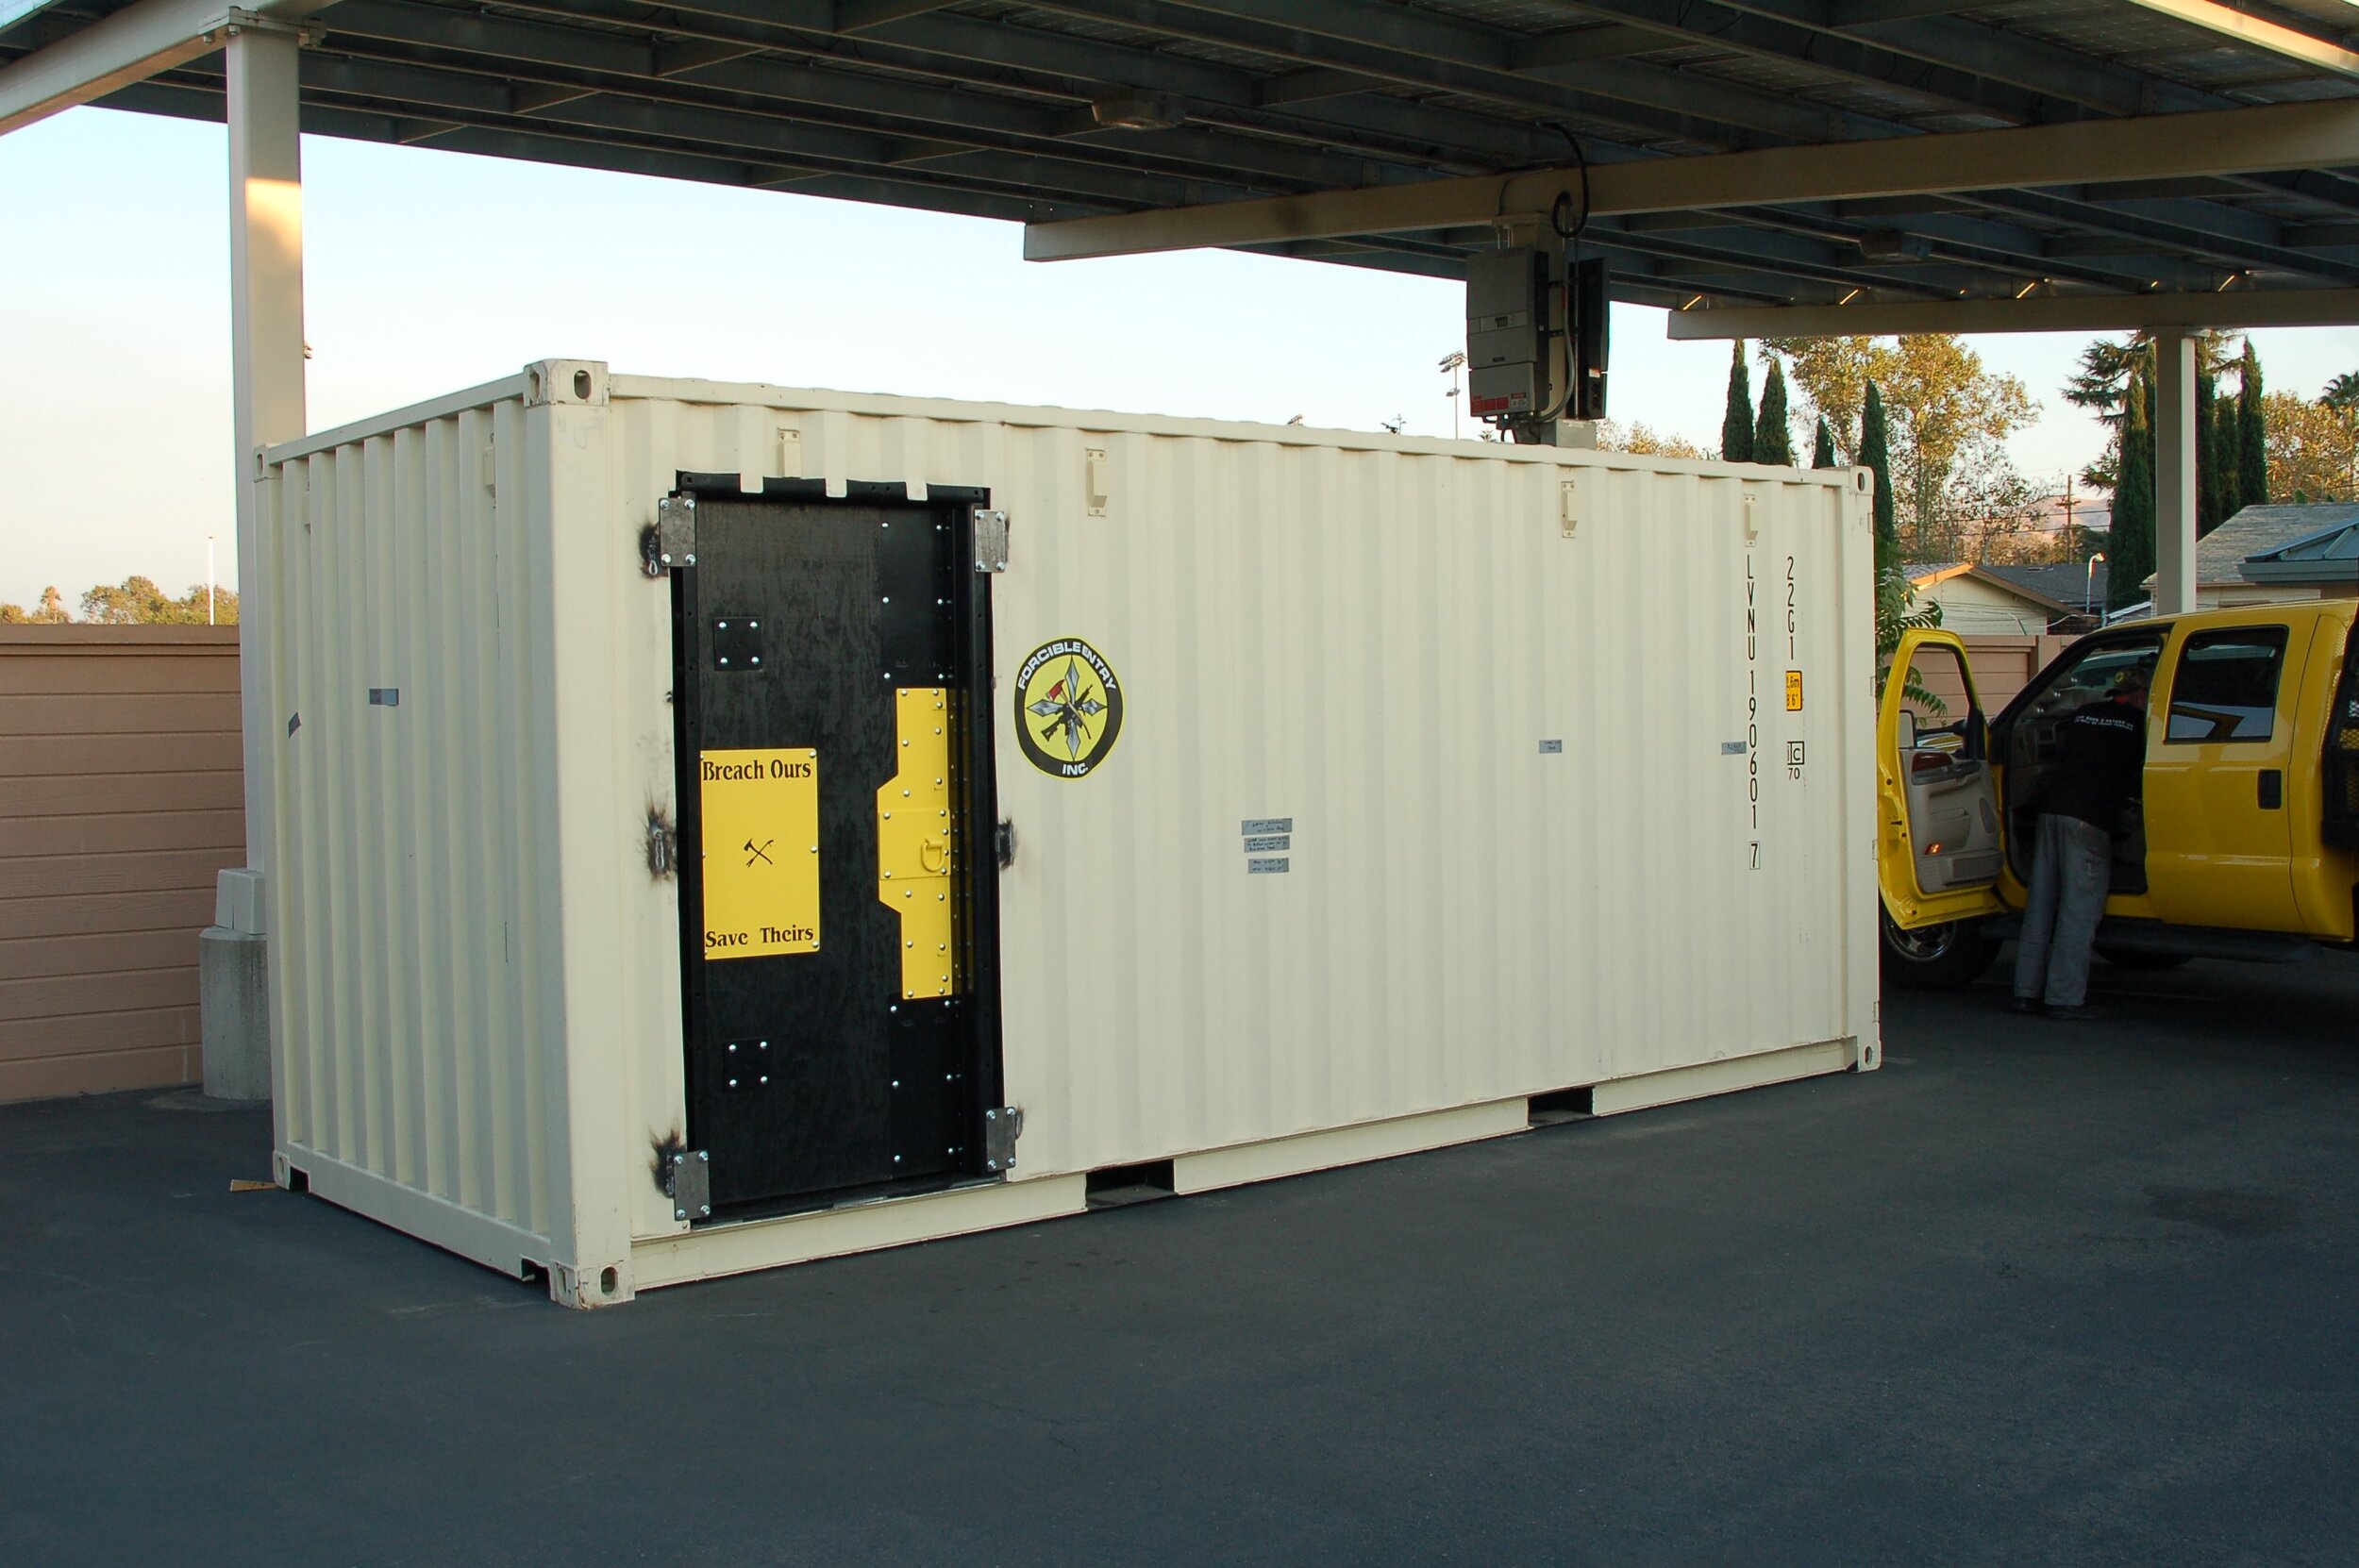
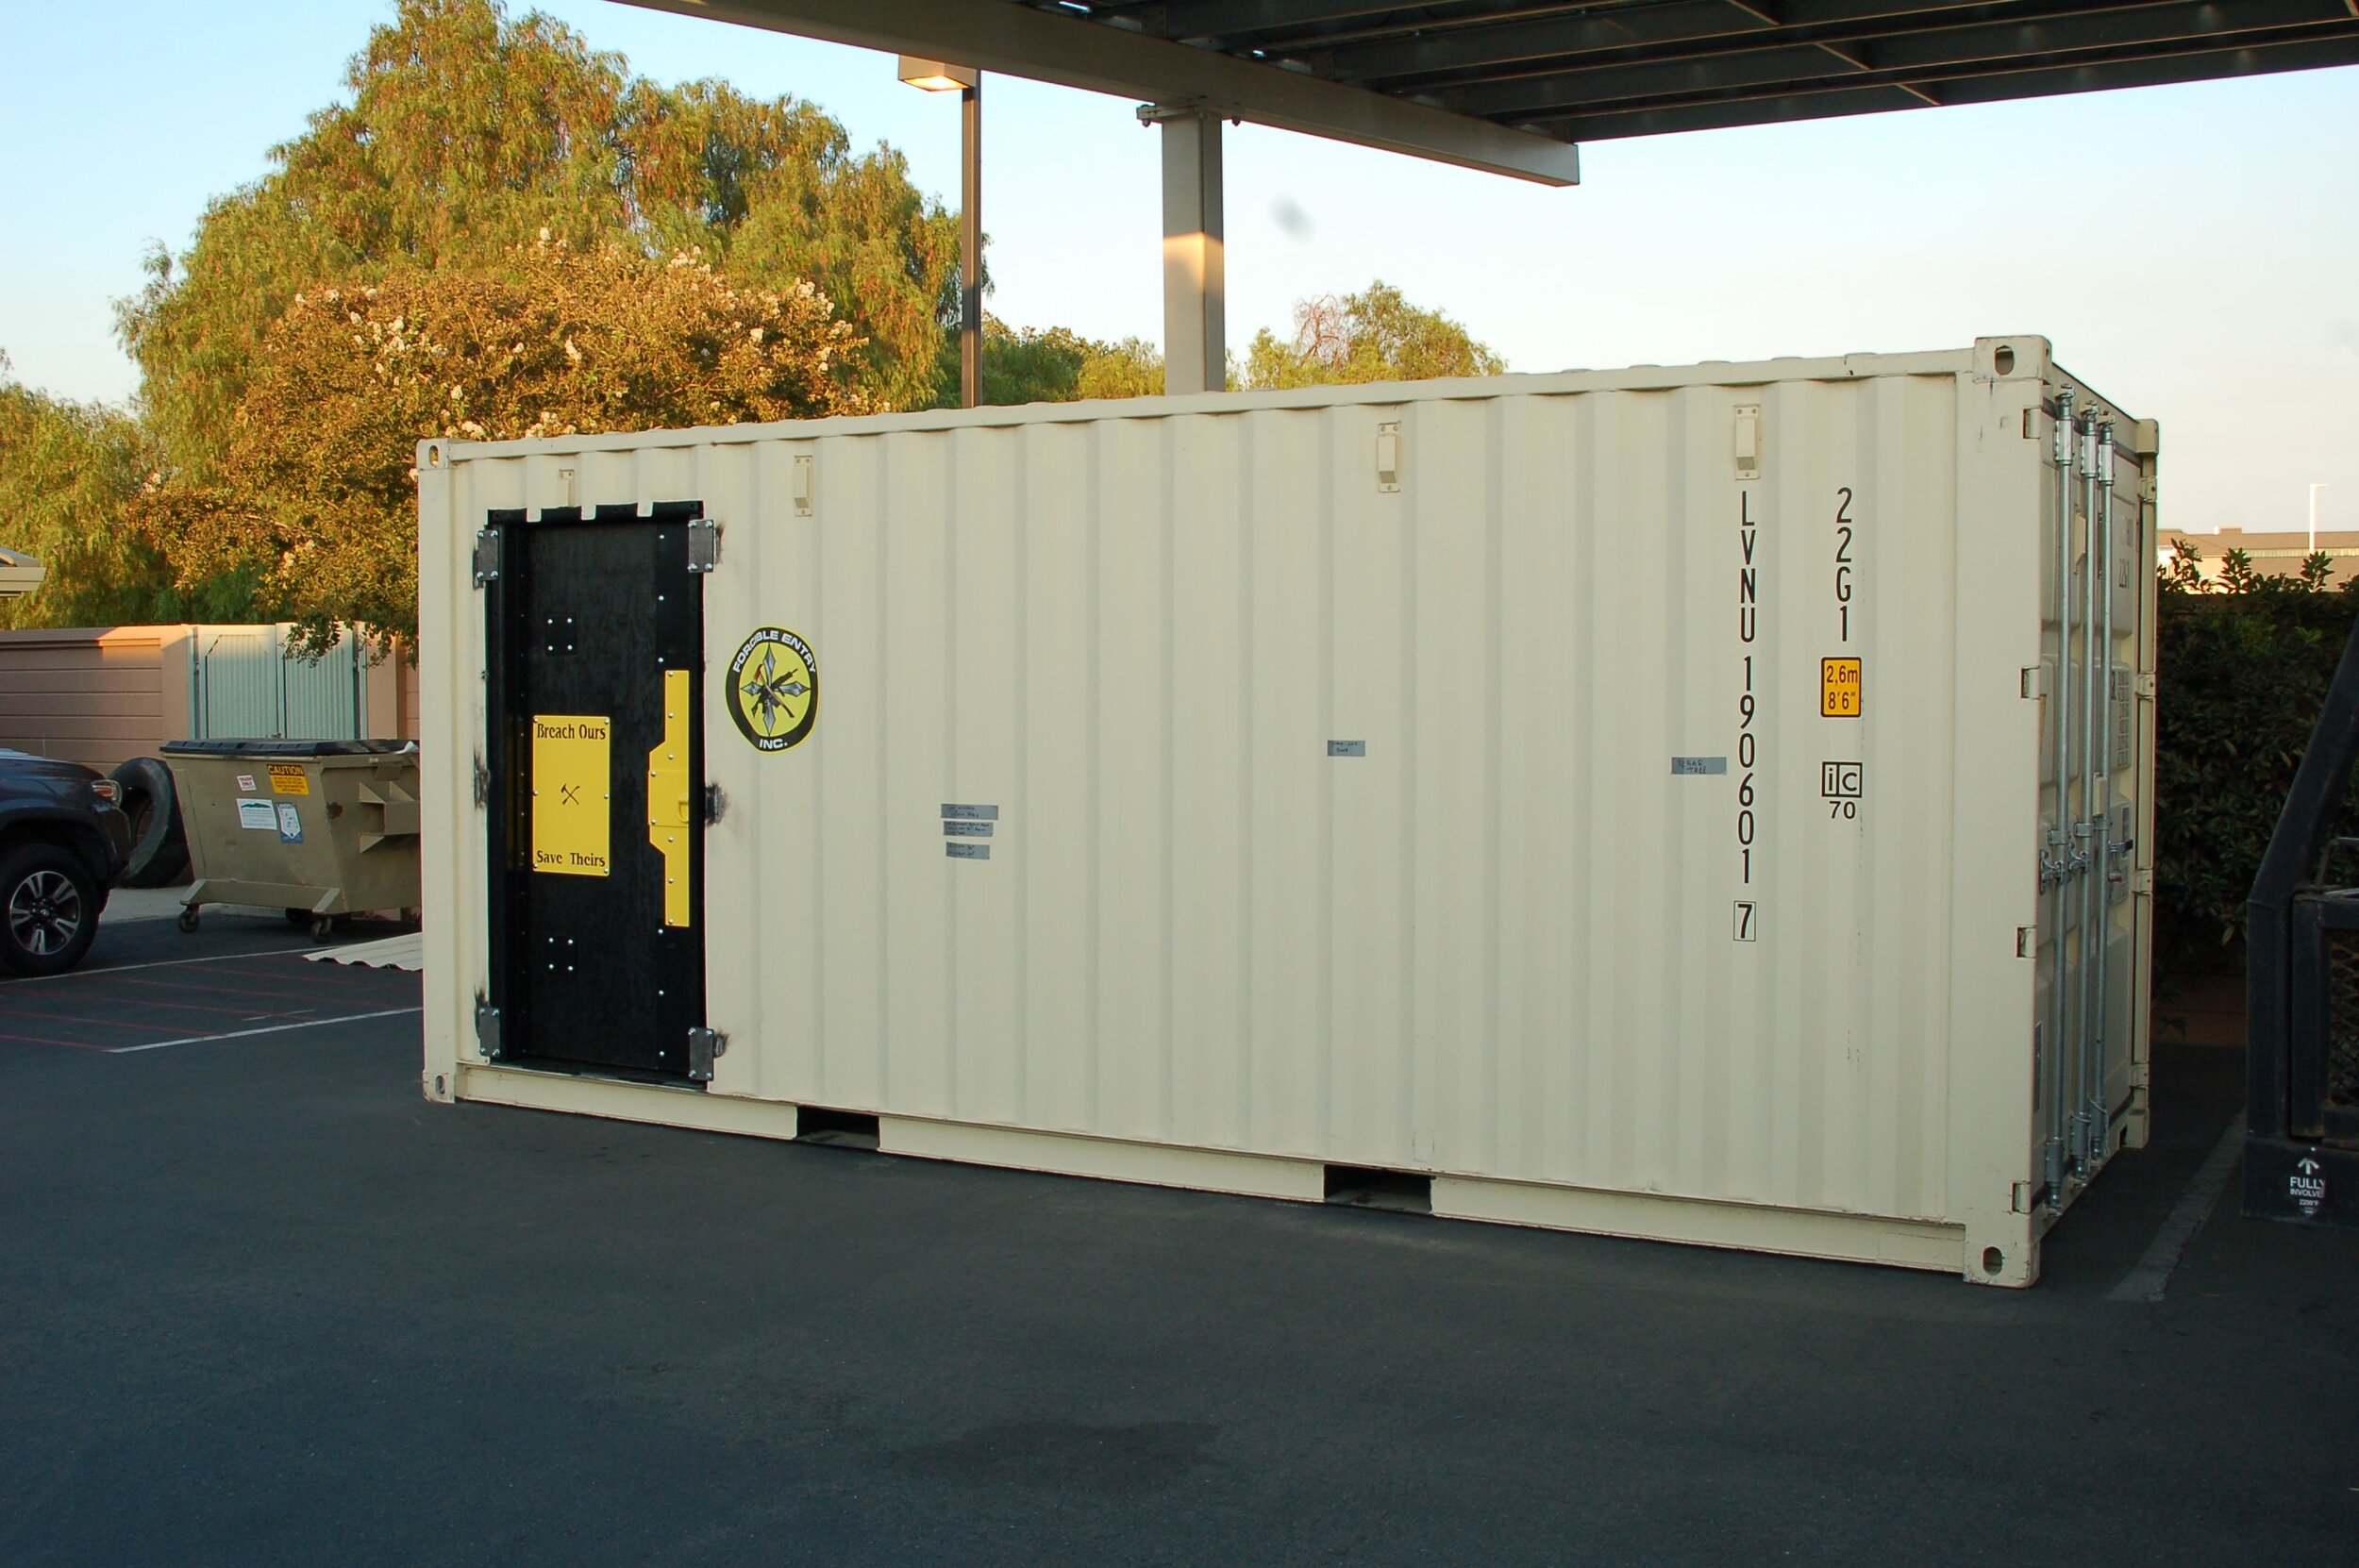
Once your design is finalized and a production schedule is created construction begins on your Conex Box Training Center. Below is the production list and photo slideshow of the build phases:
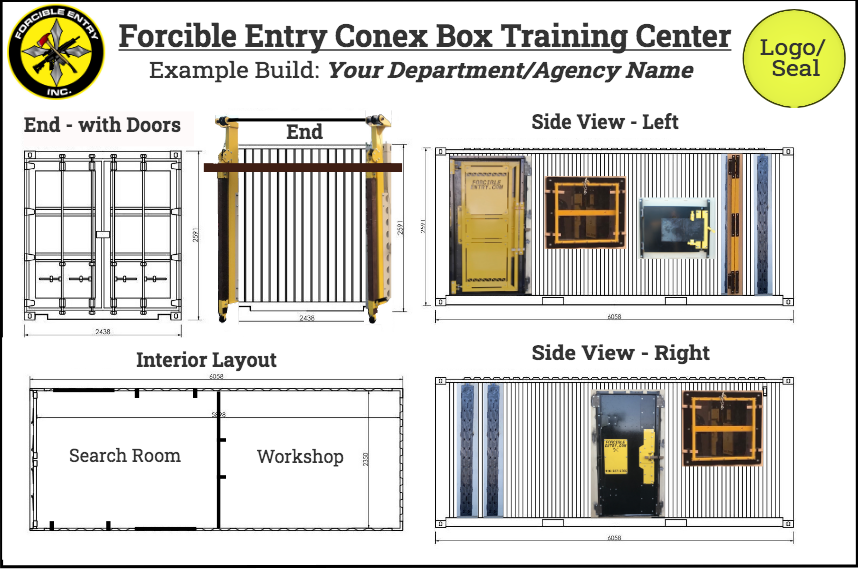
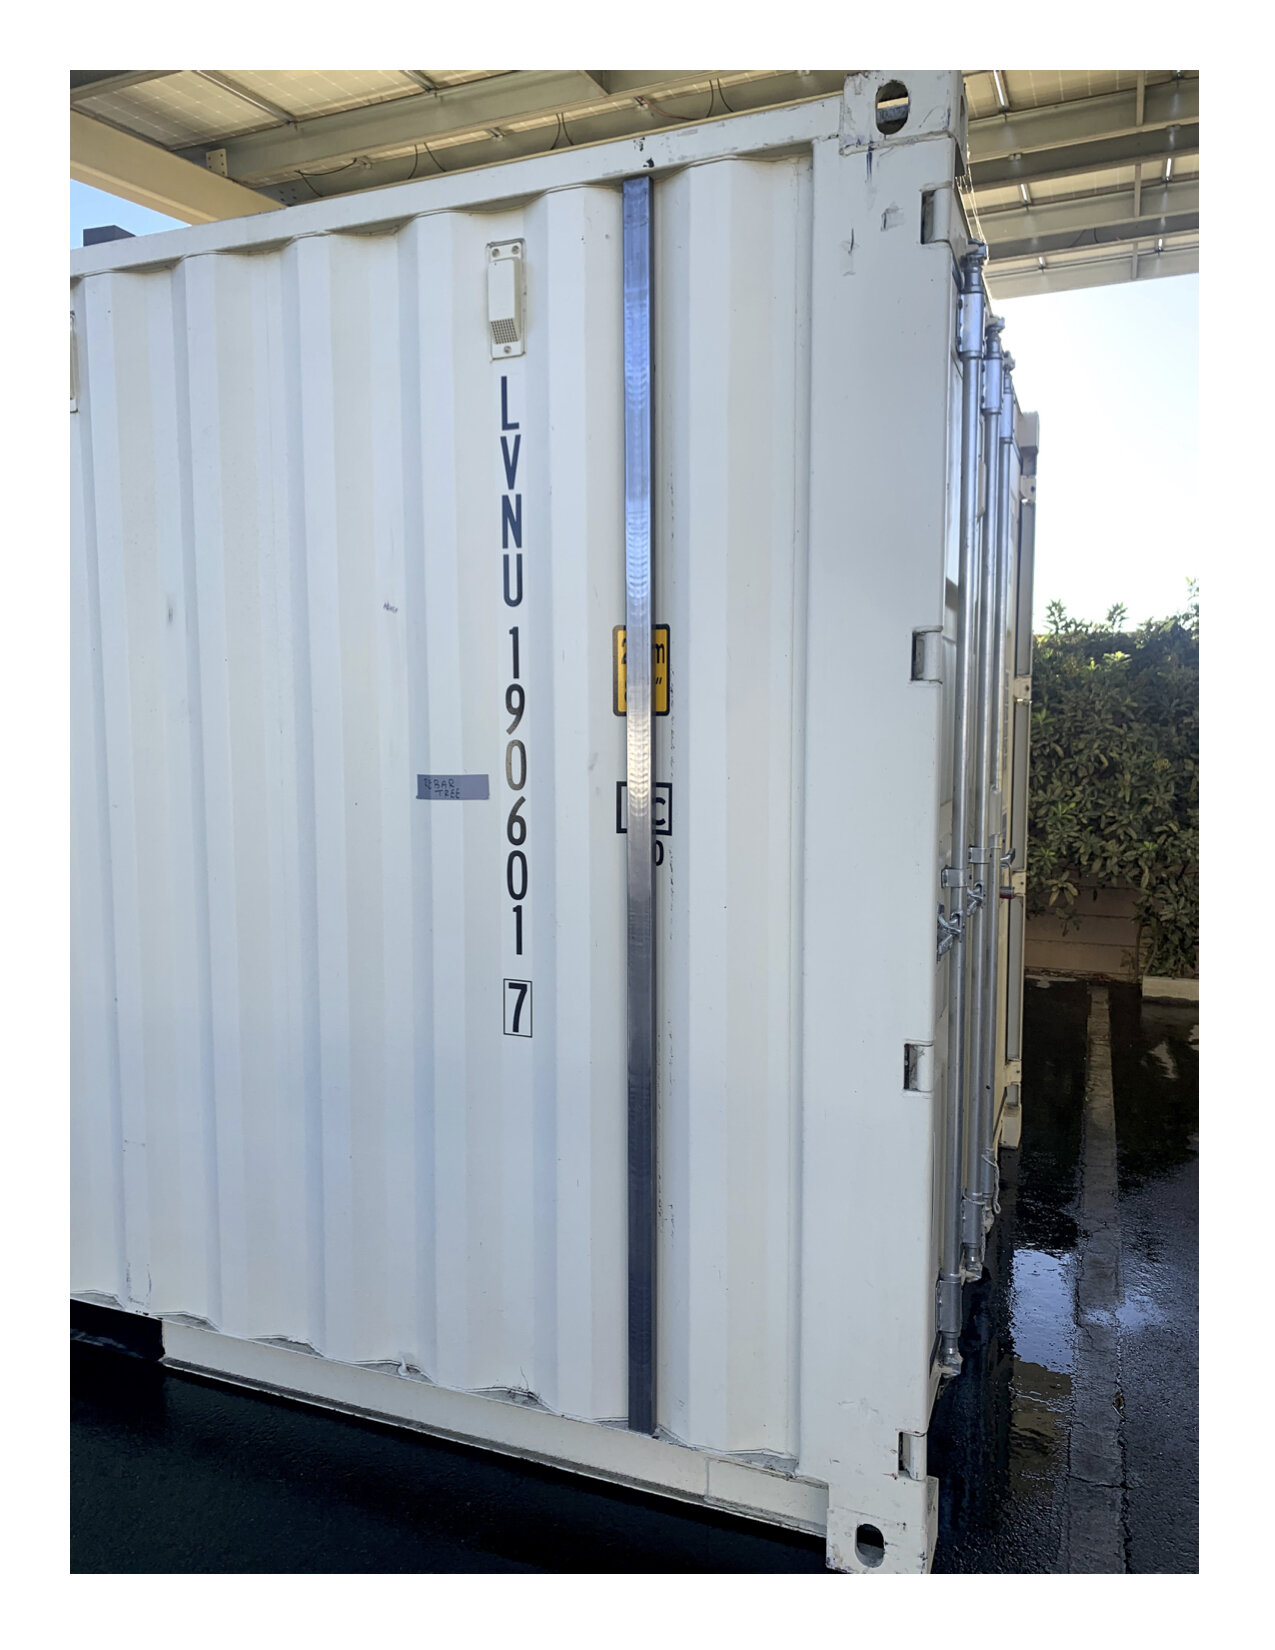
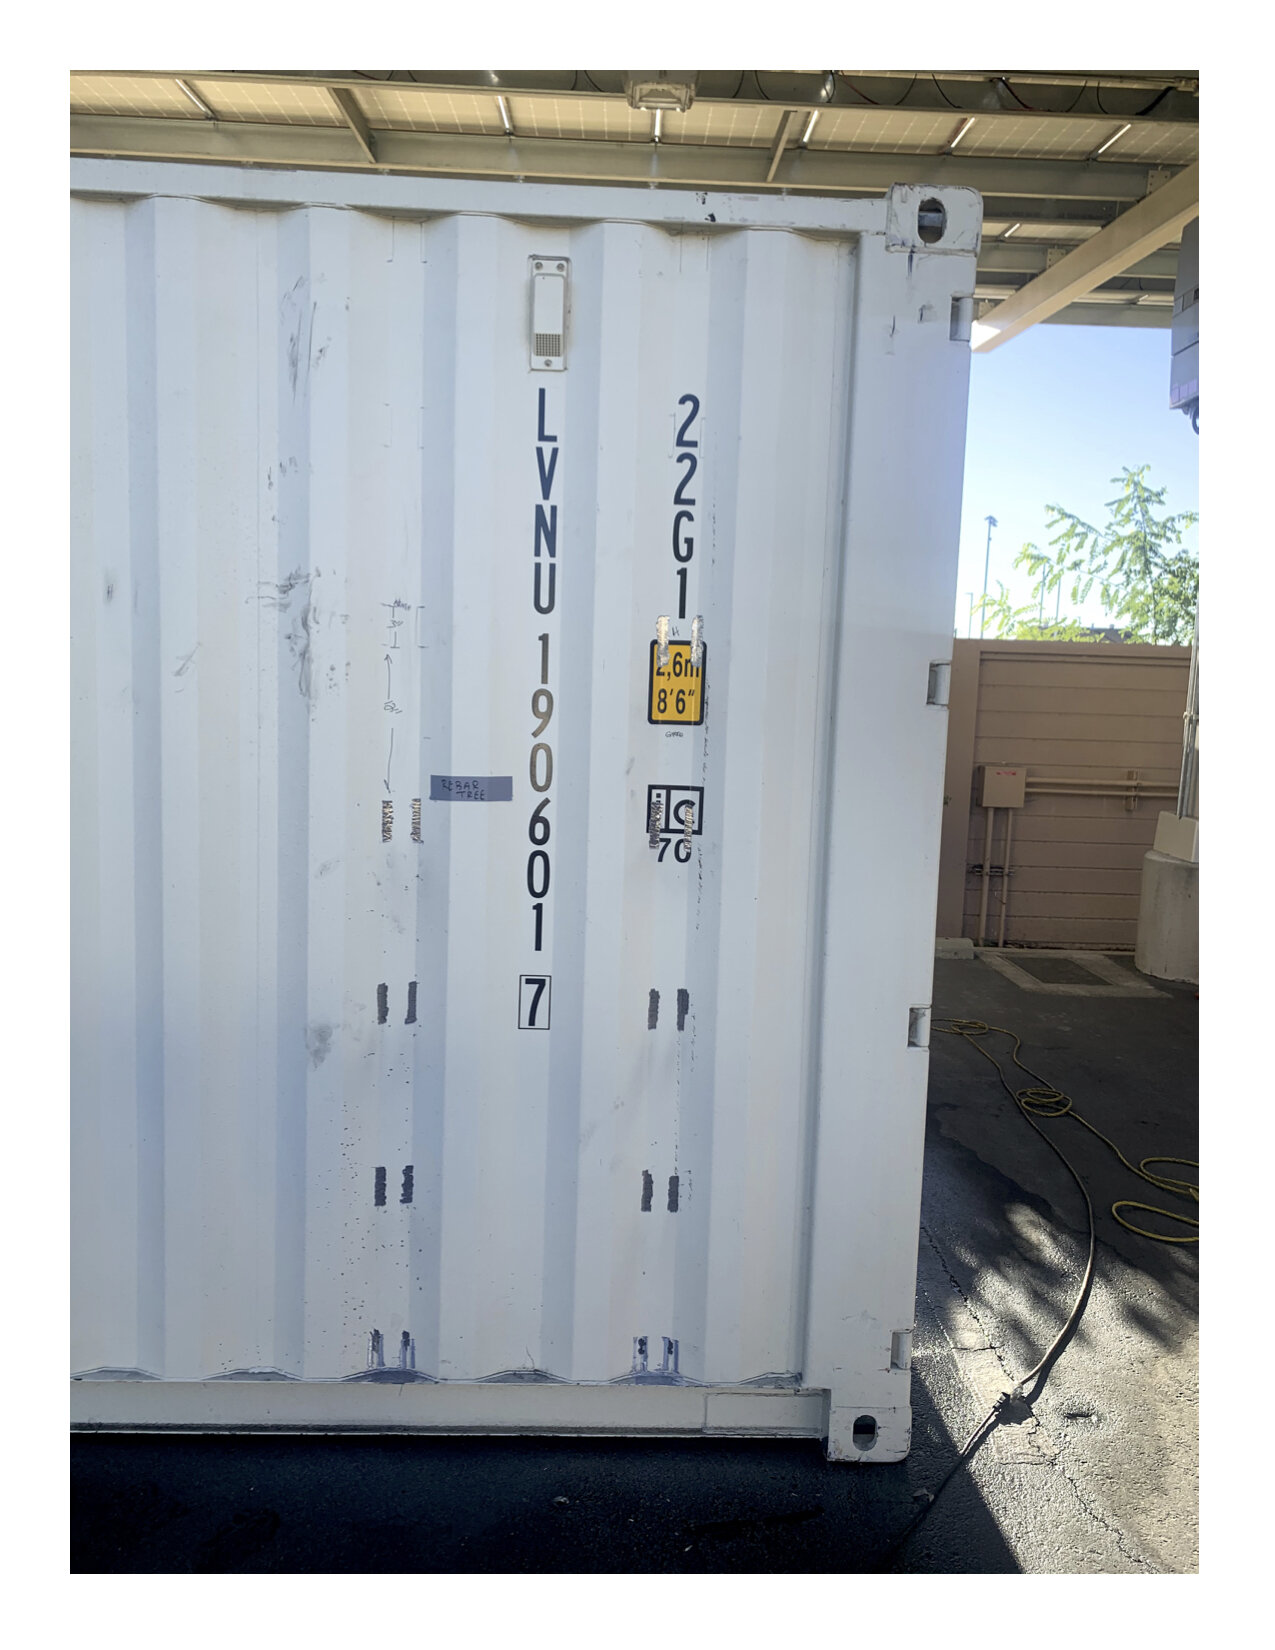
Proof Approval / Design Finalized
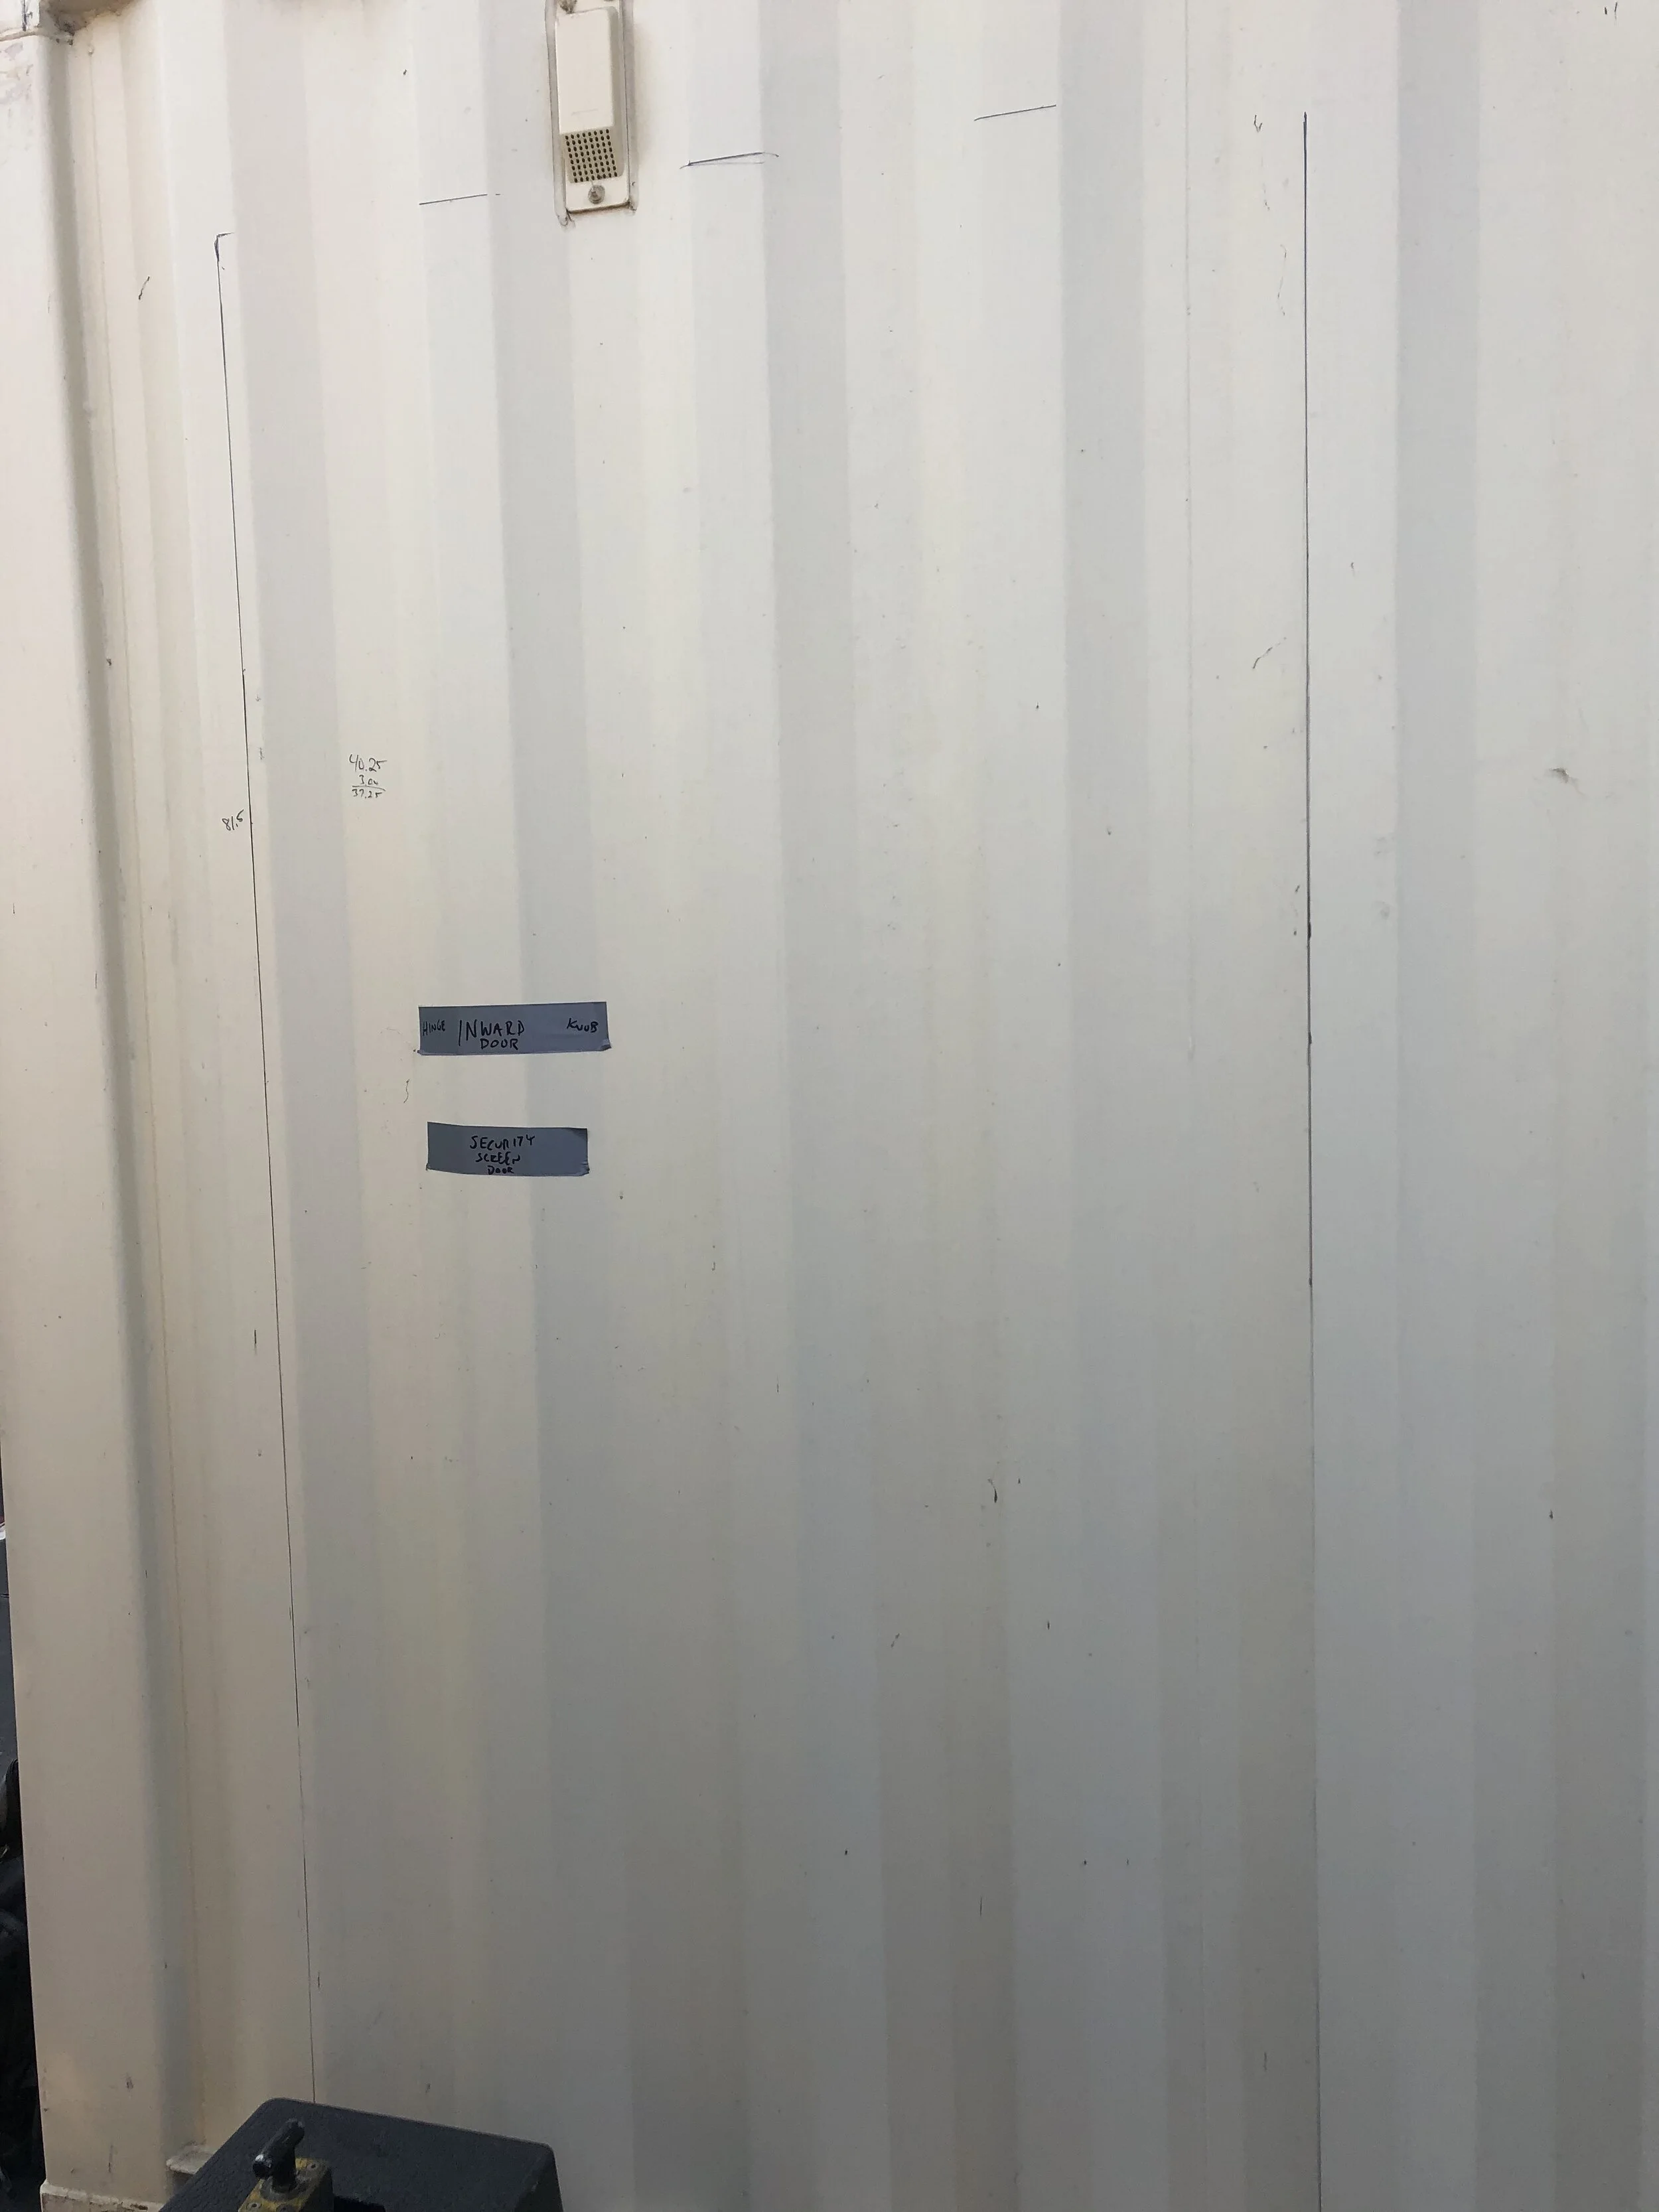
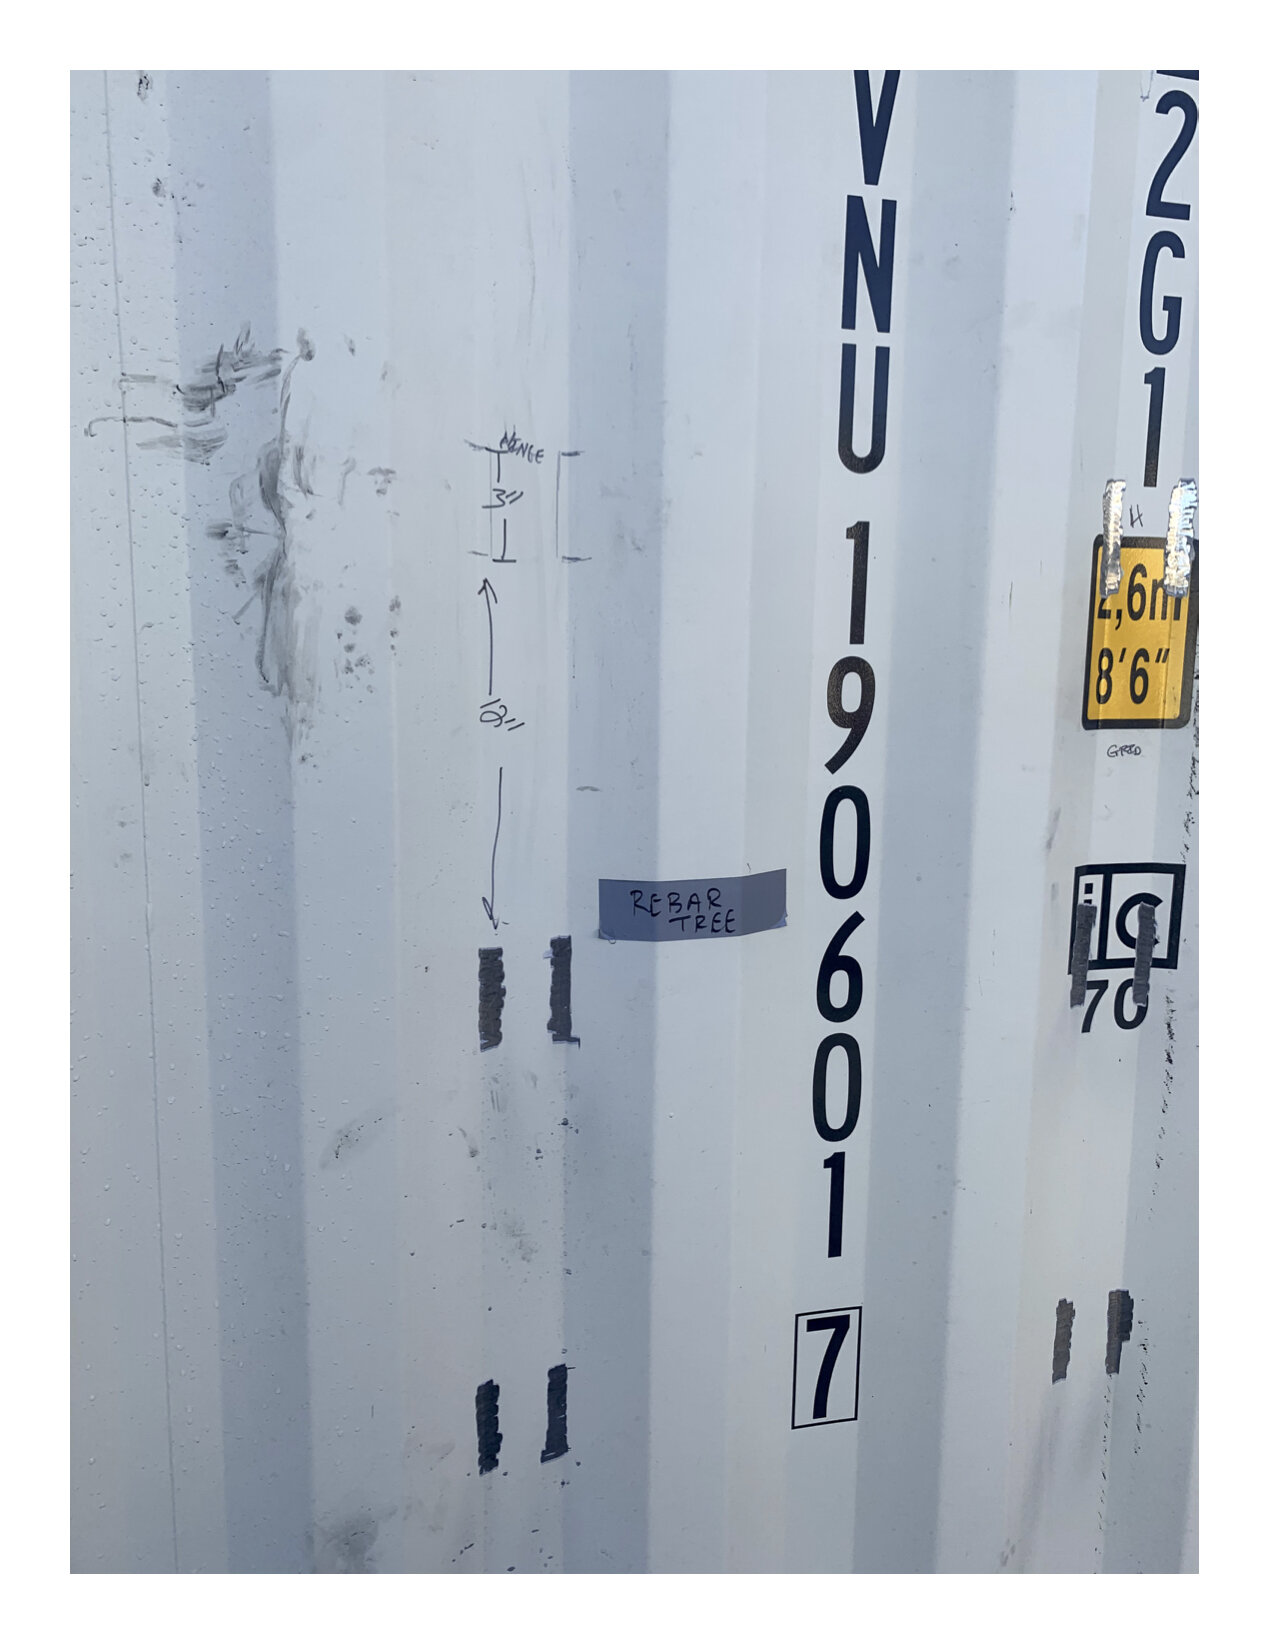
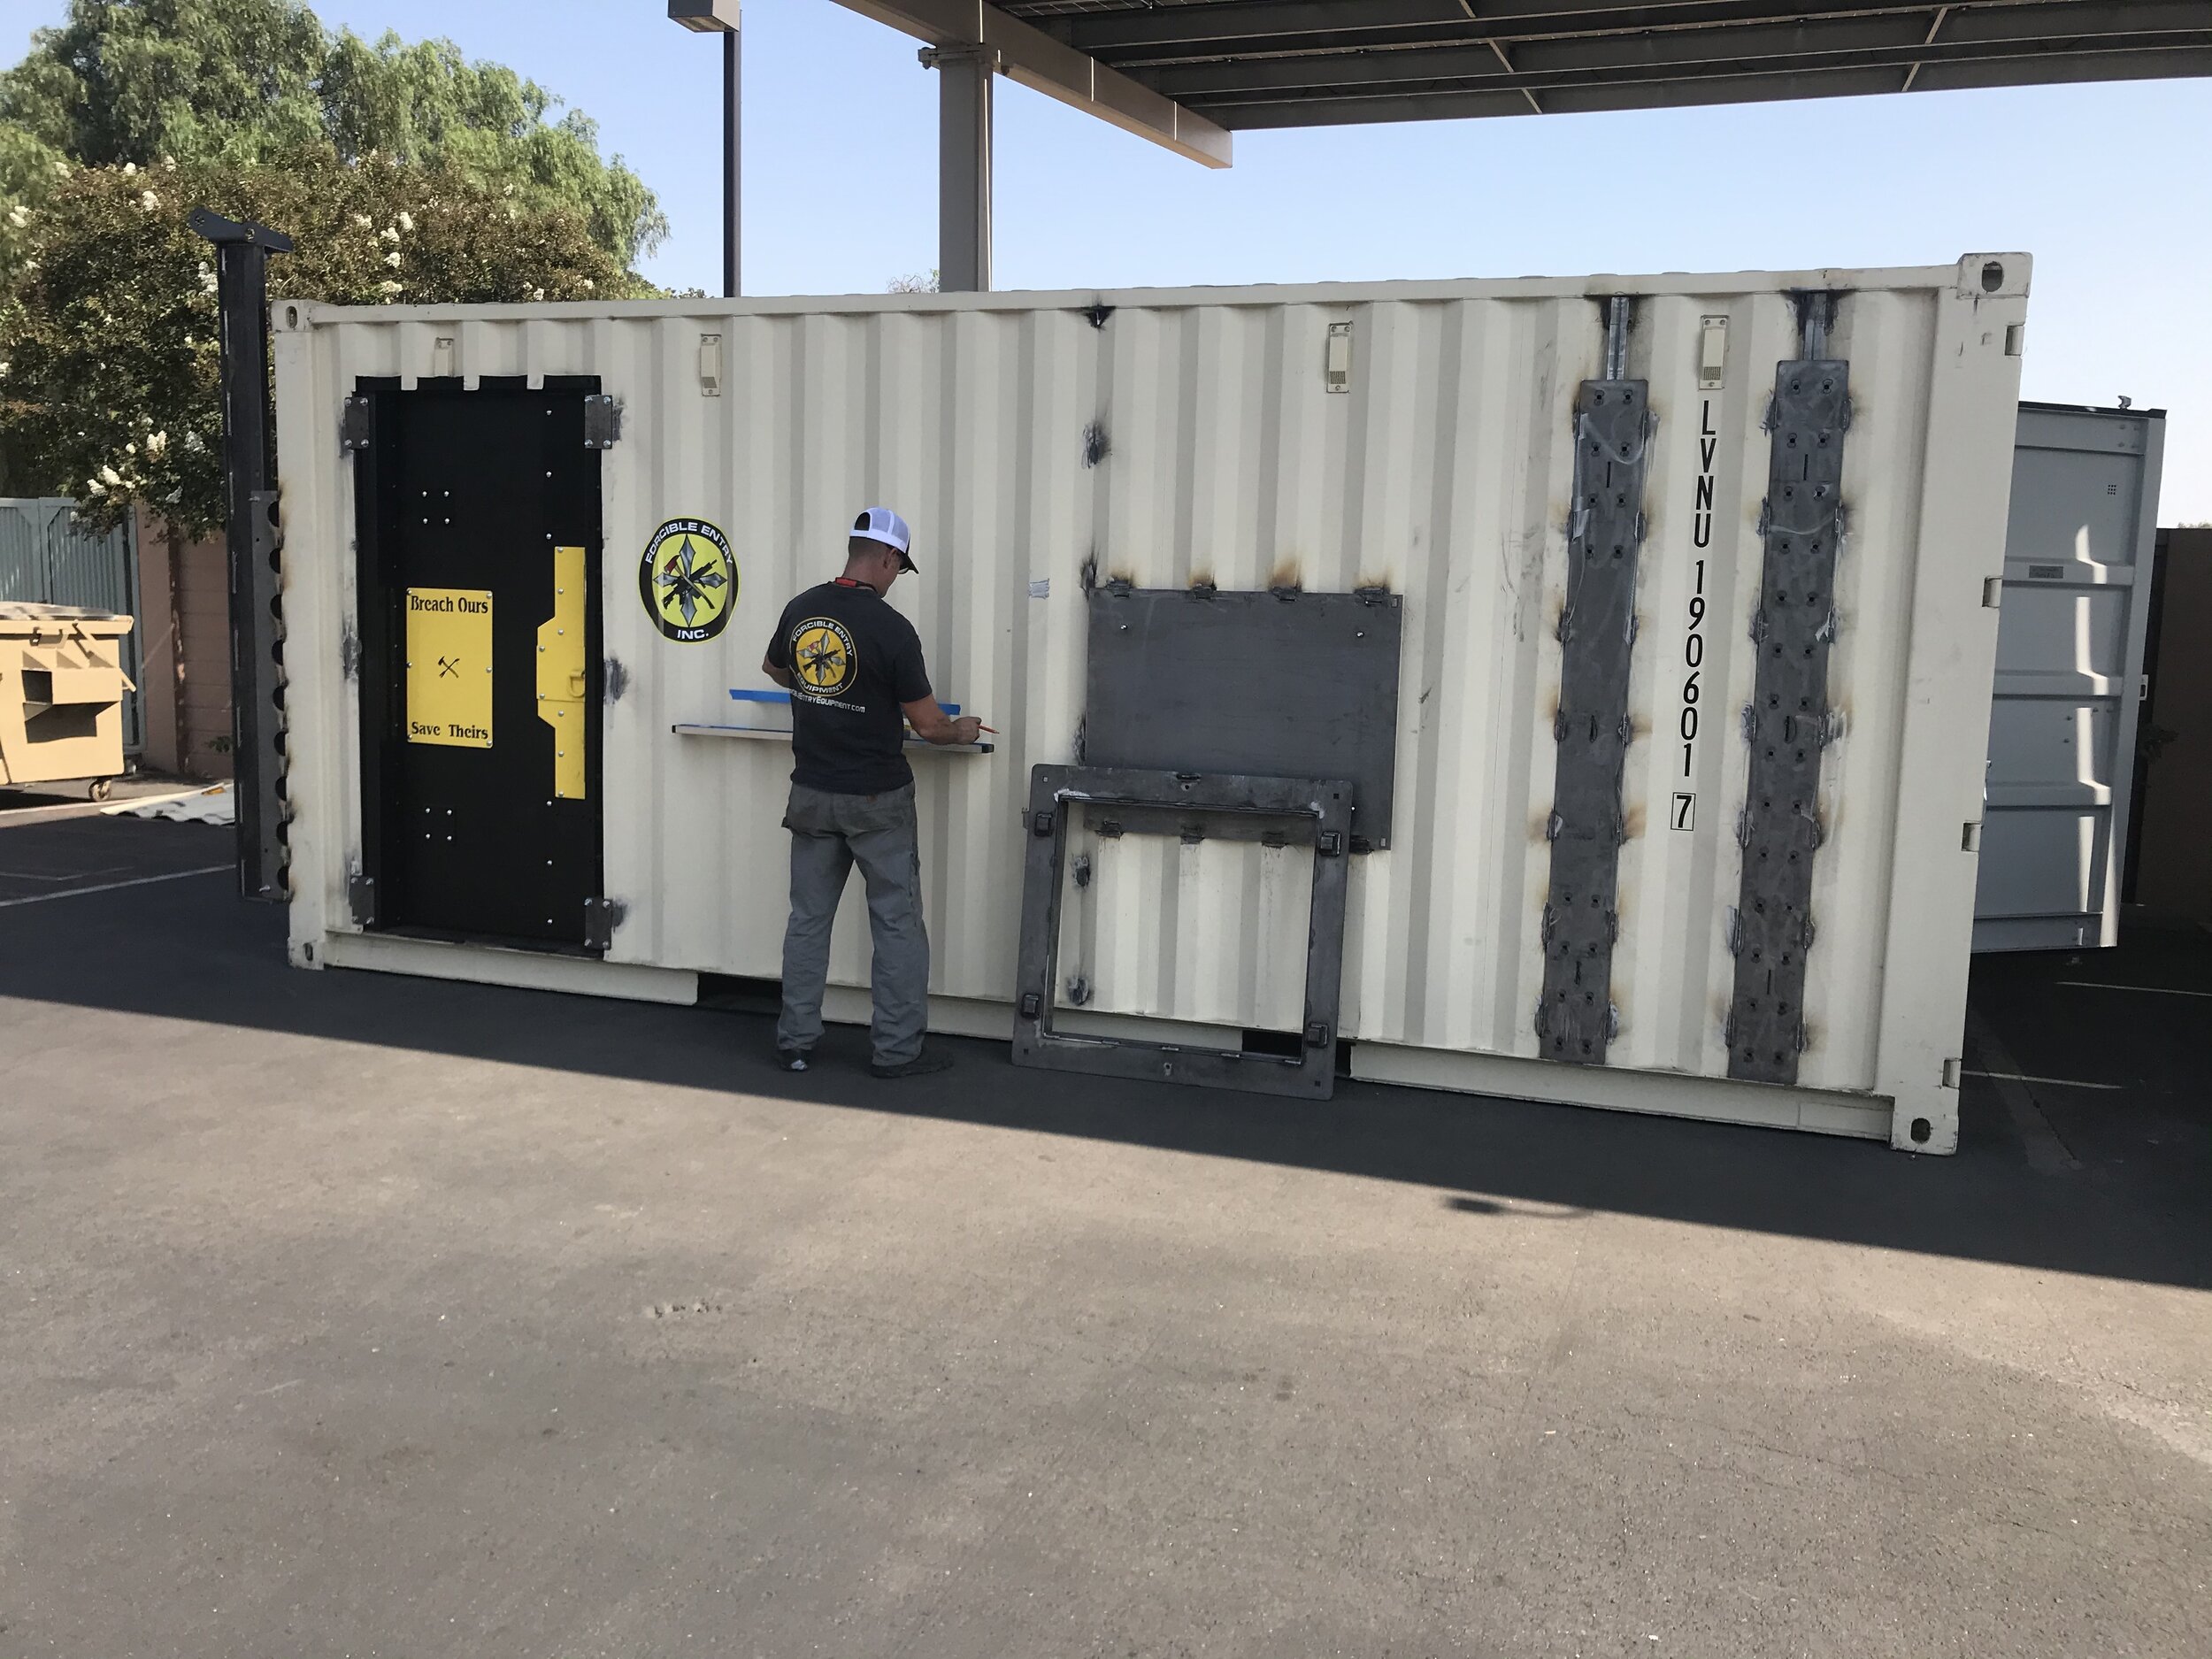
Using the proof we agree upon, we map out, measure, and label the inside and outside of the Container with the specific location of each prop.
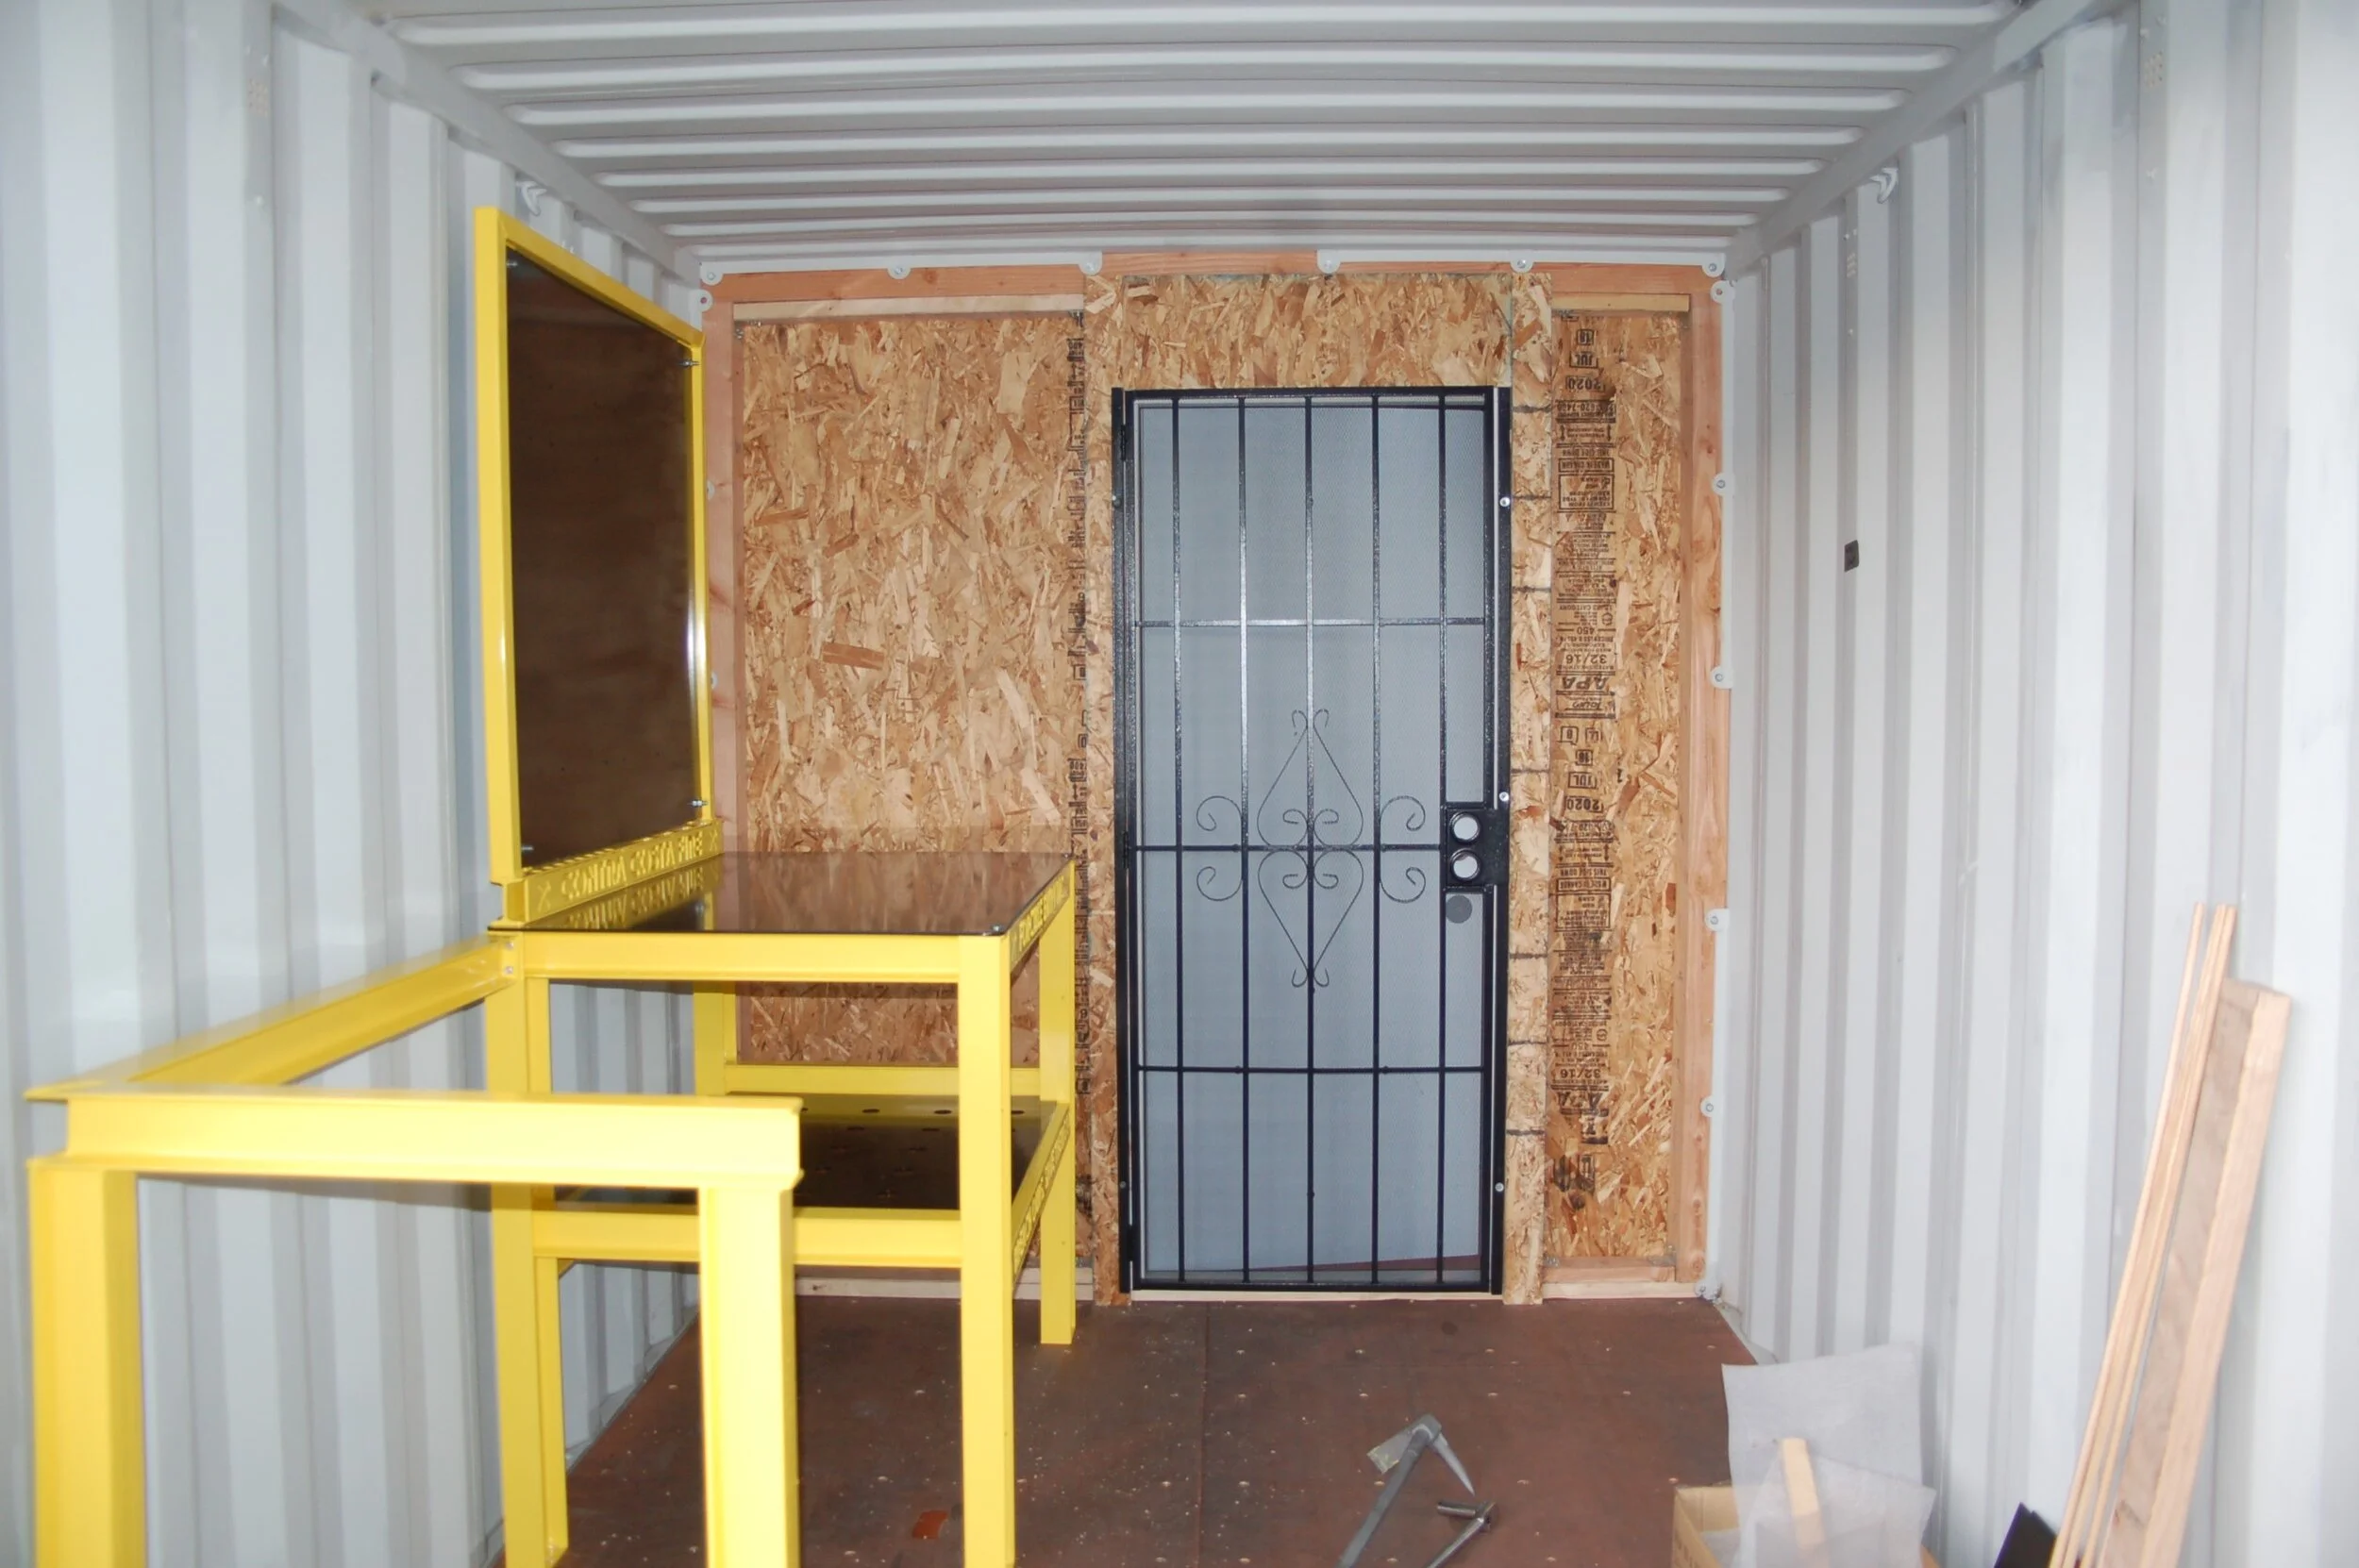
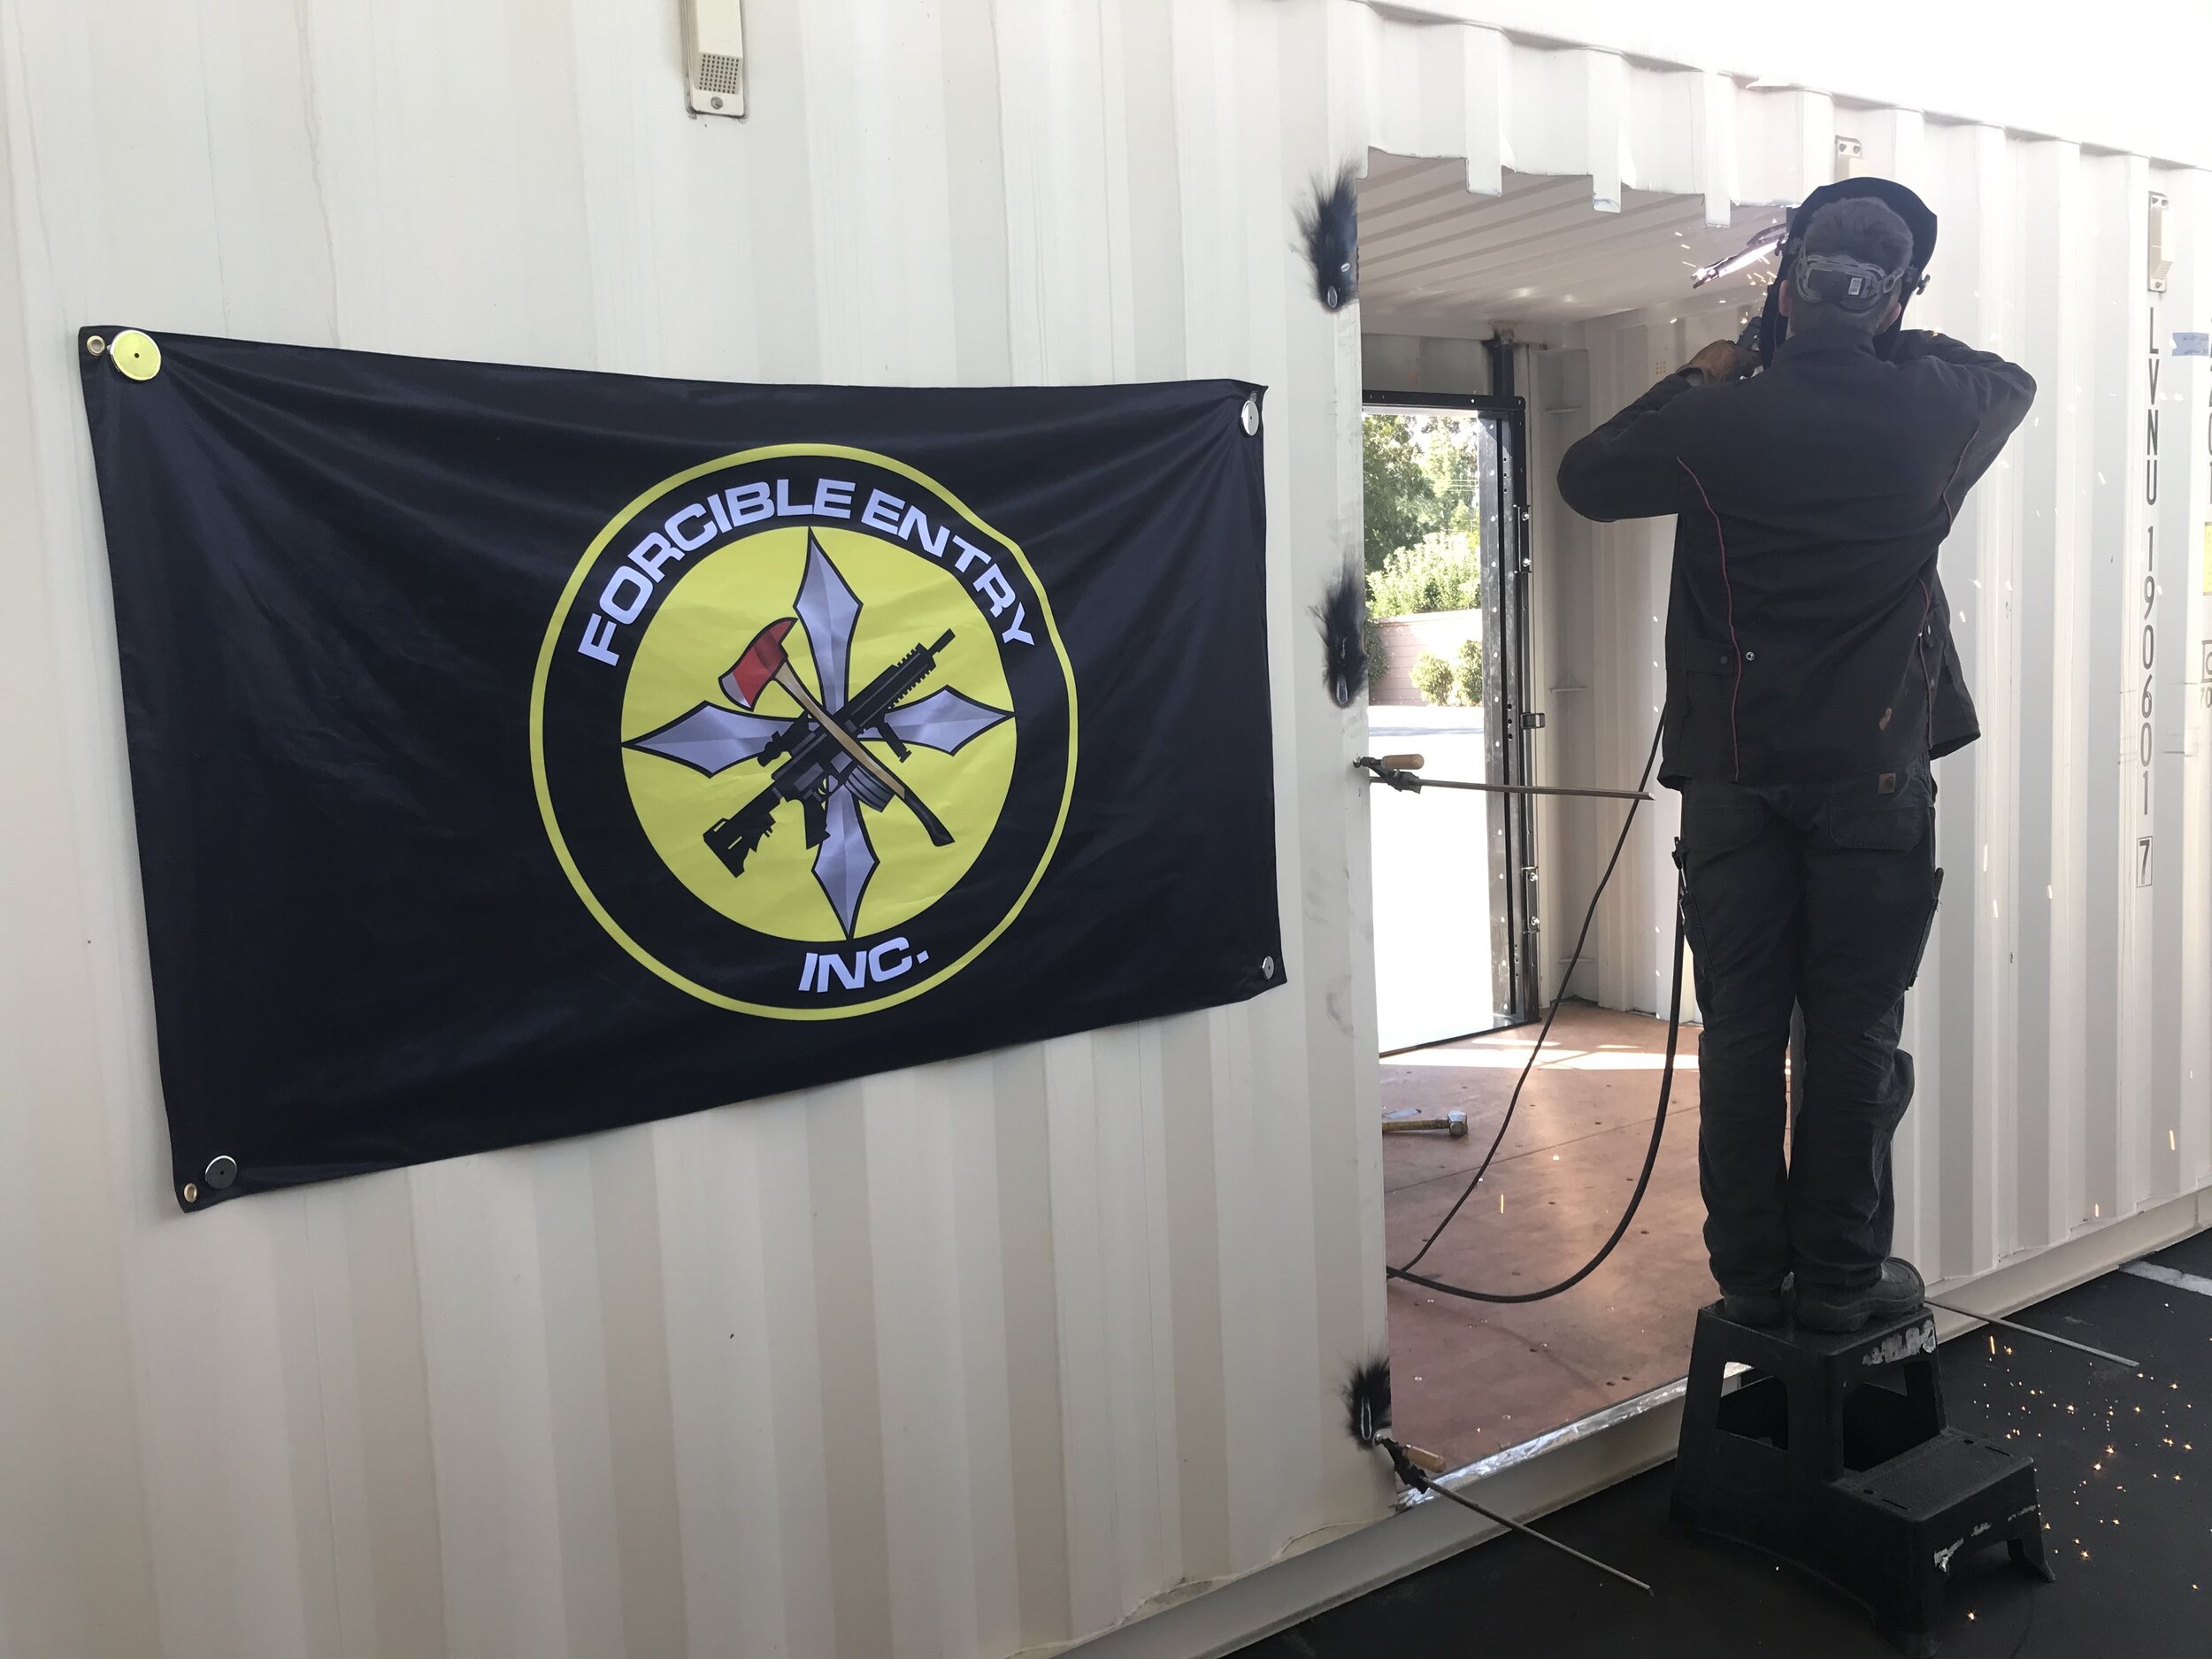
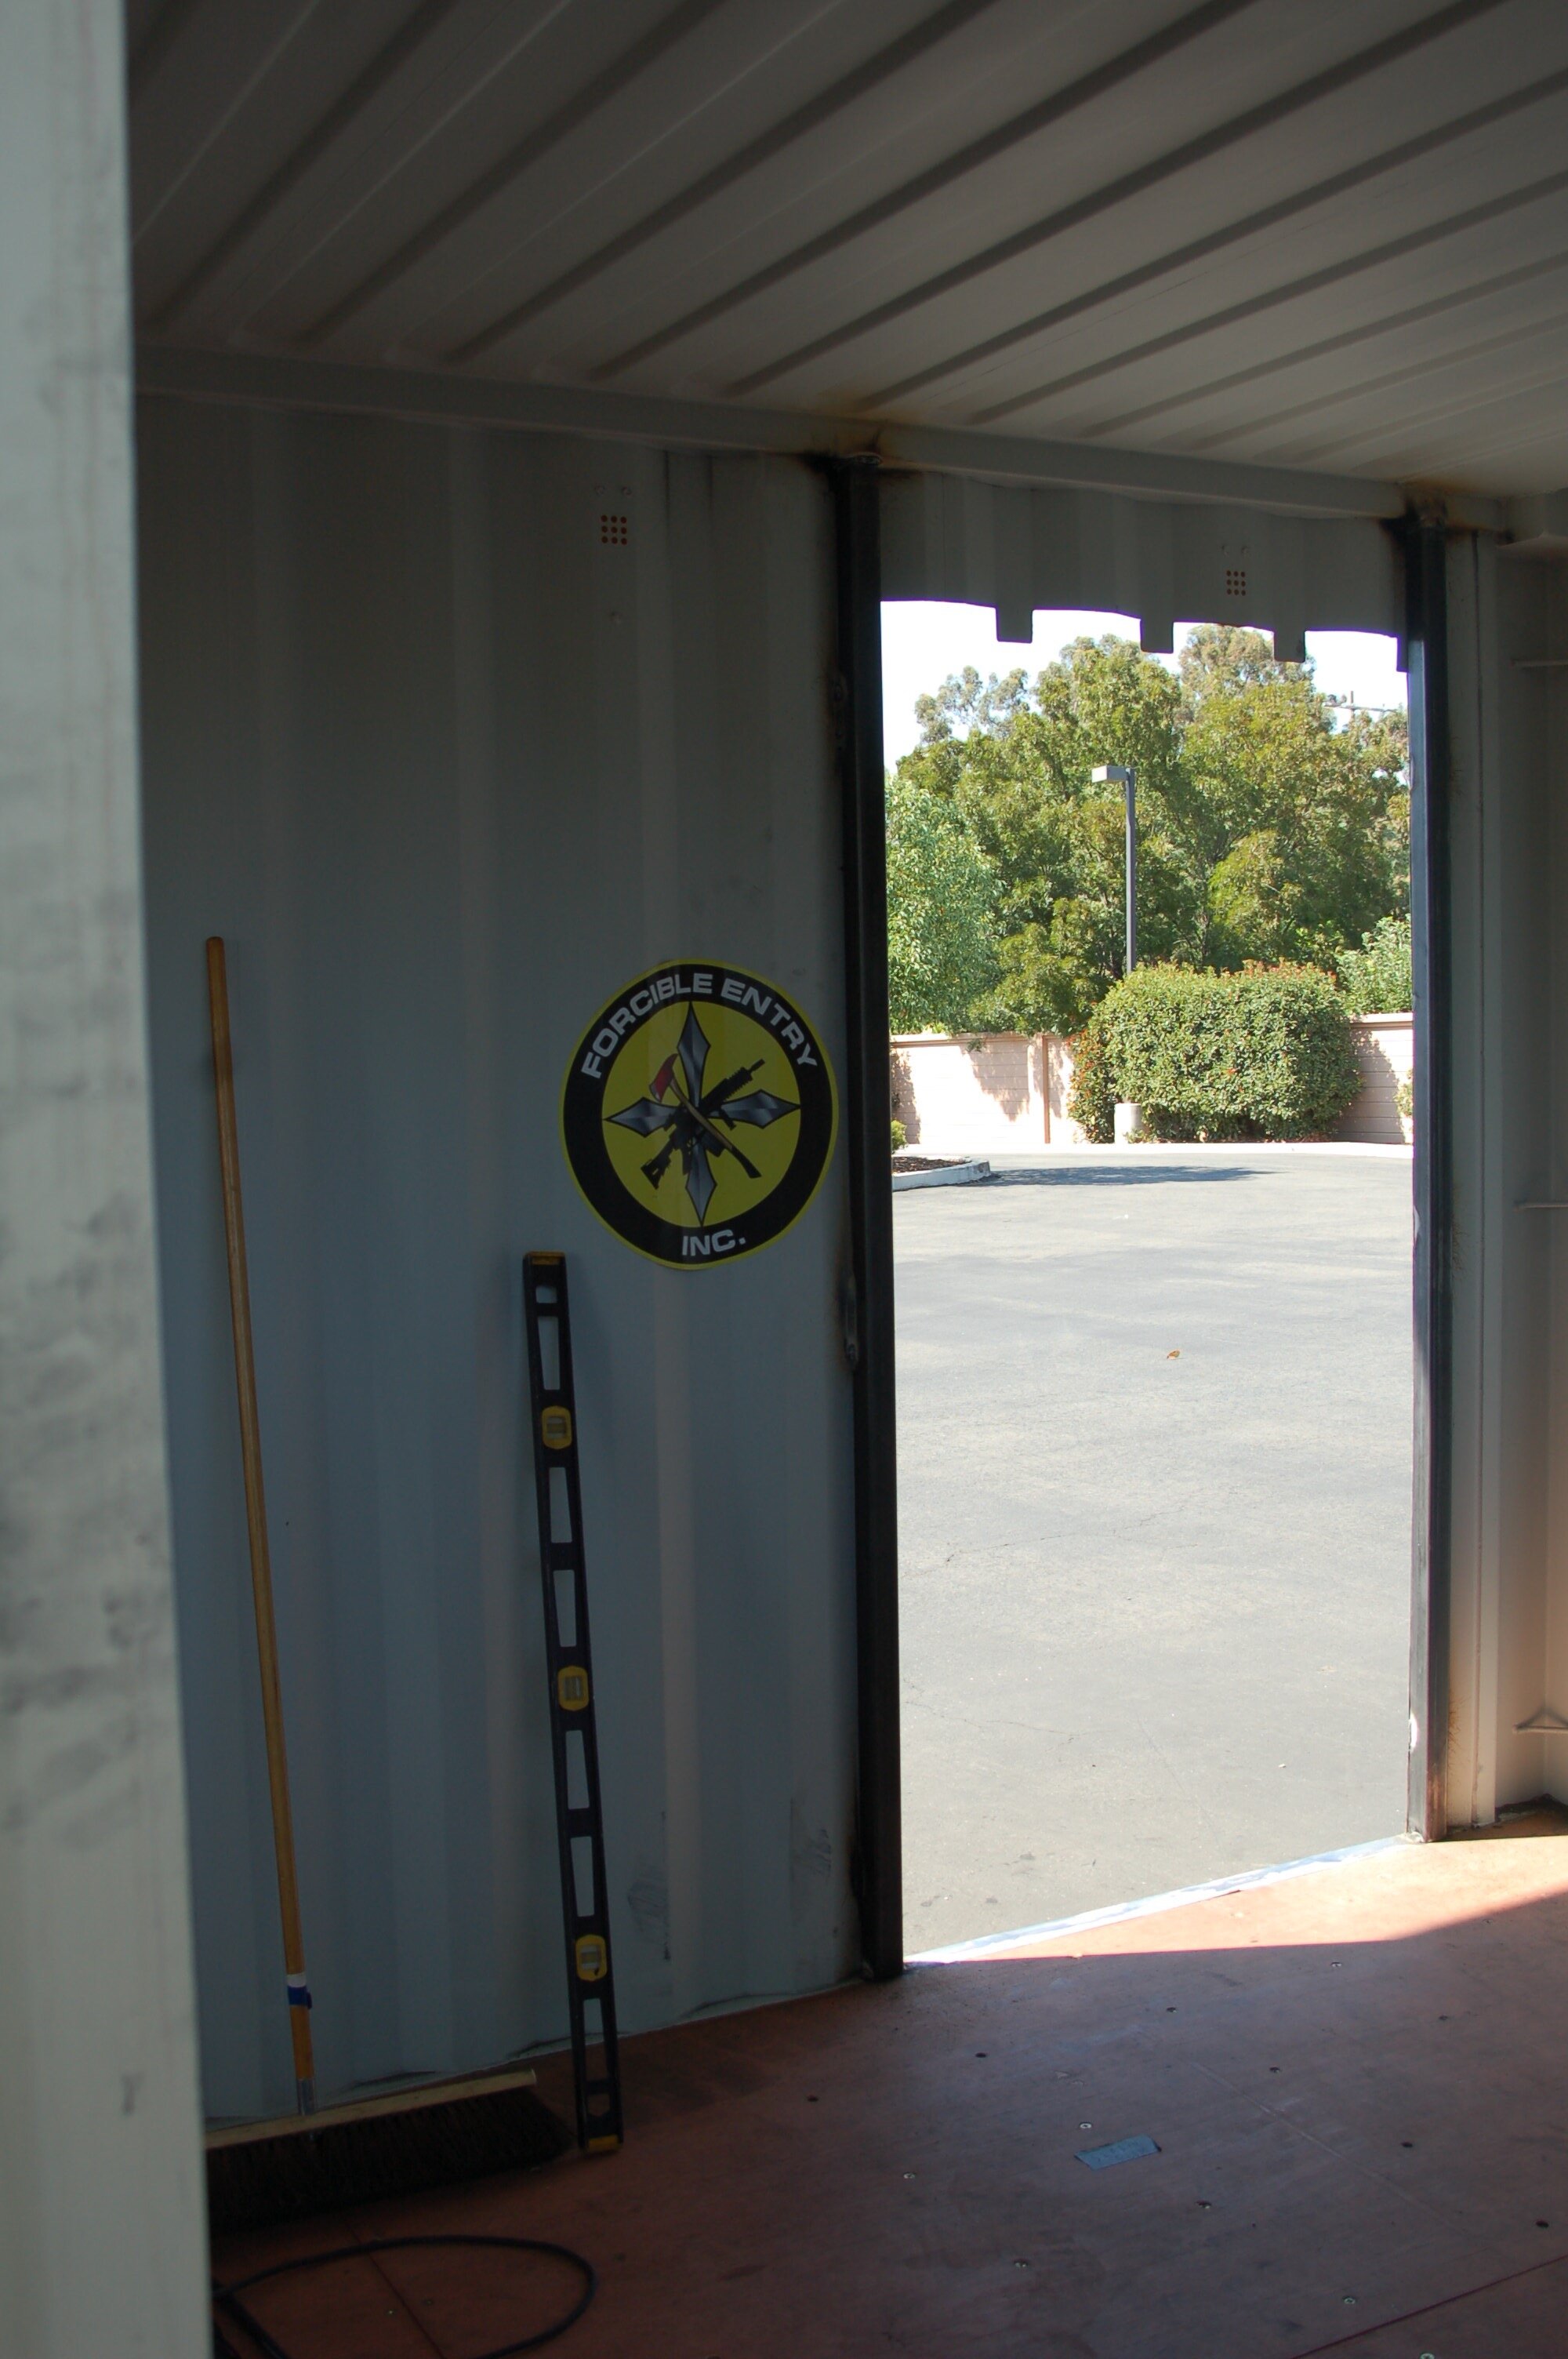
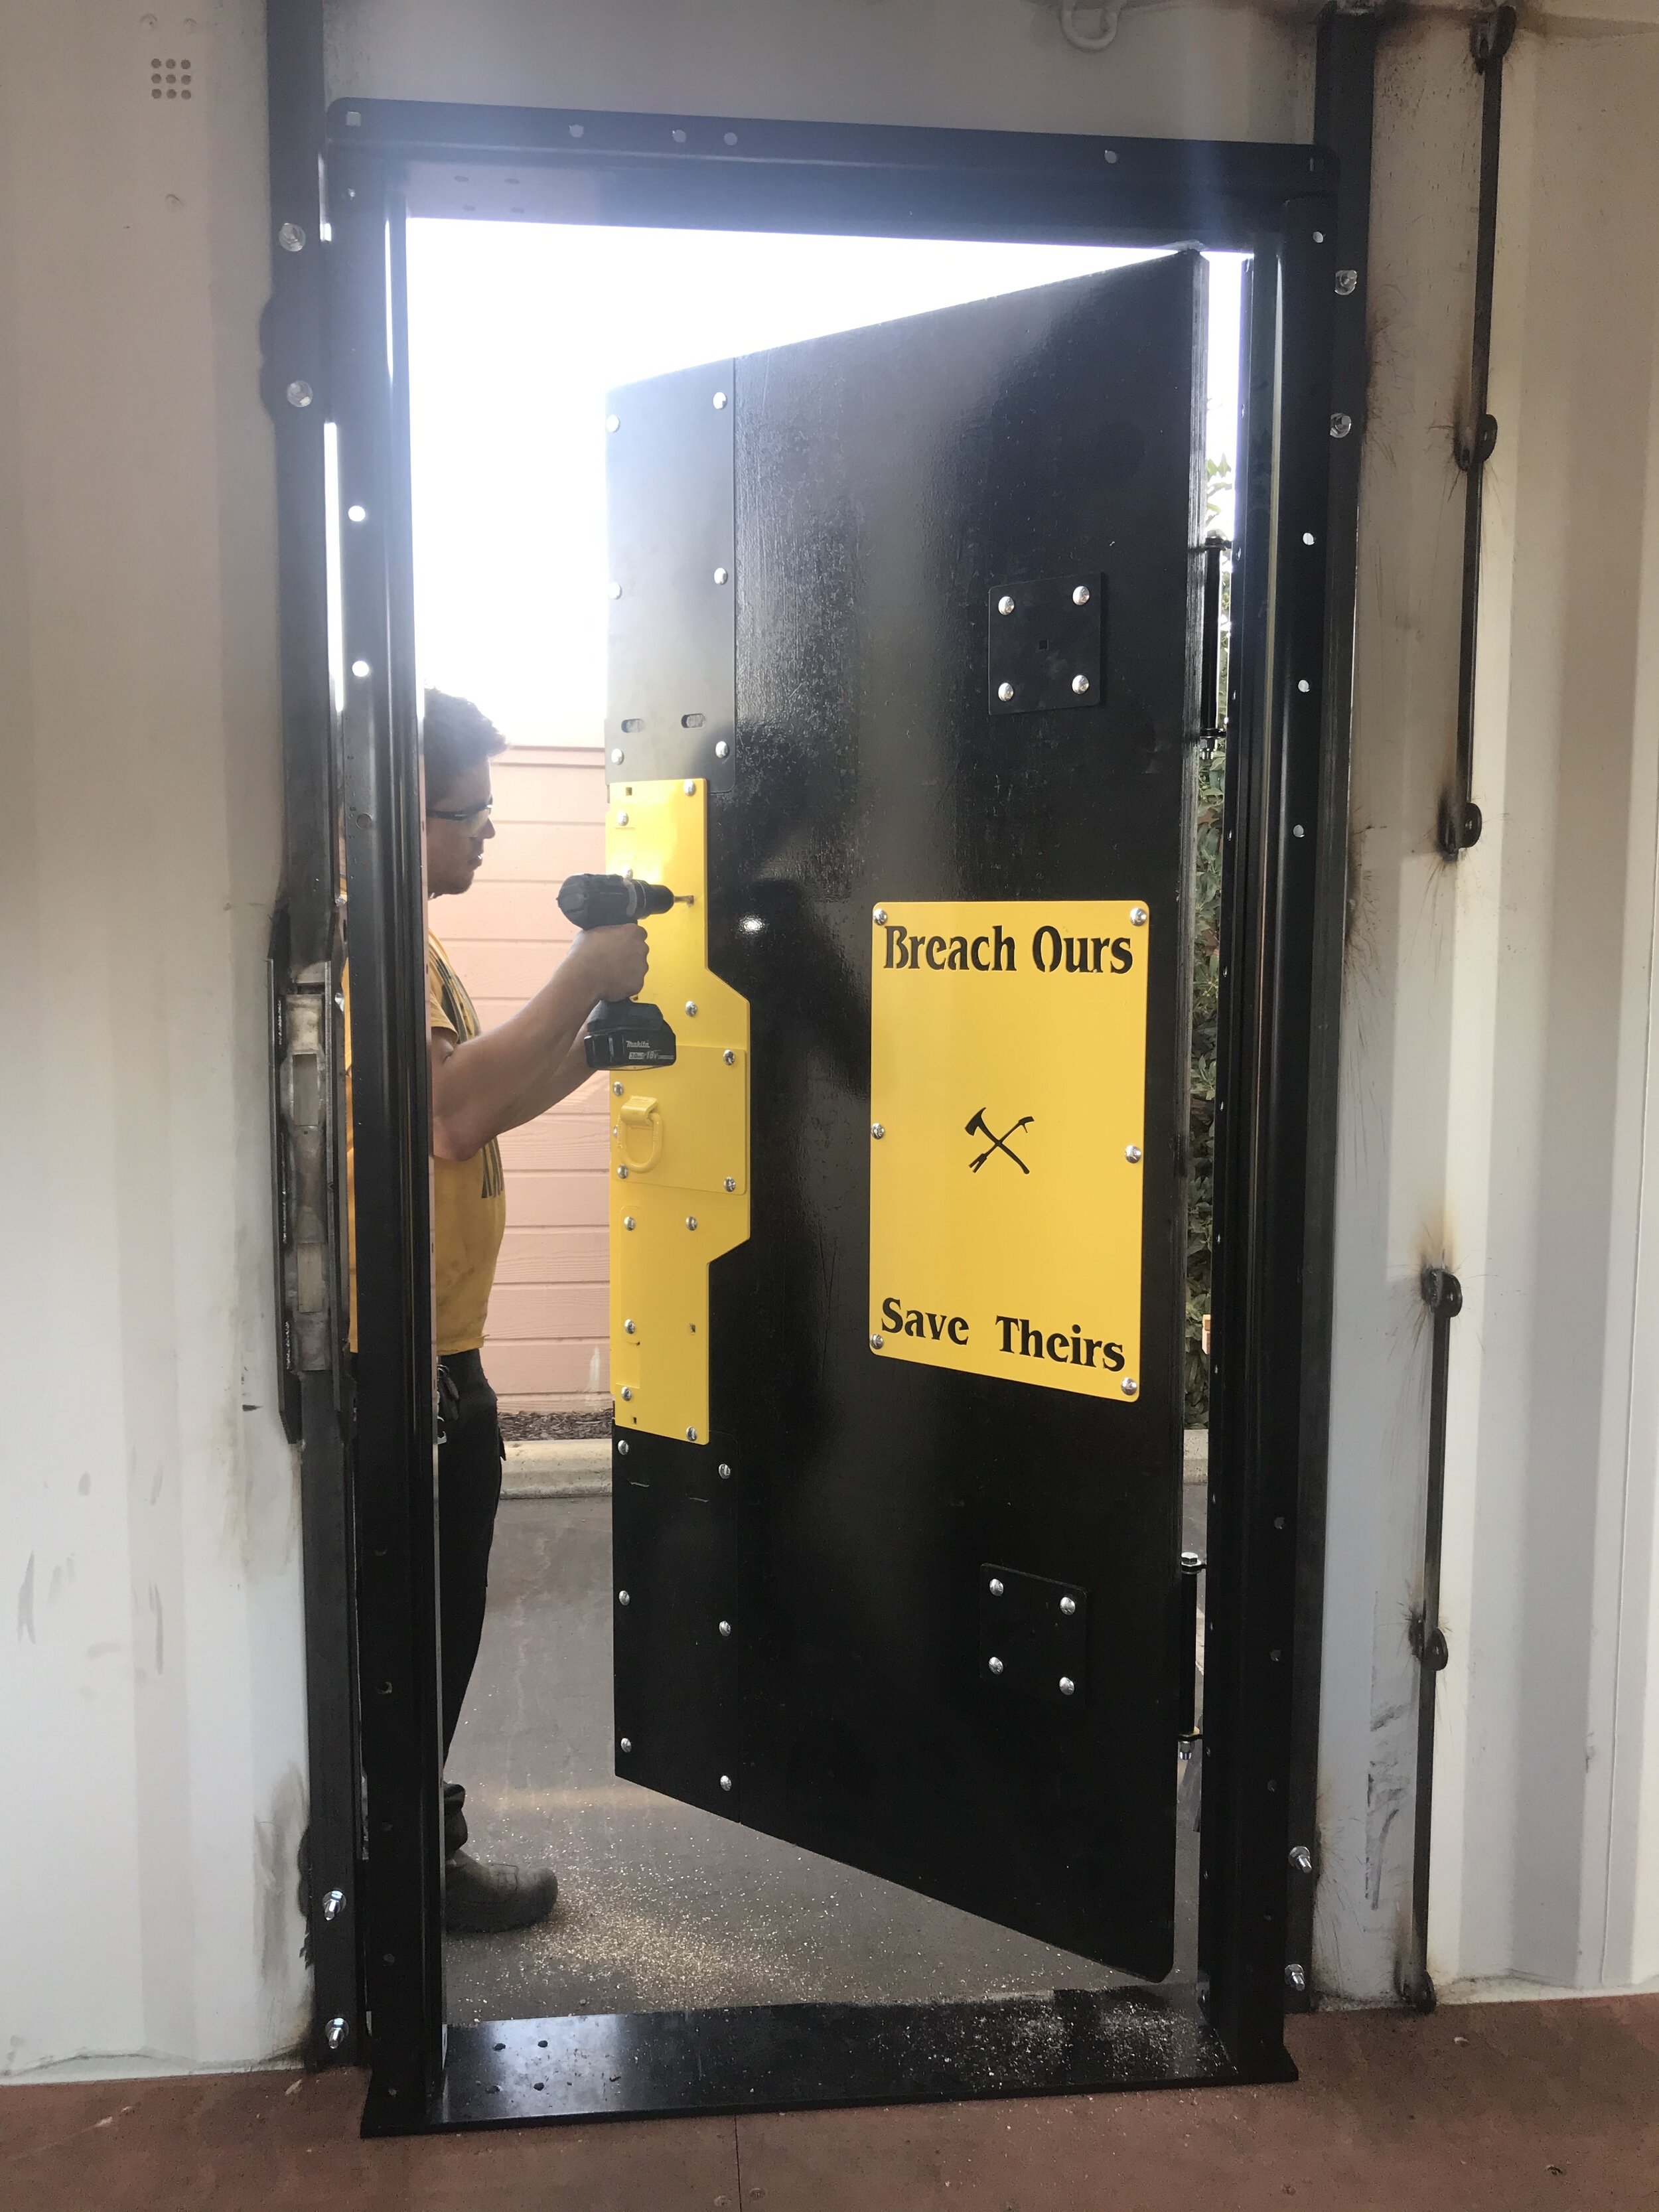
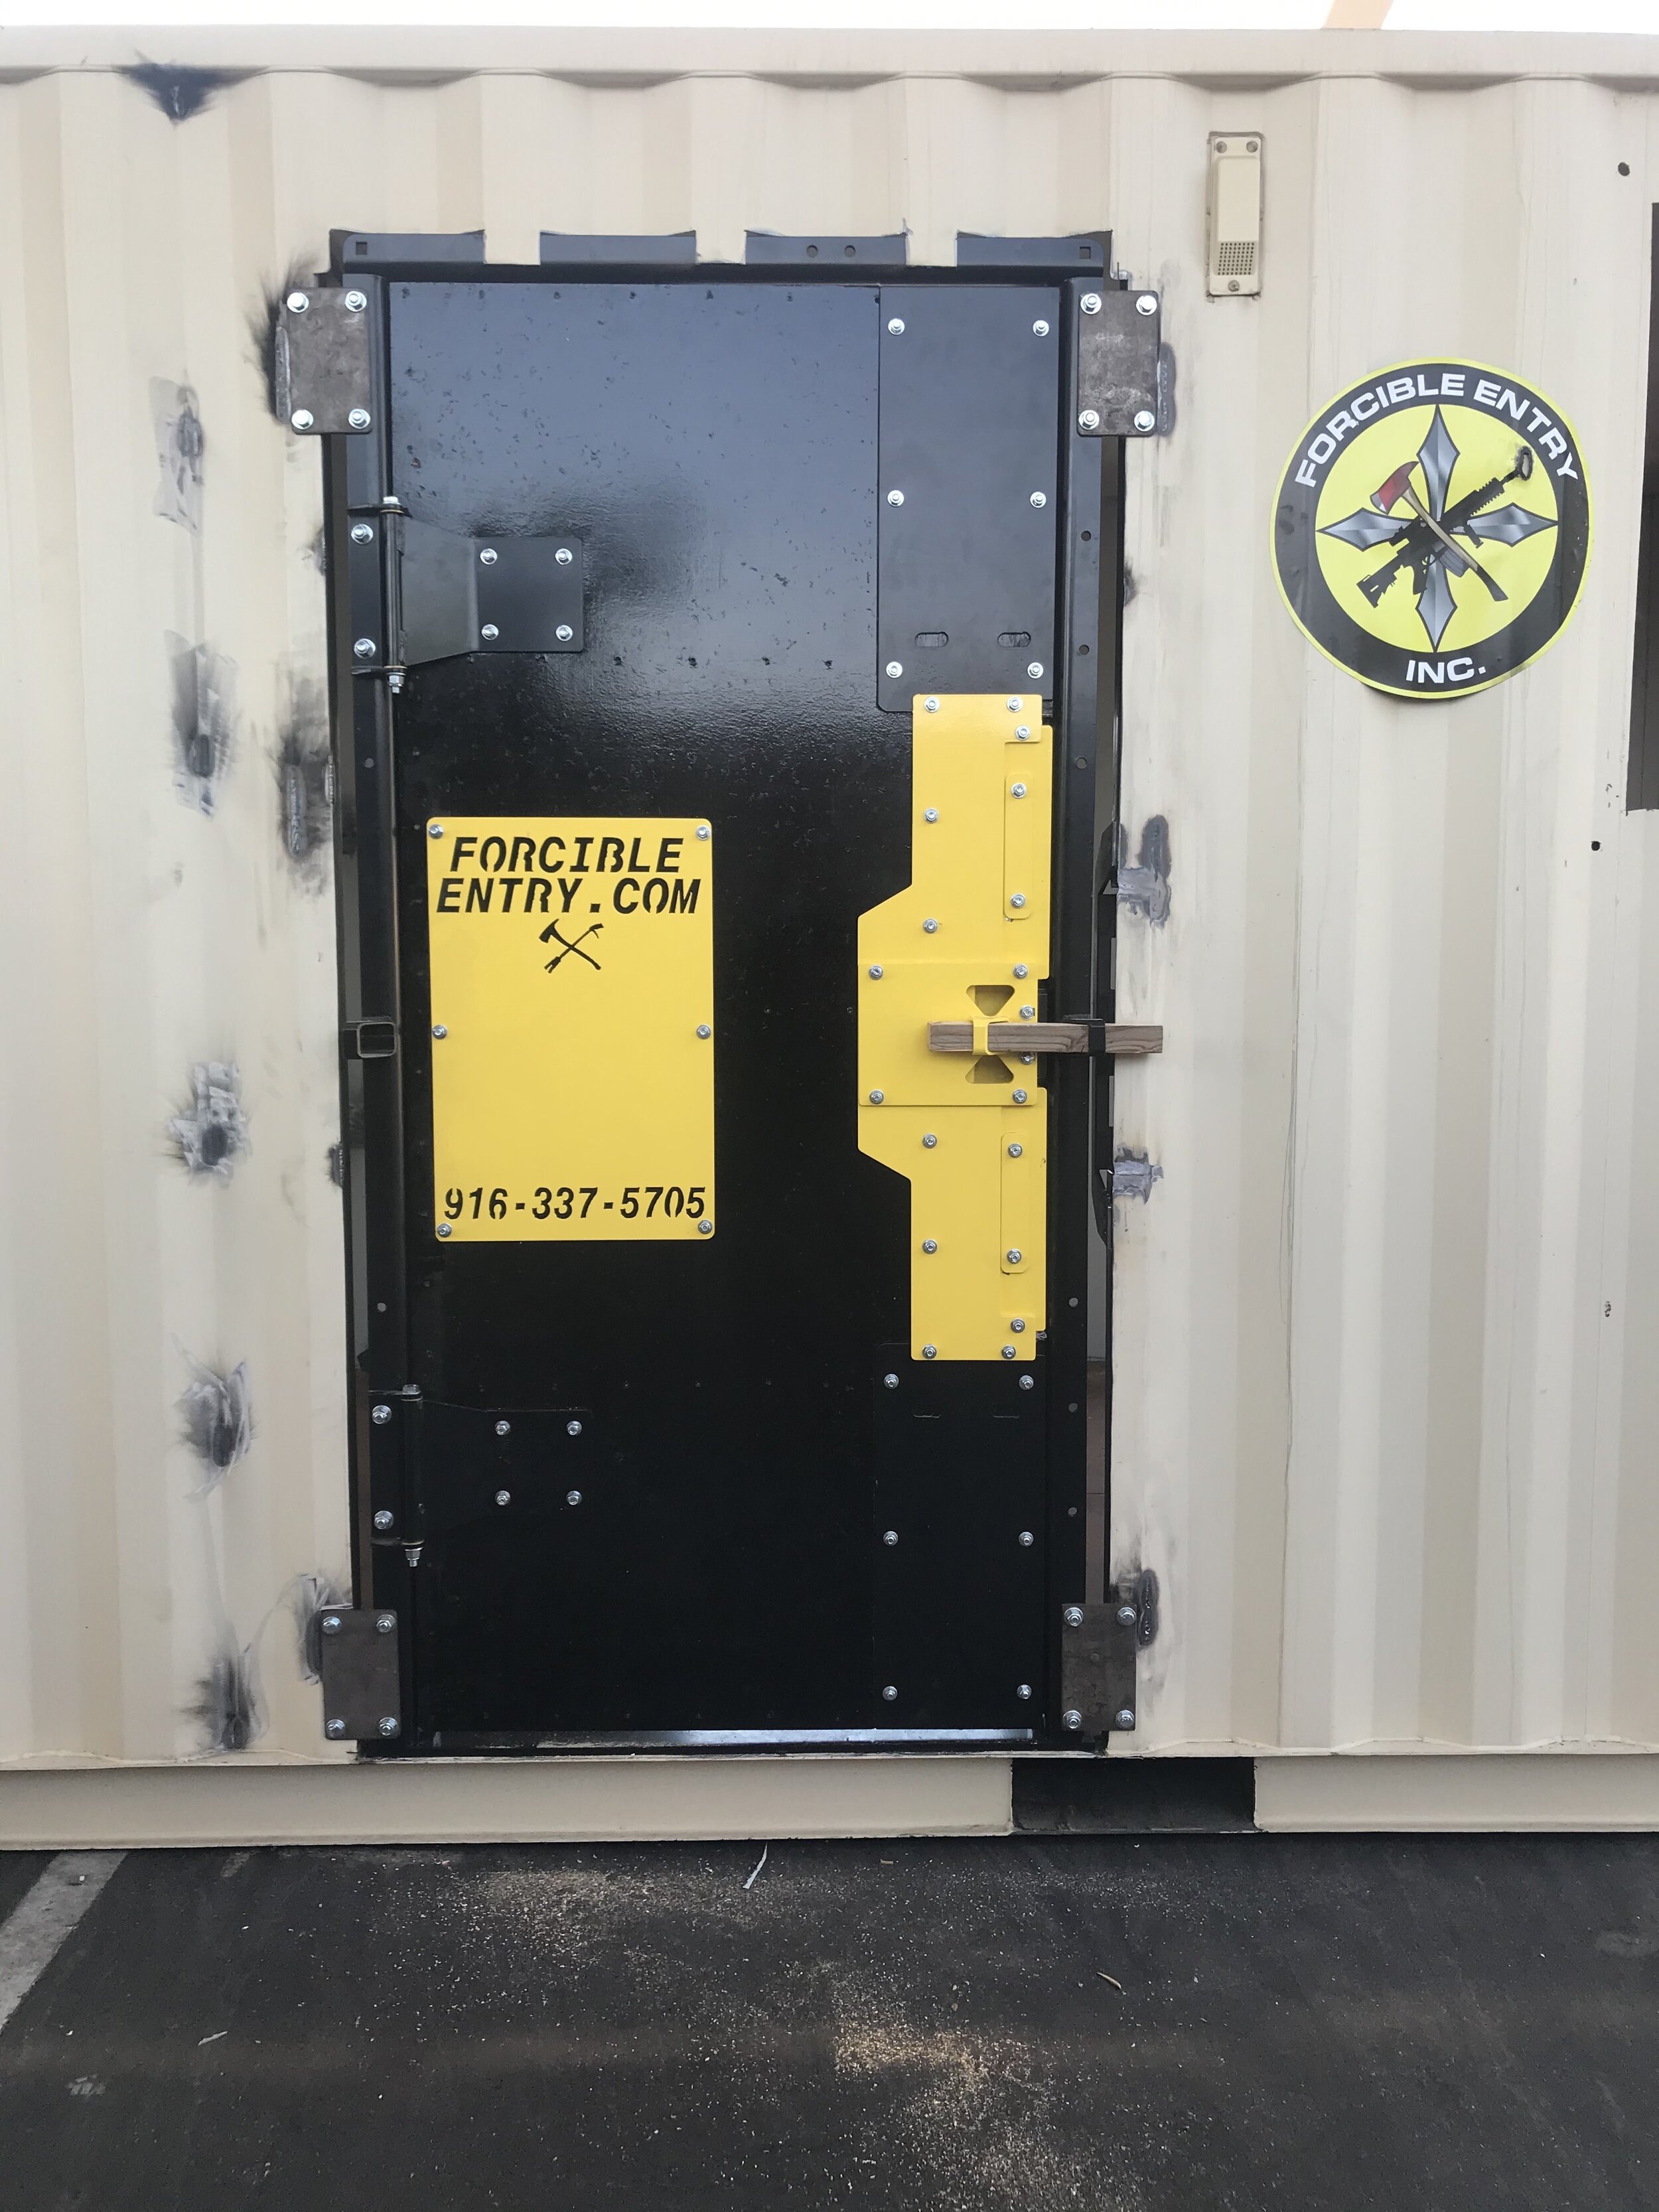
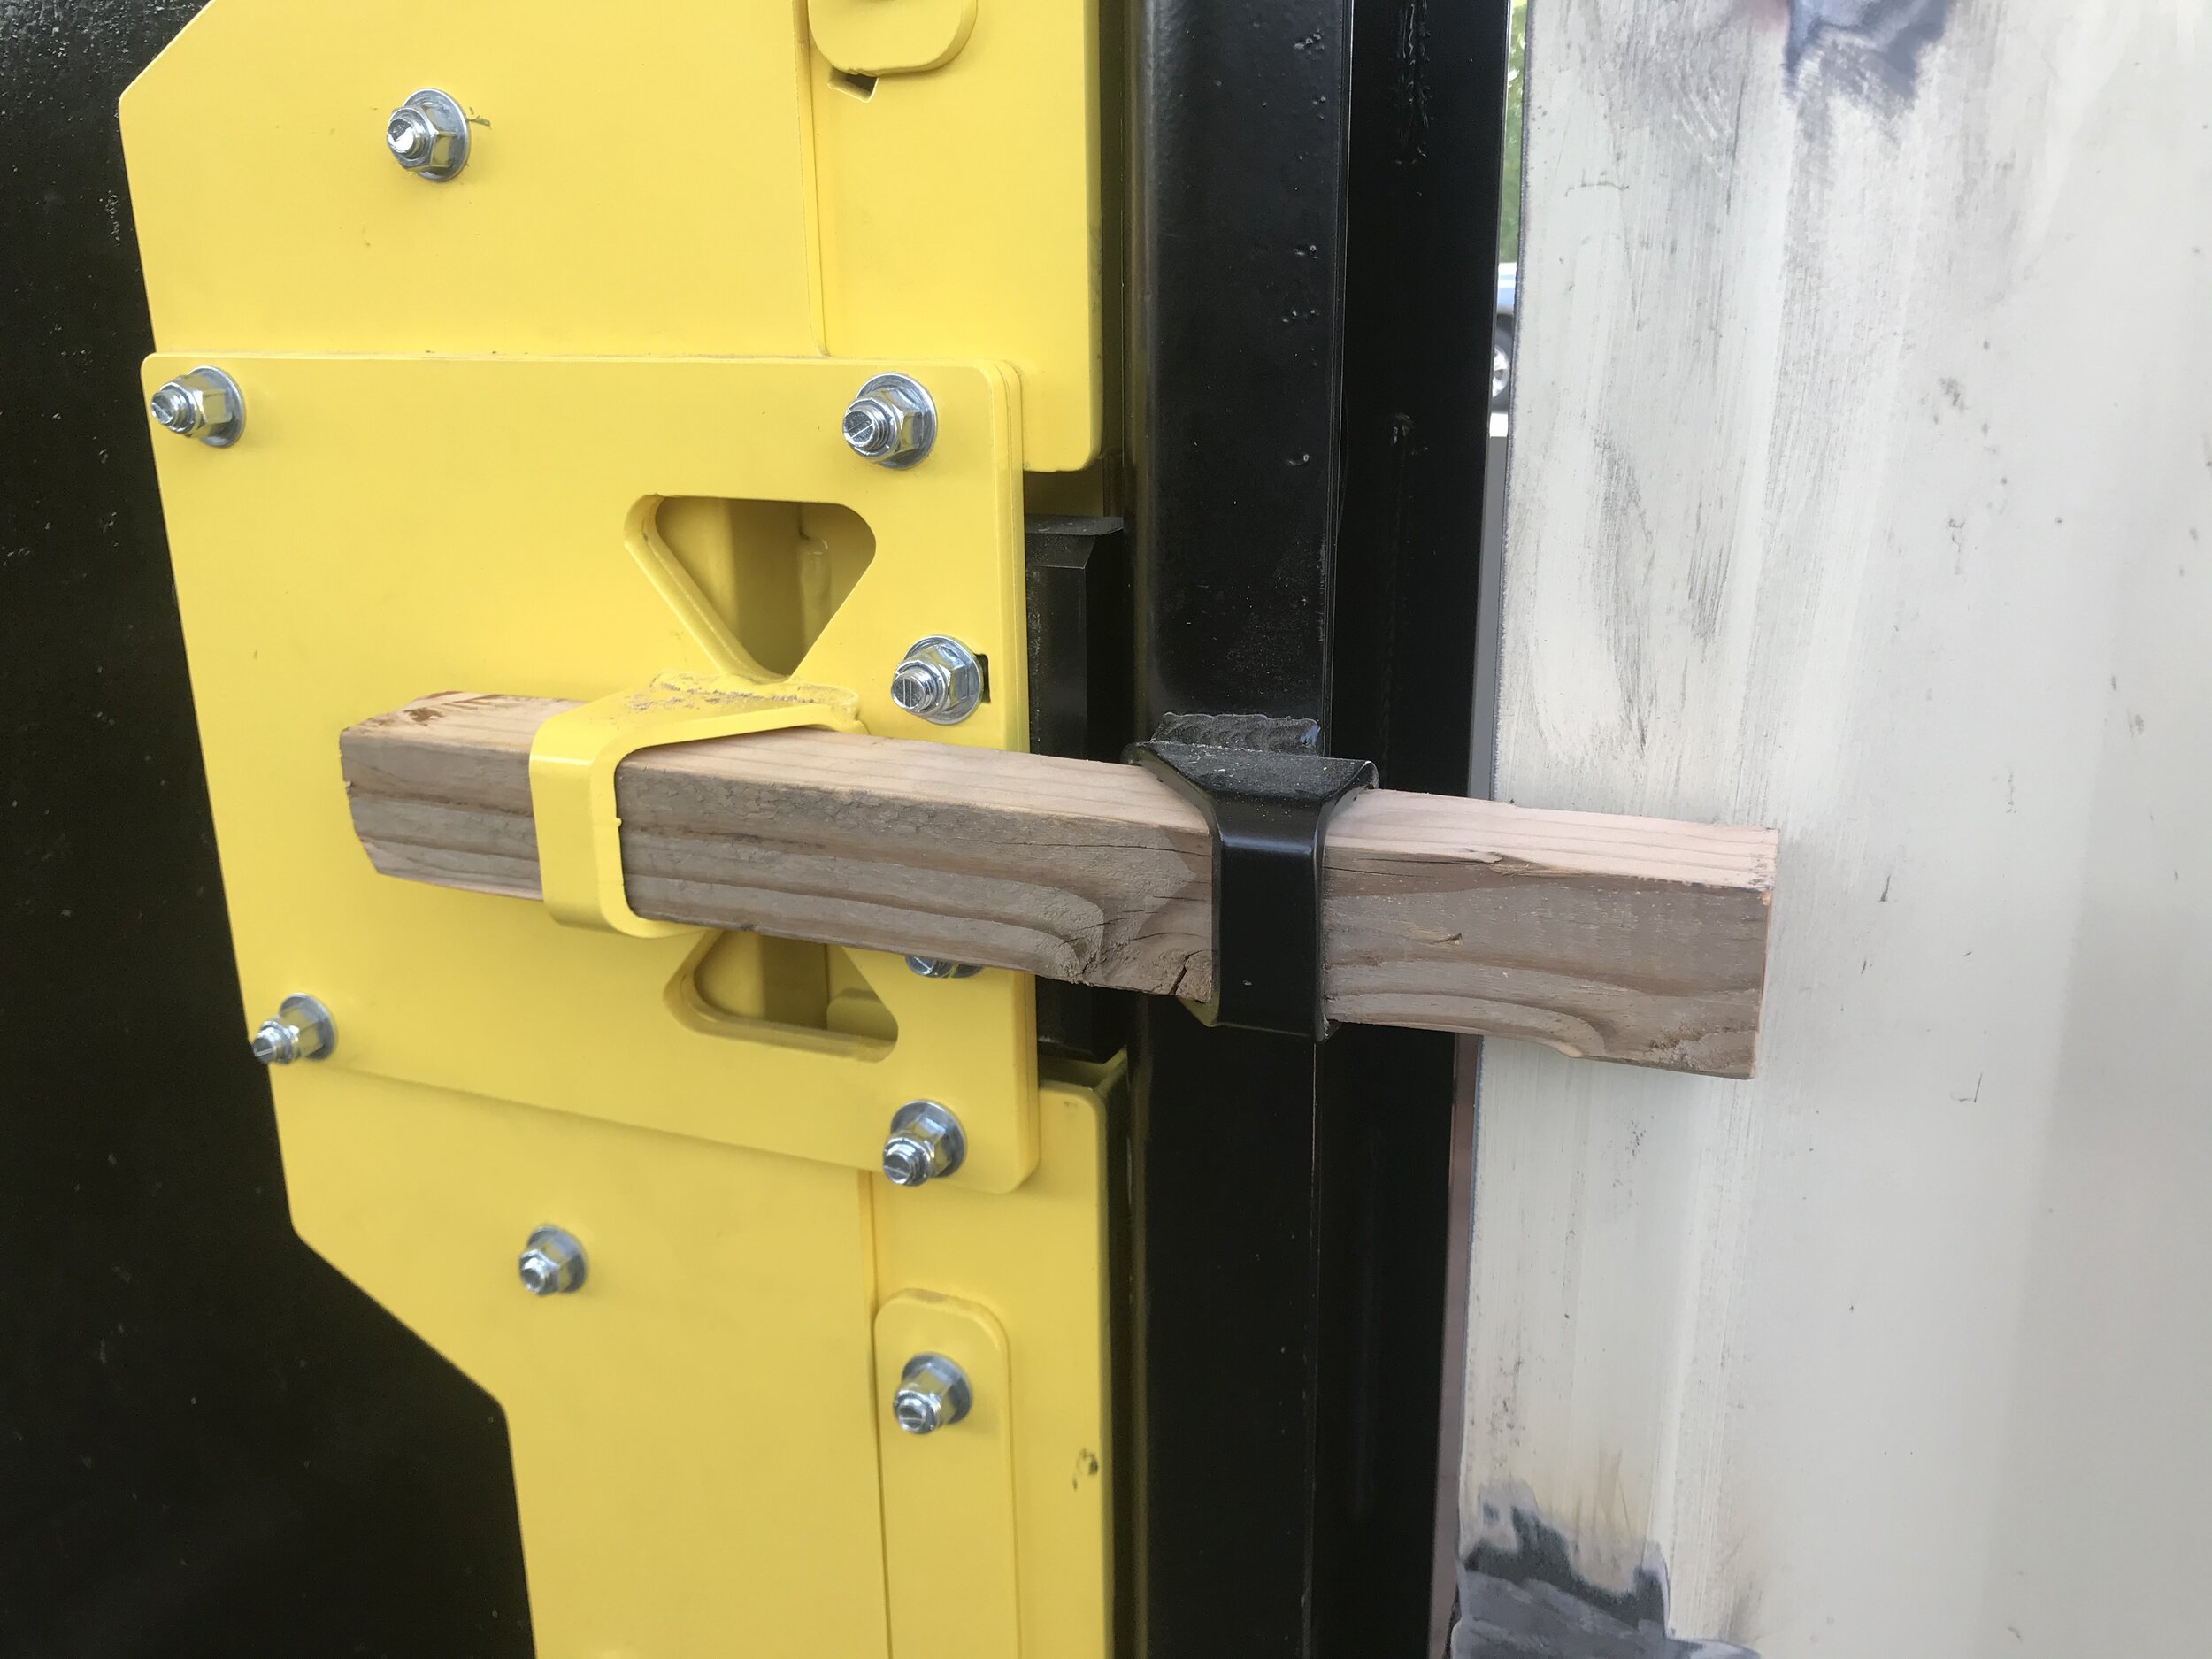
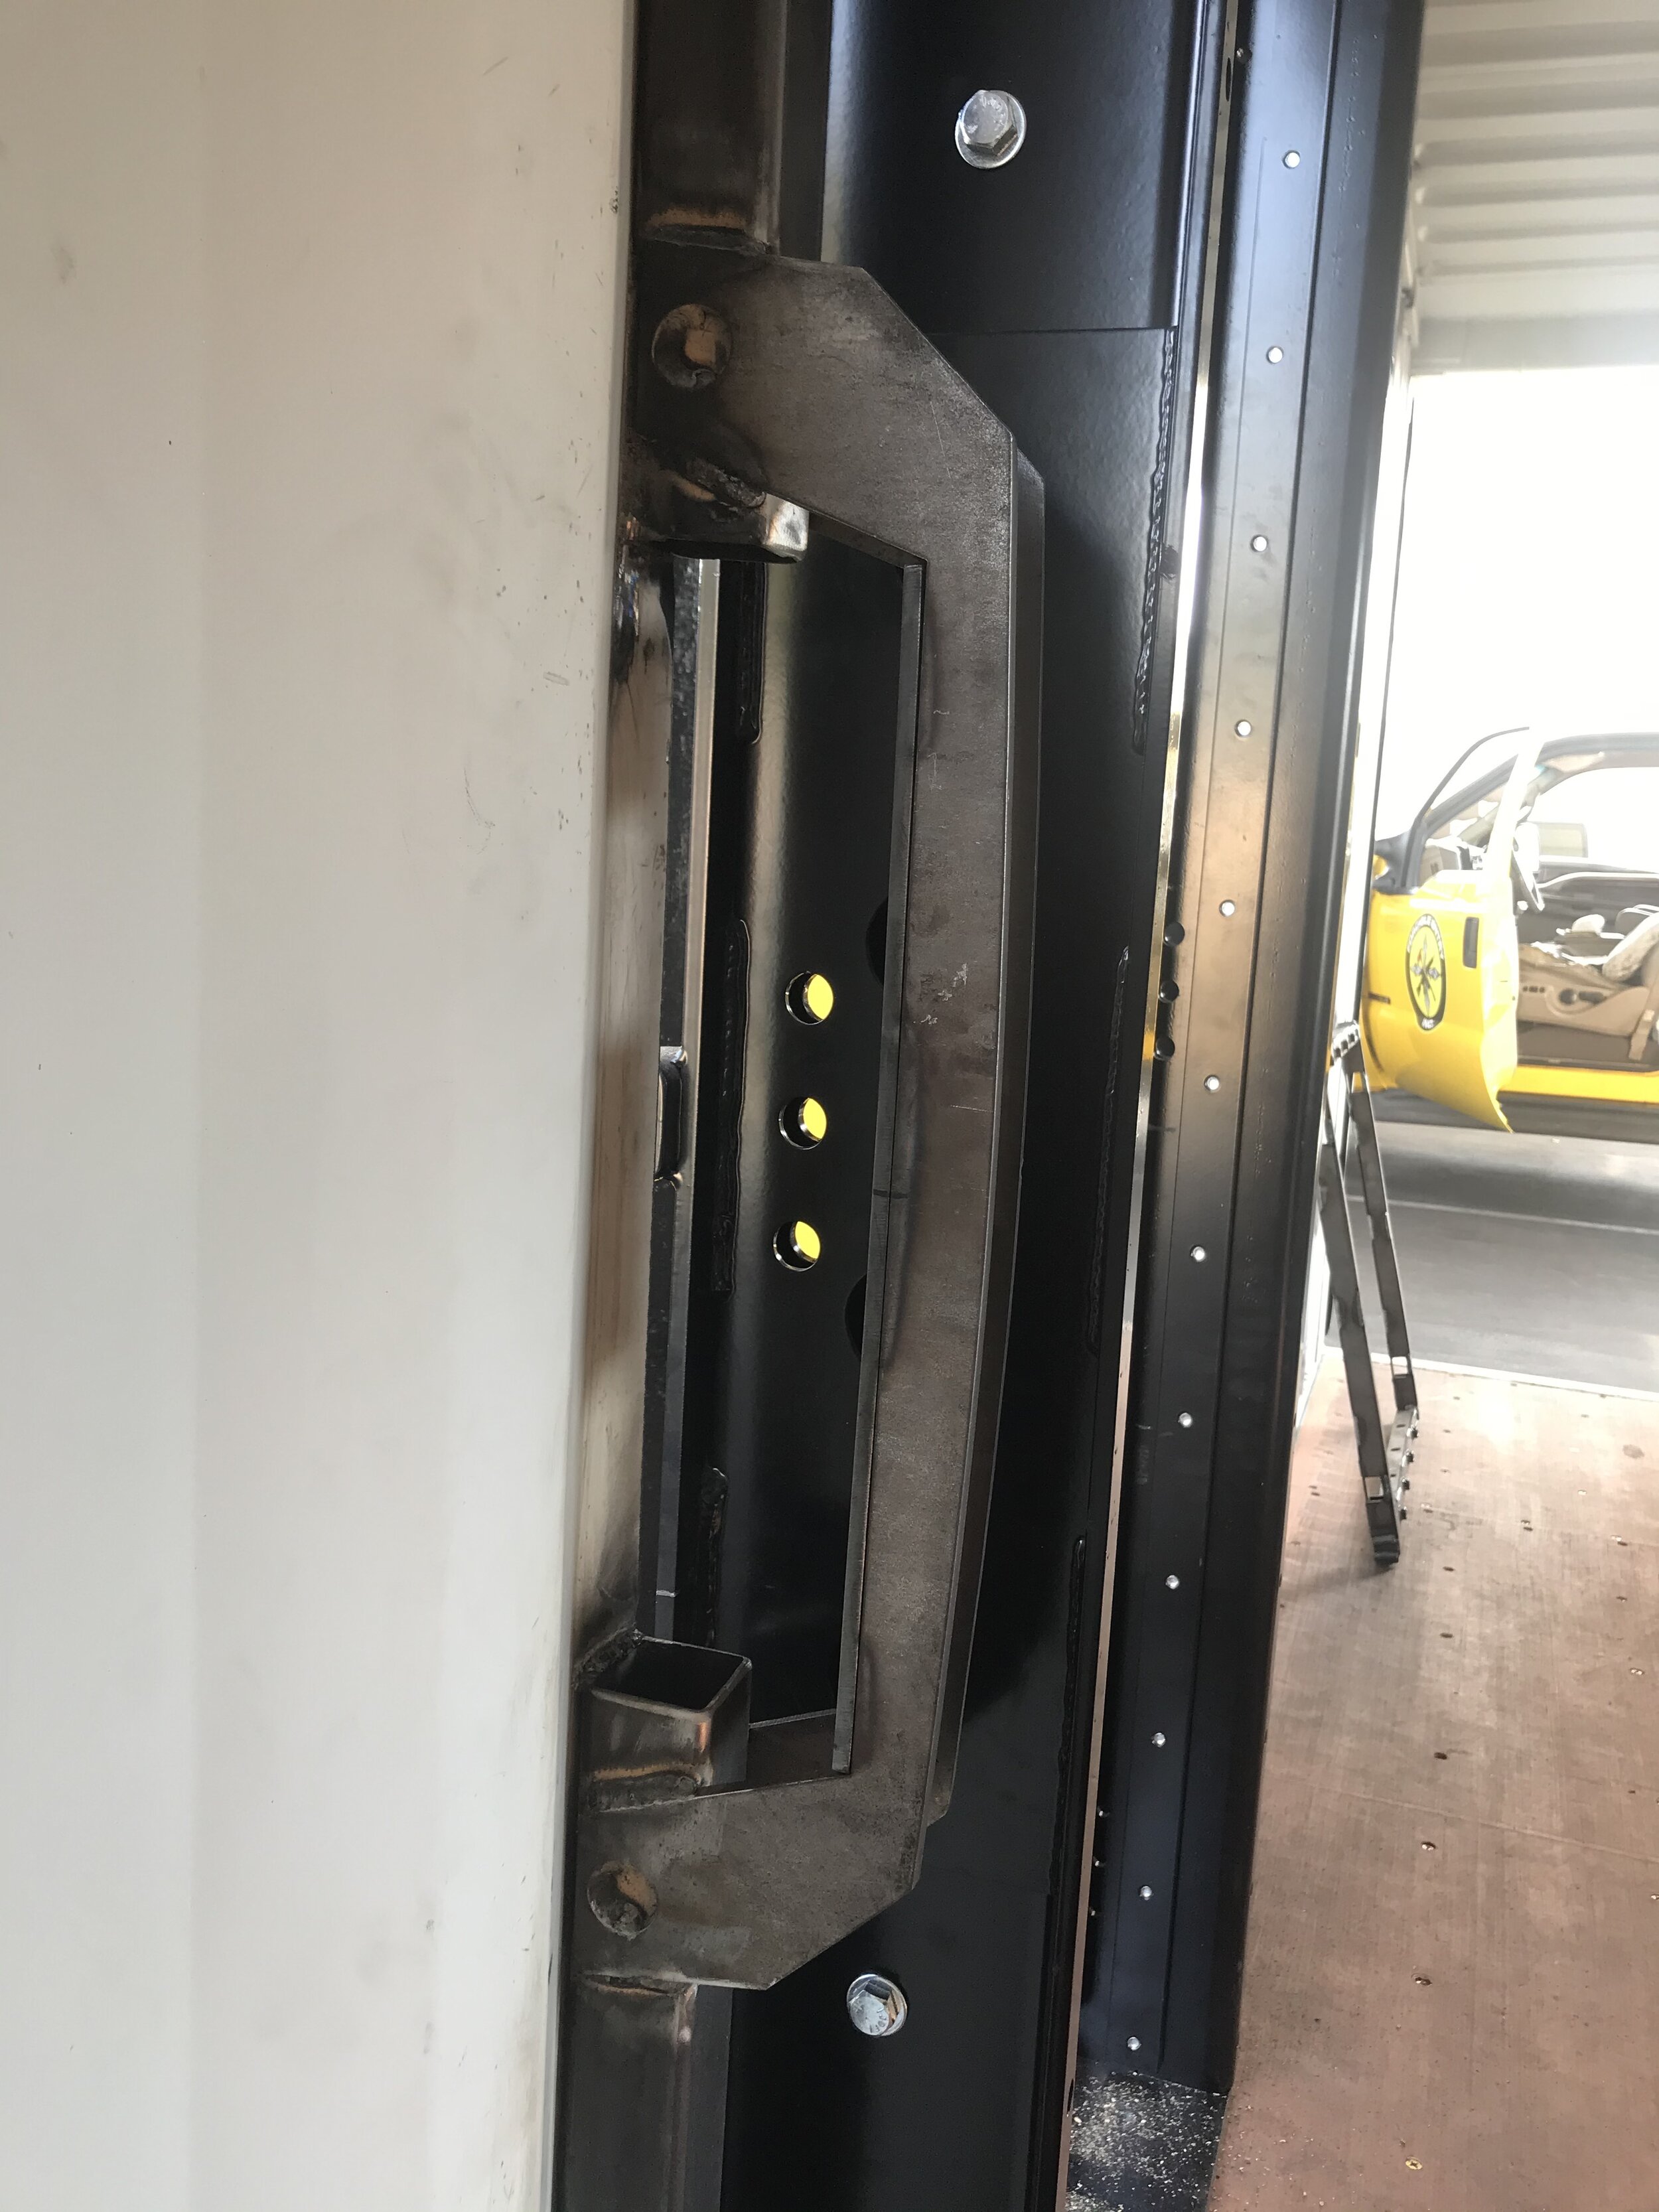
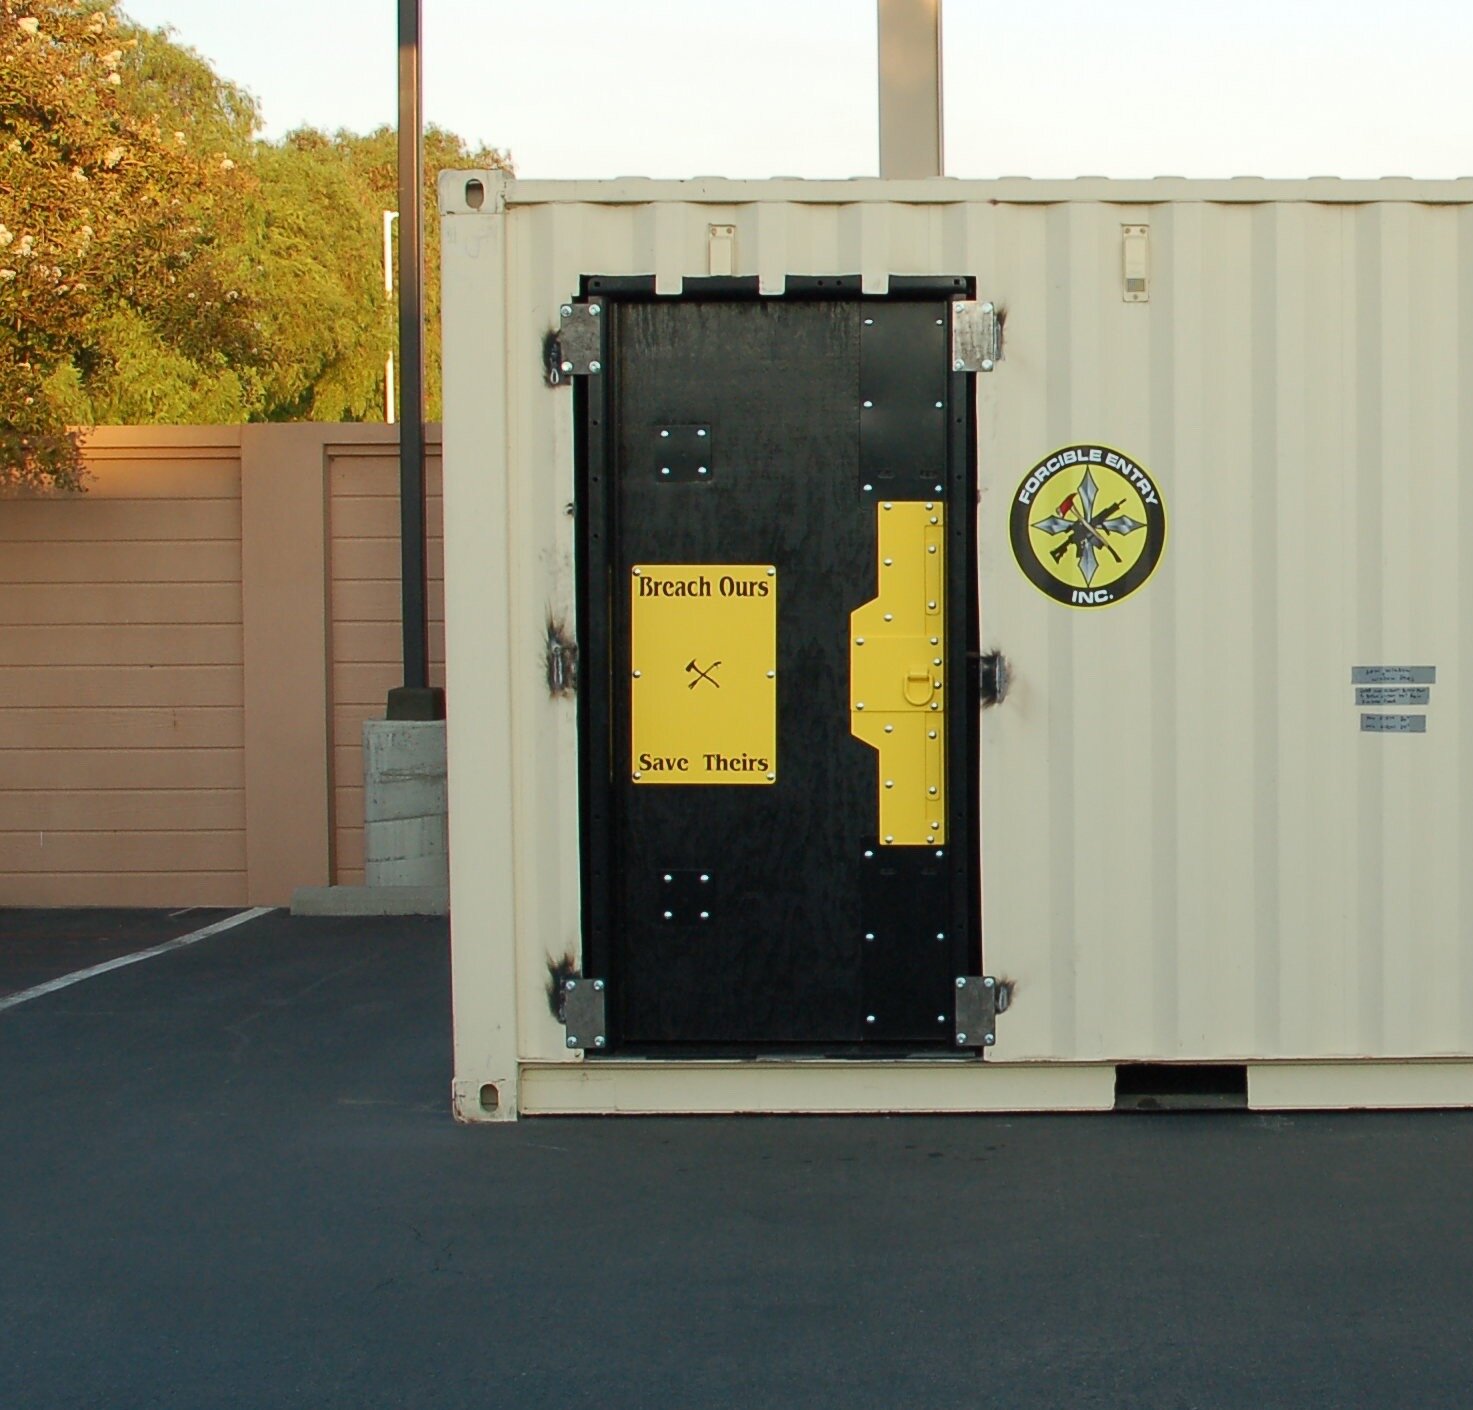
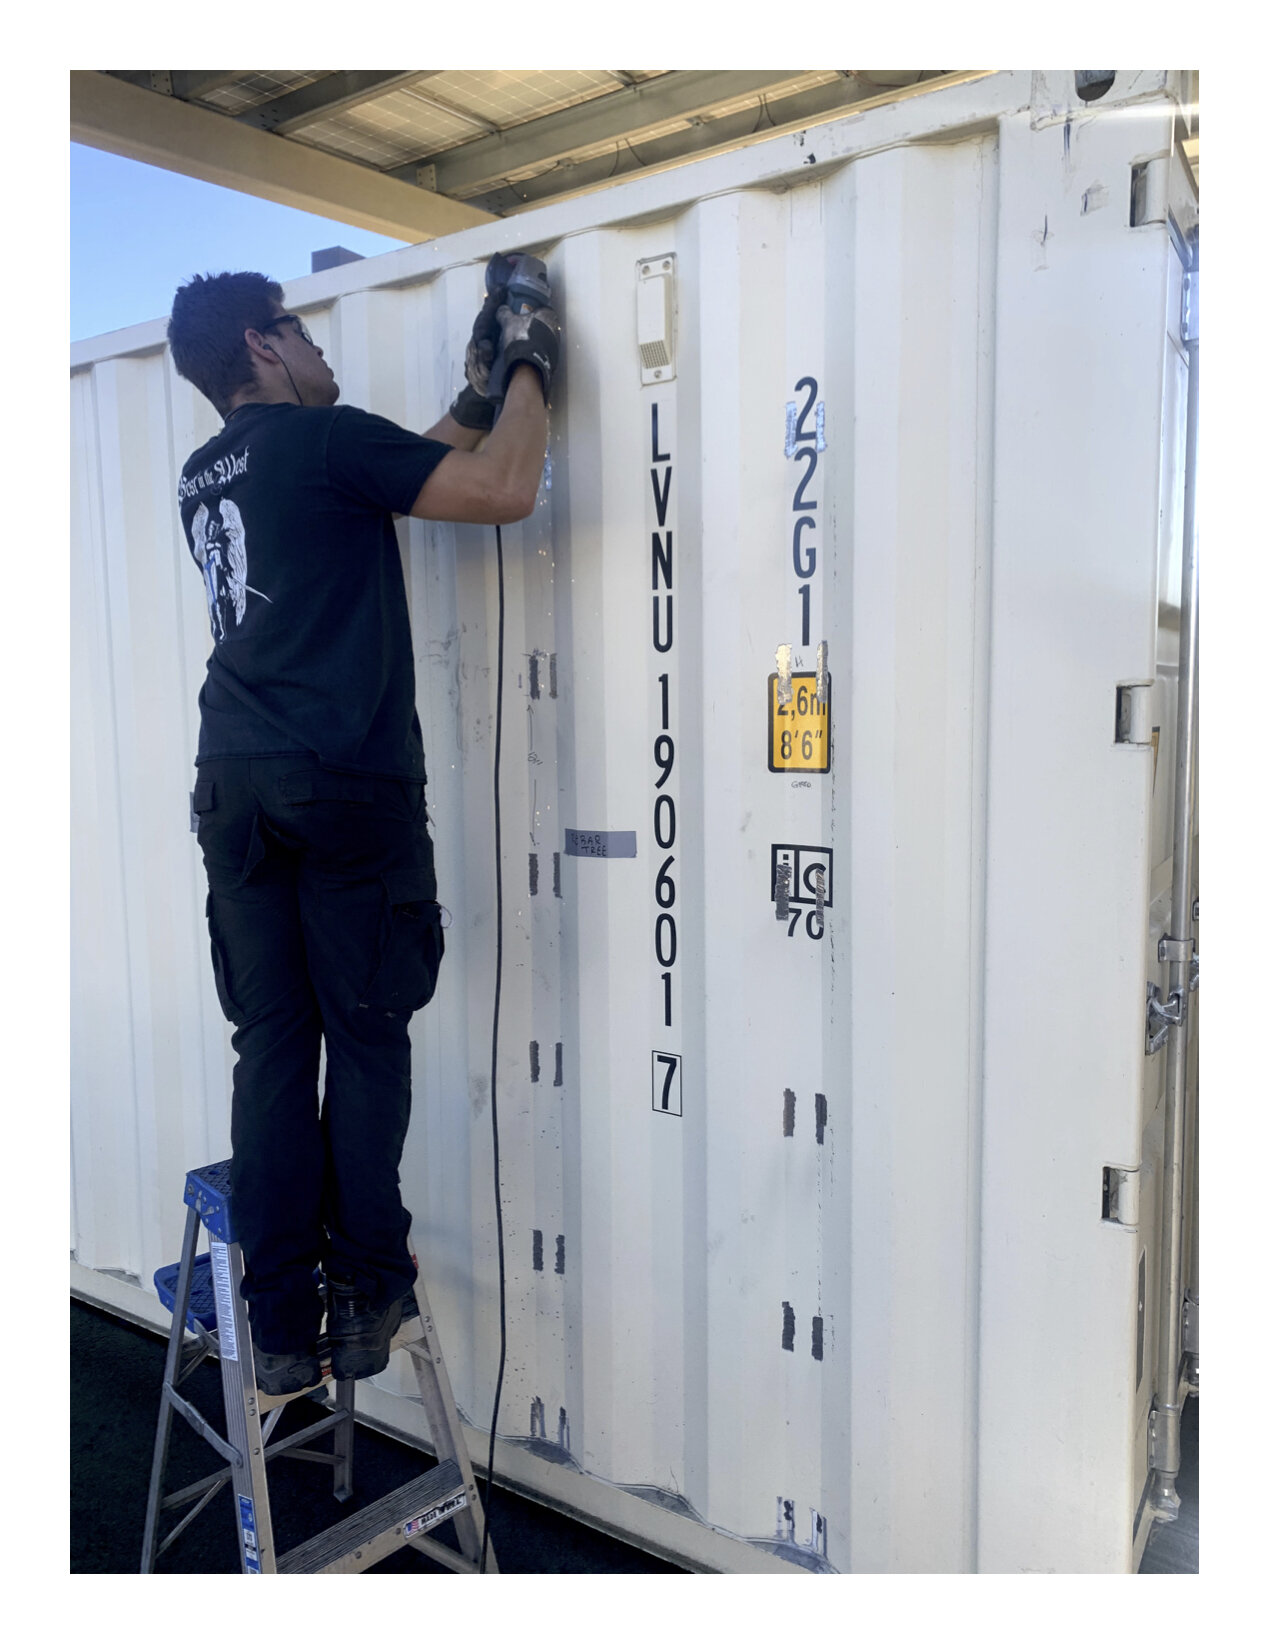
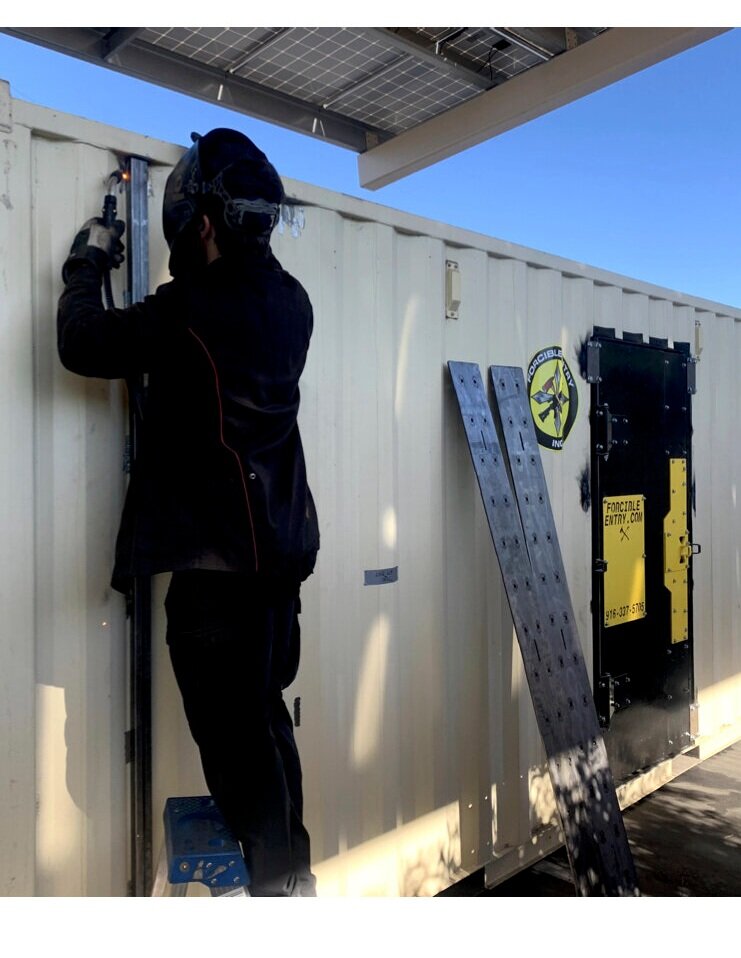
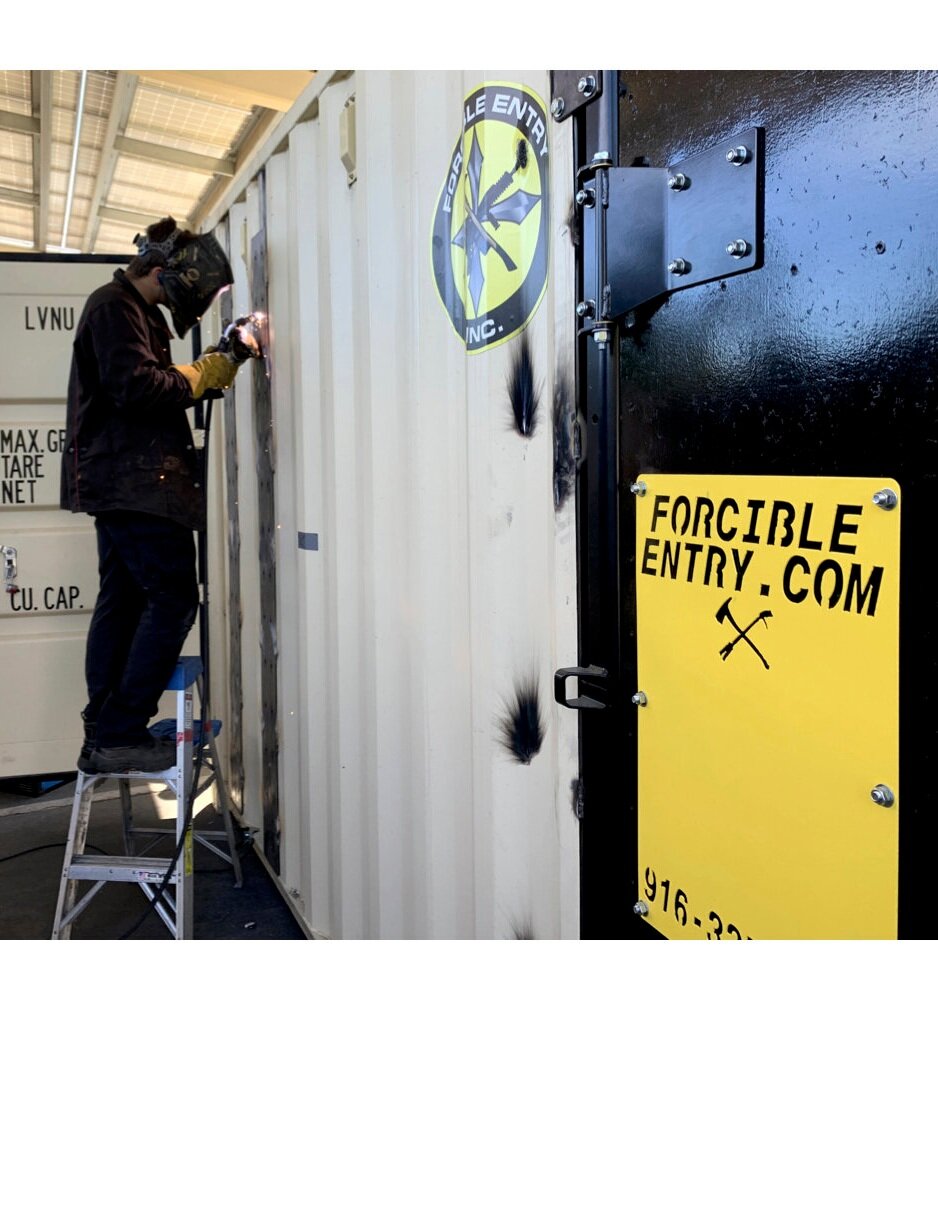
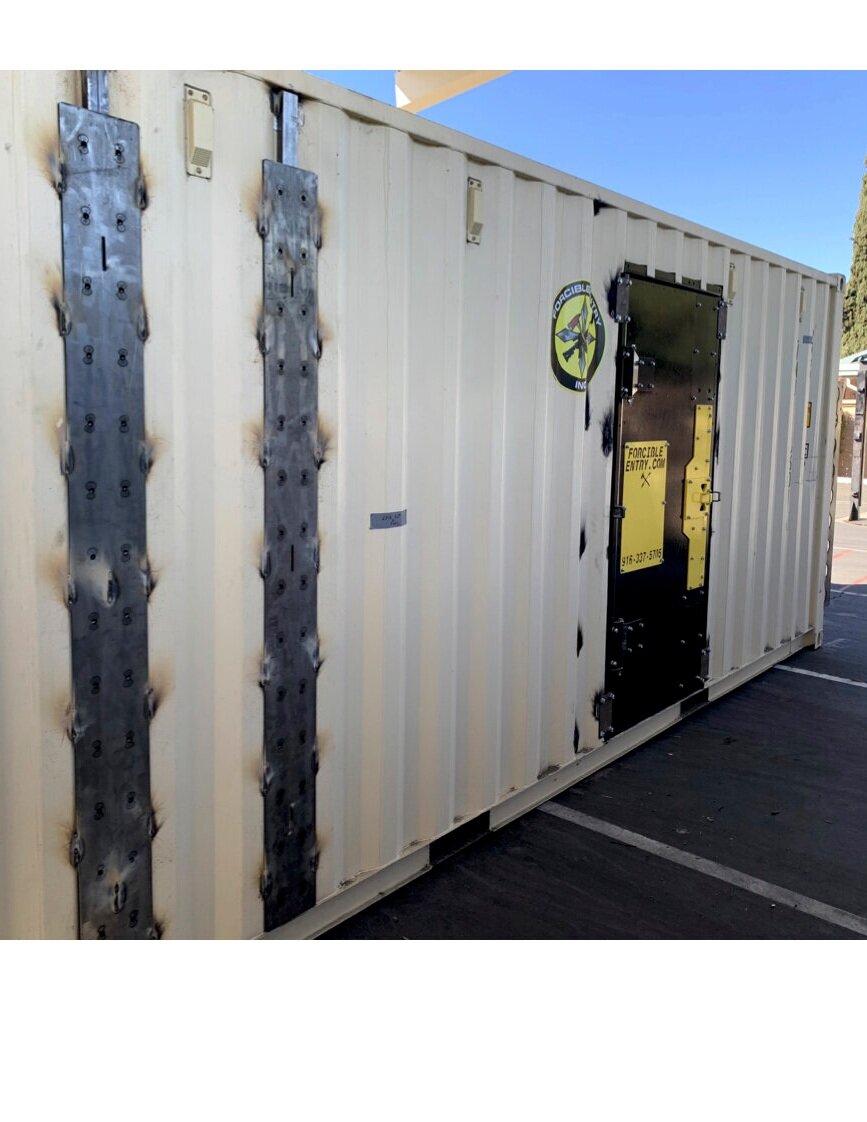
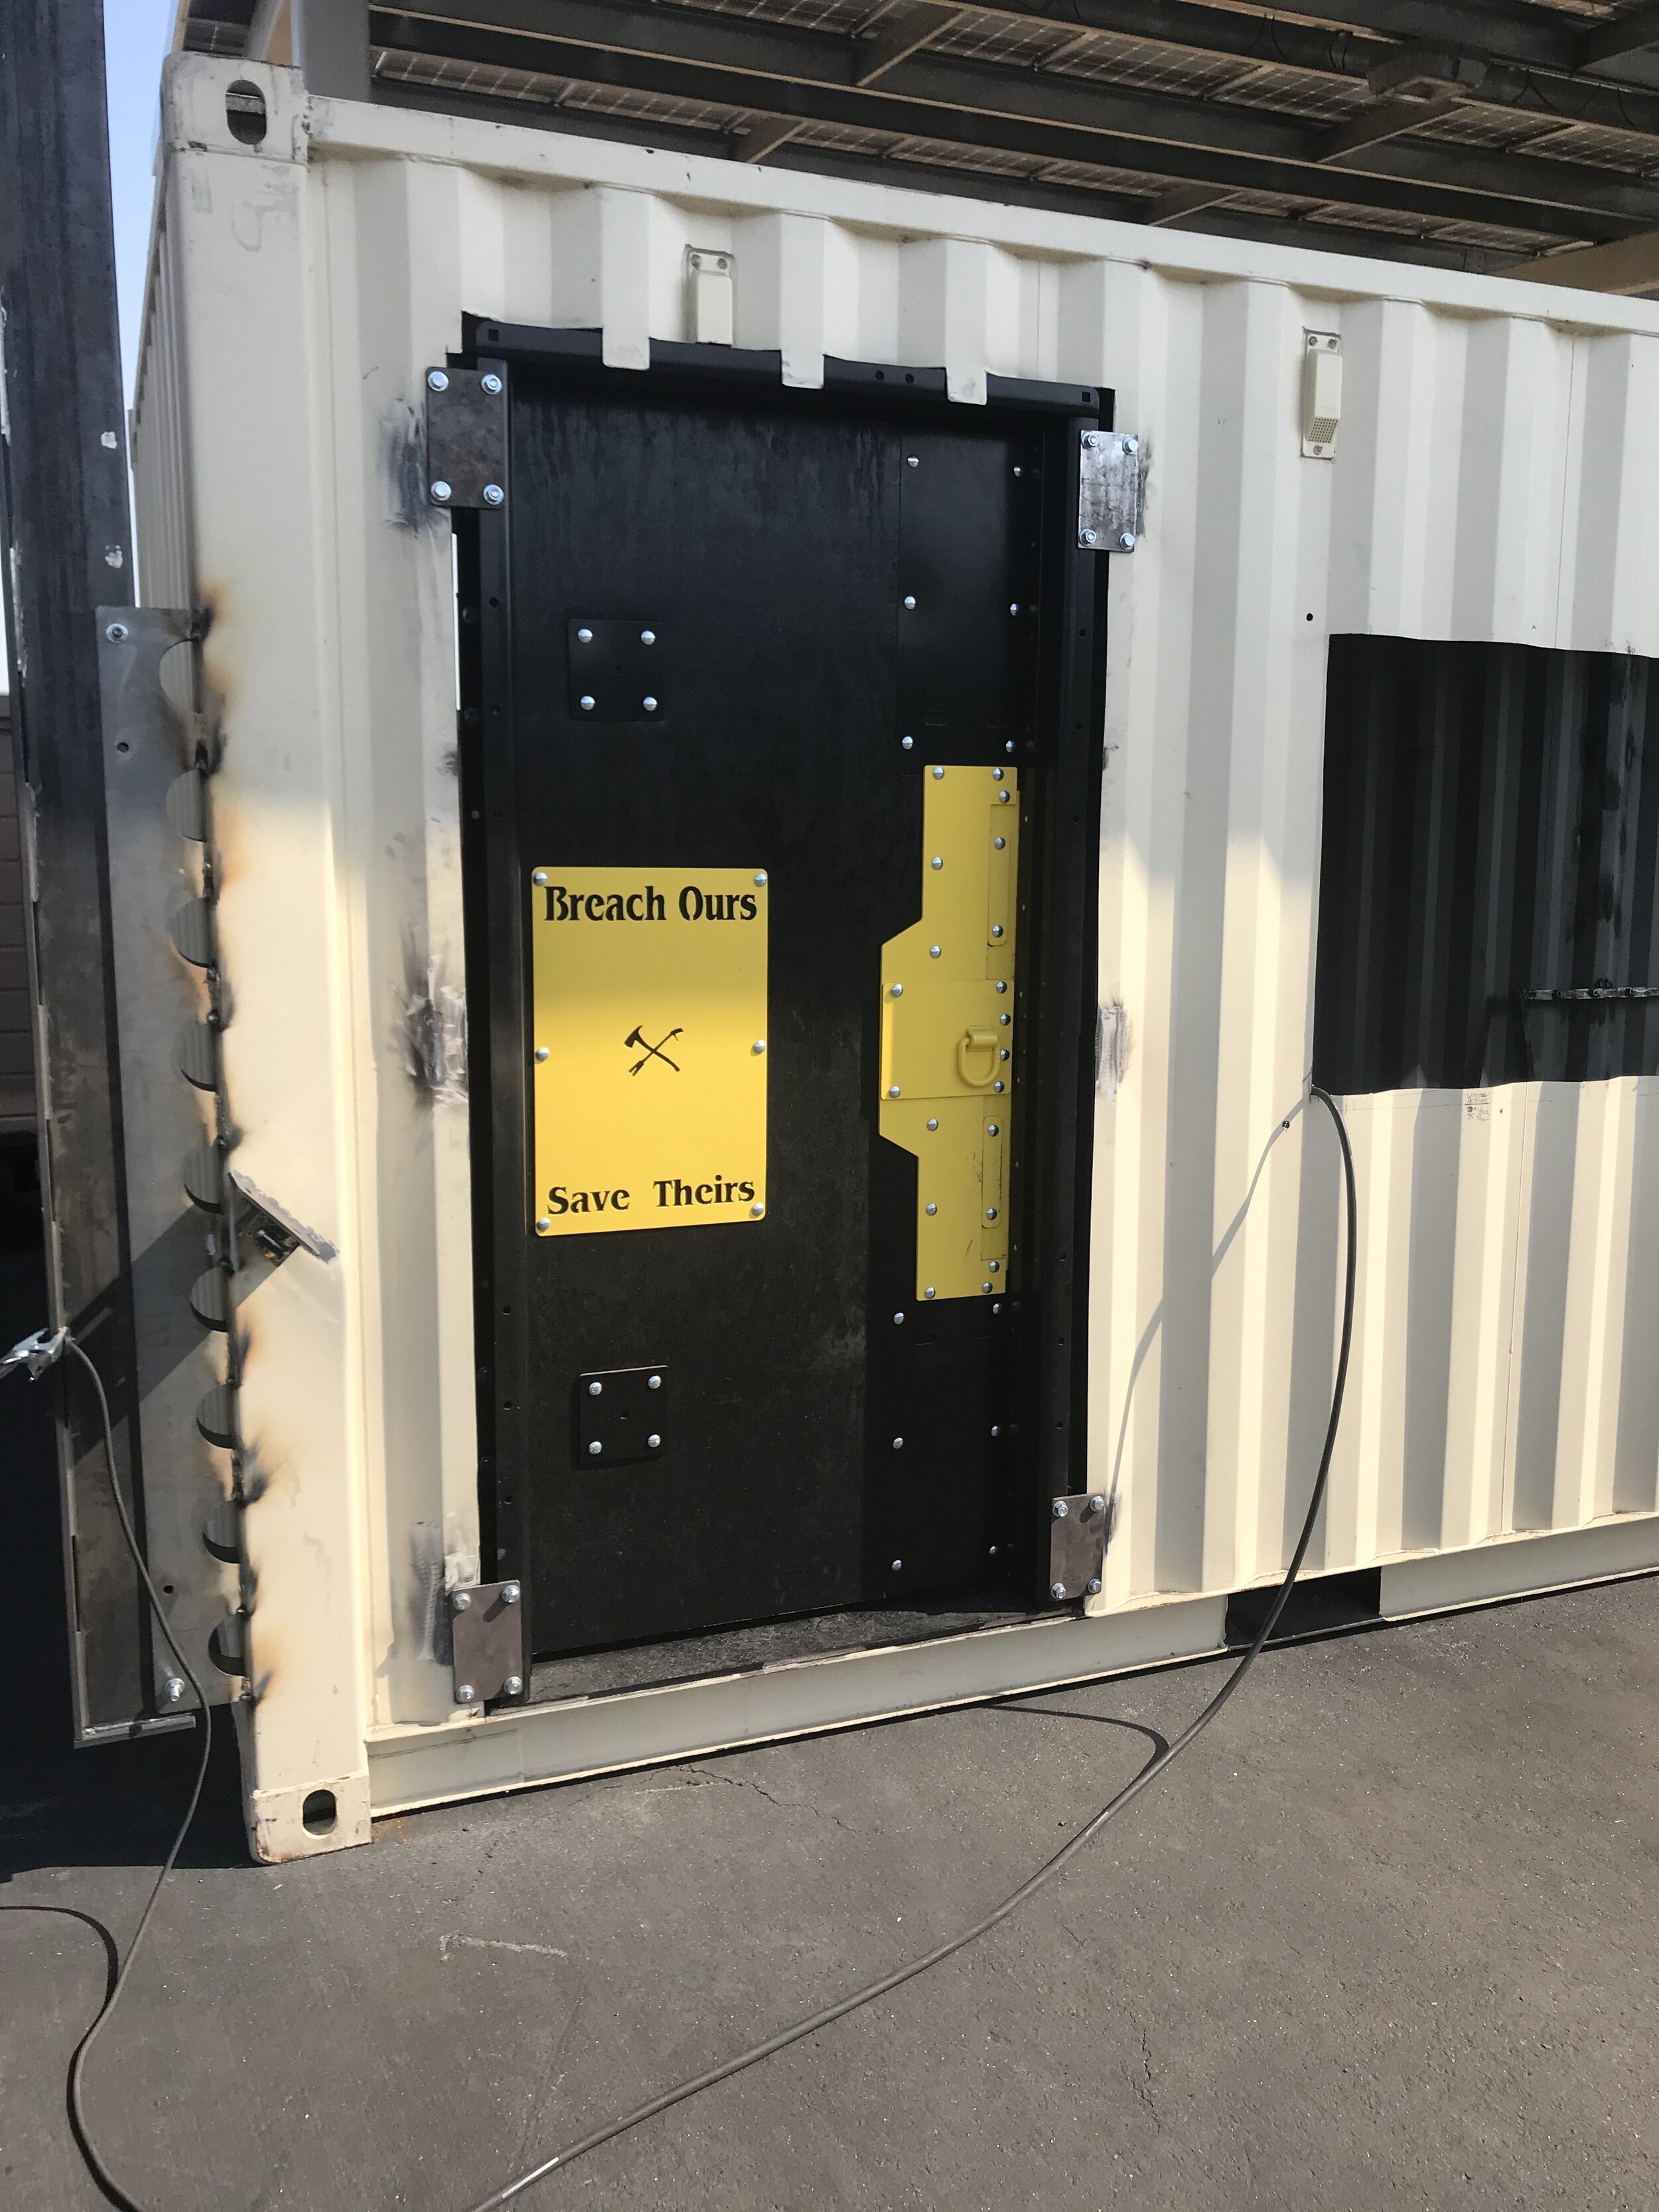
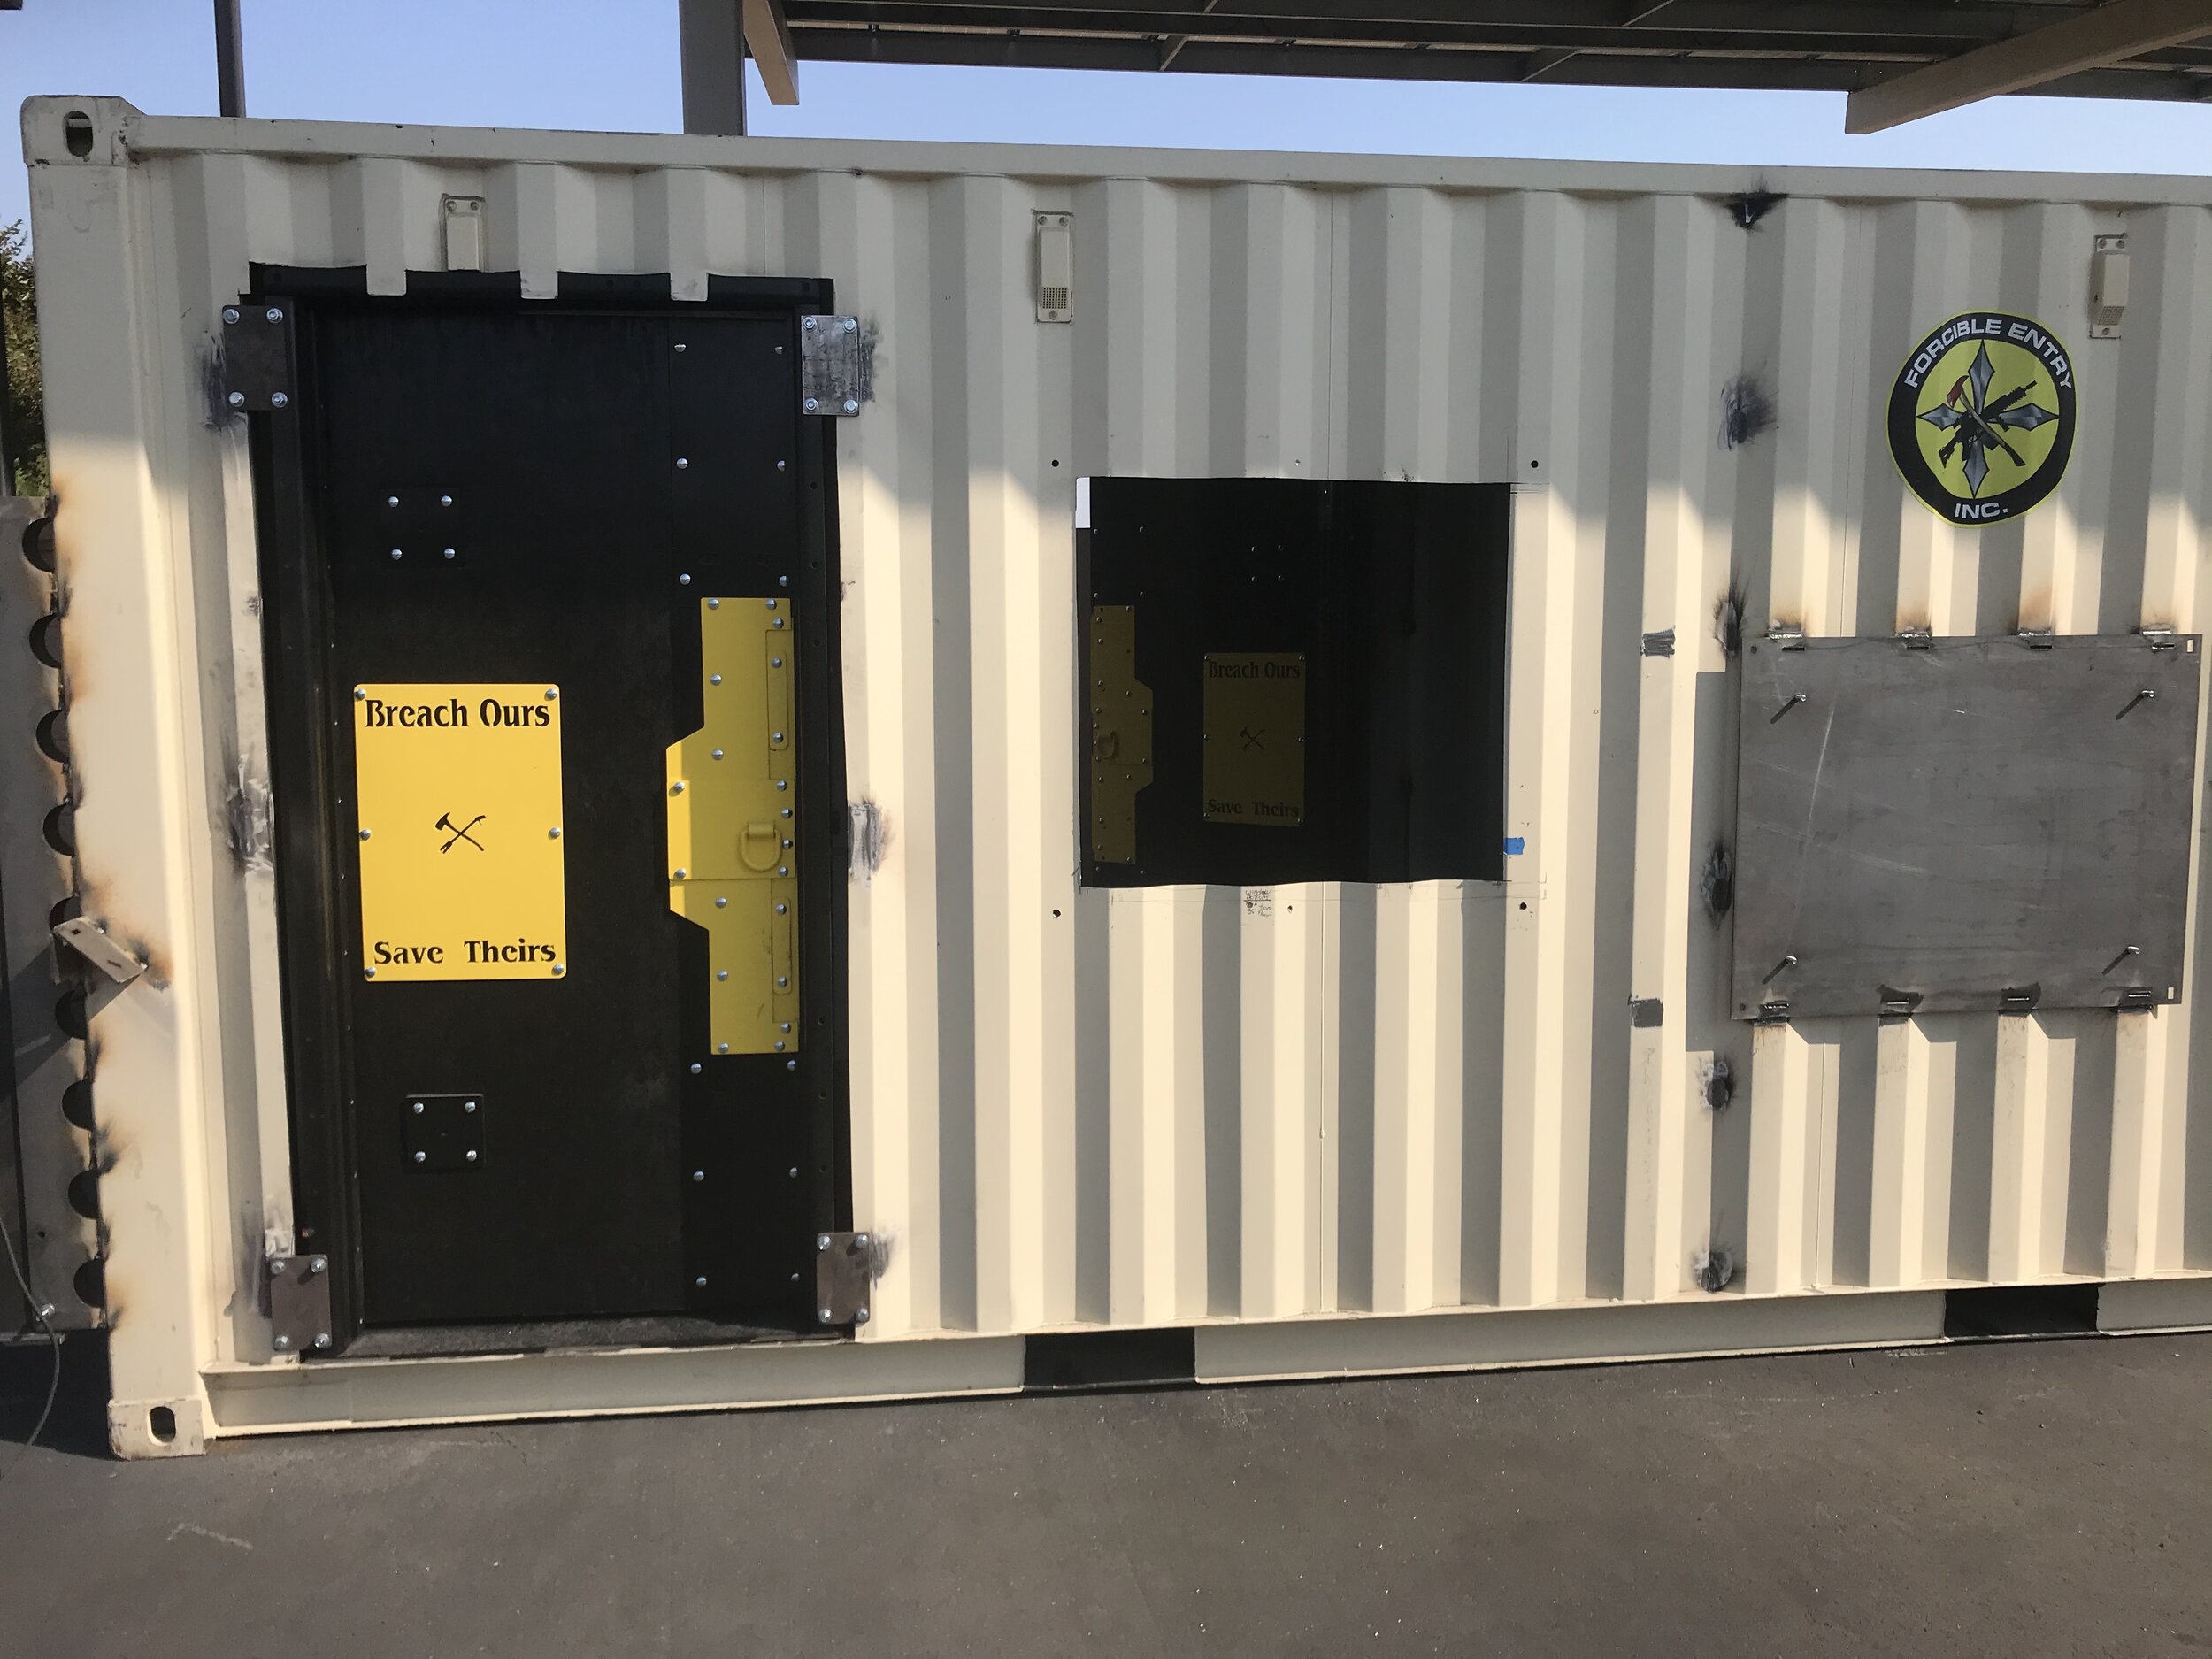
Phase 1: Map out the full layout of props and install the Catalyst Force Entry Doors
Catalyst Force Entry Doors are always installed first:
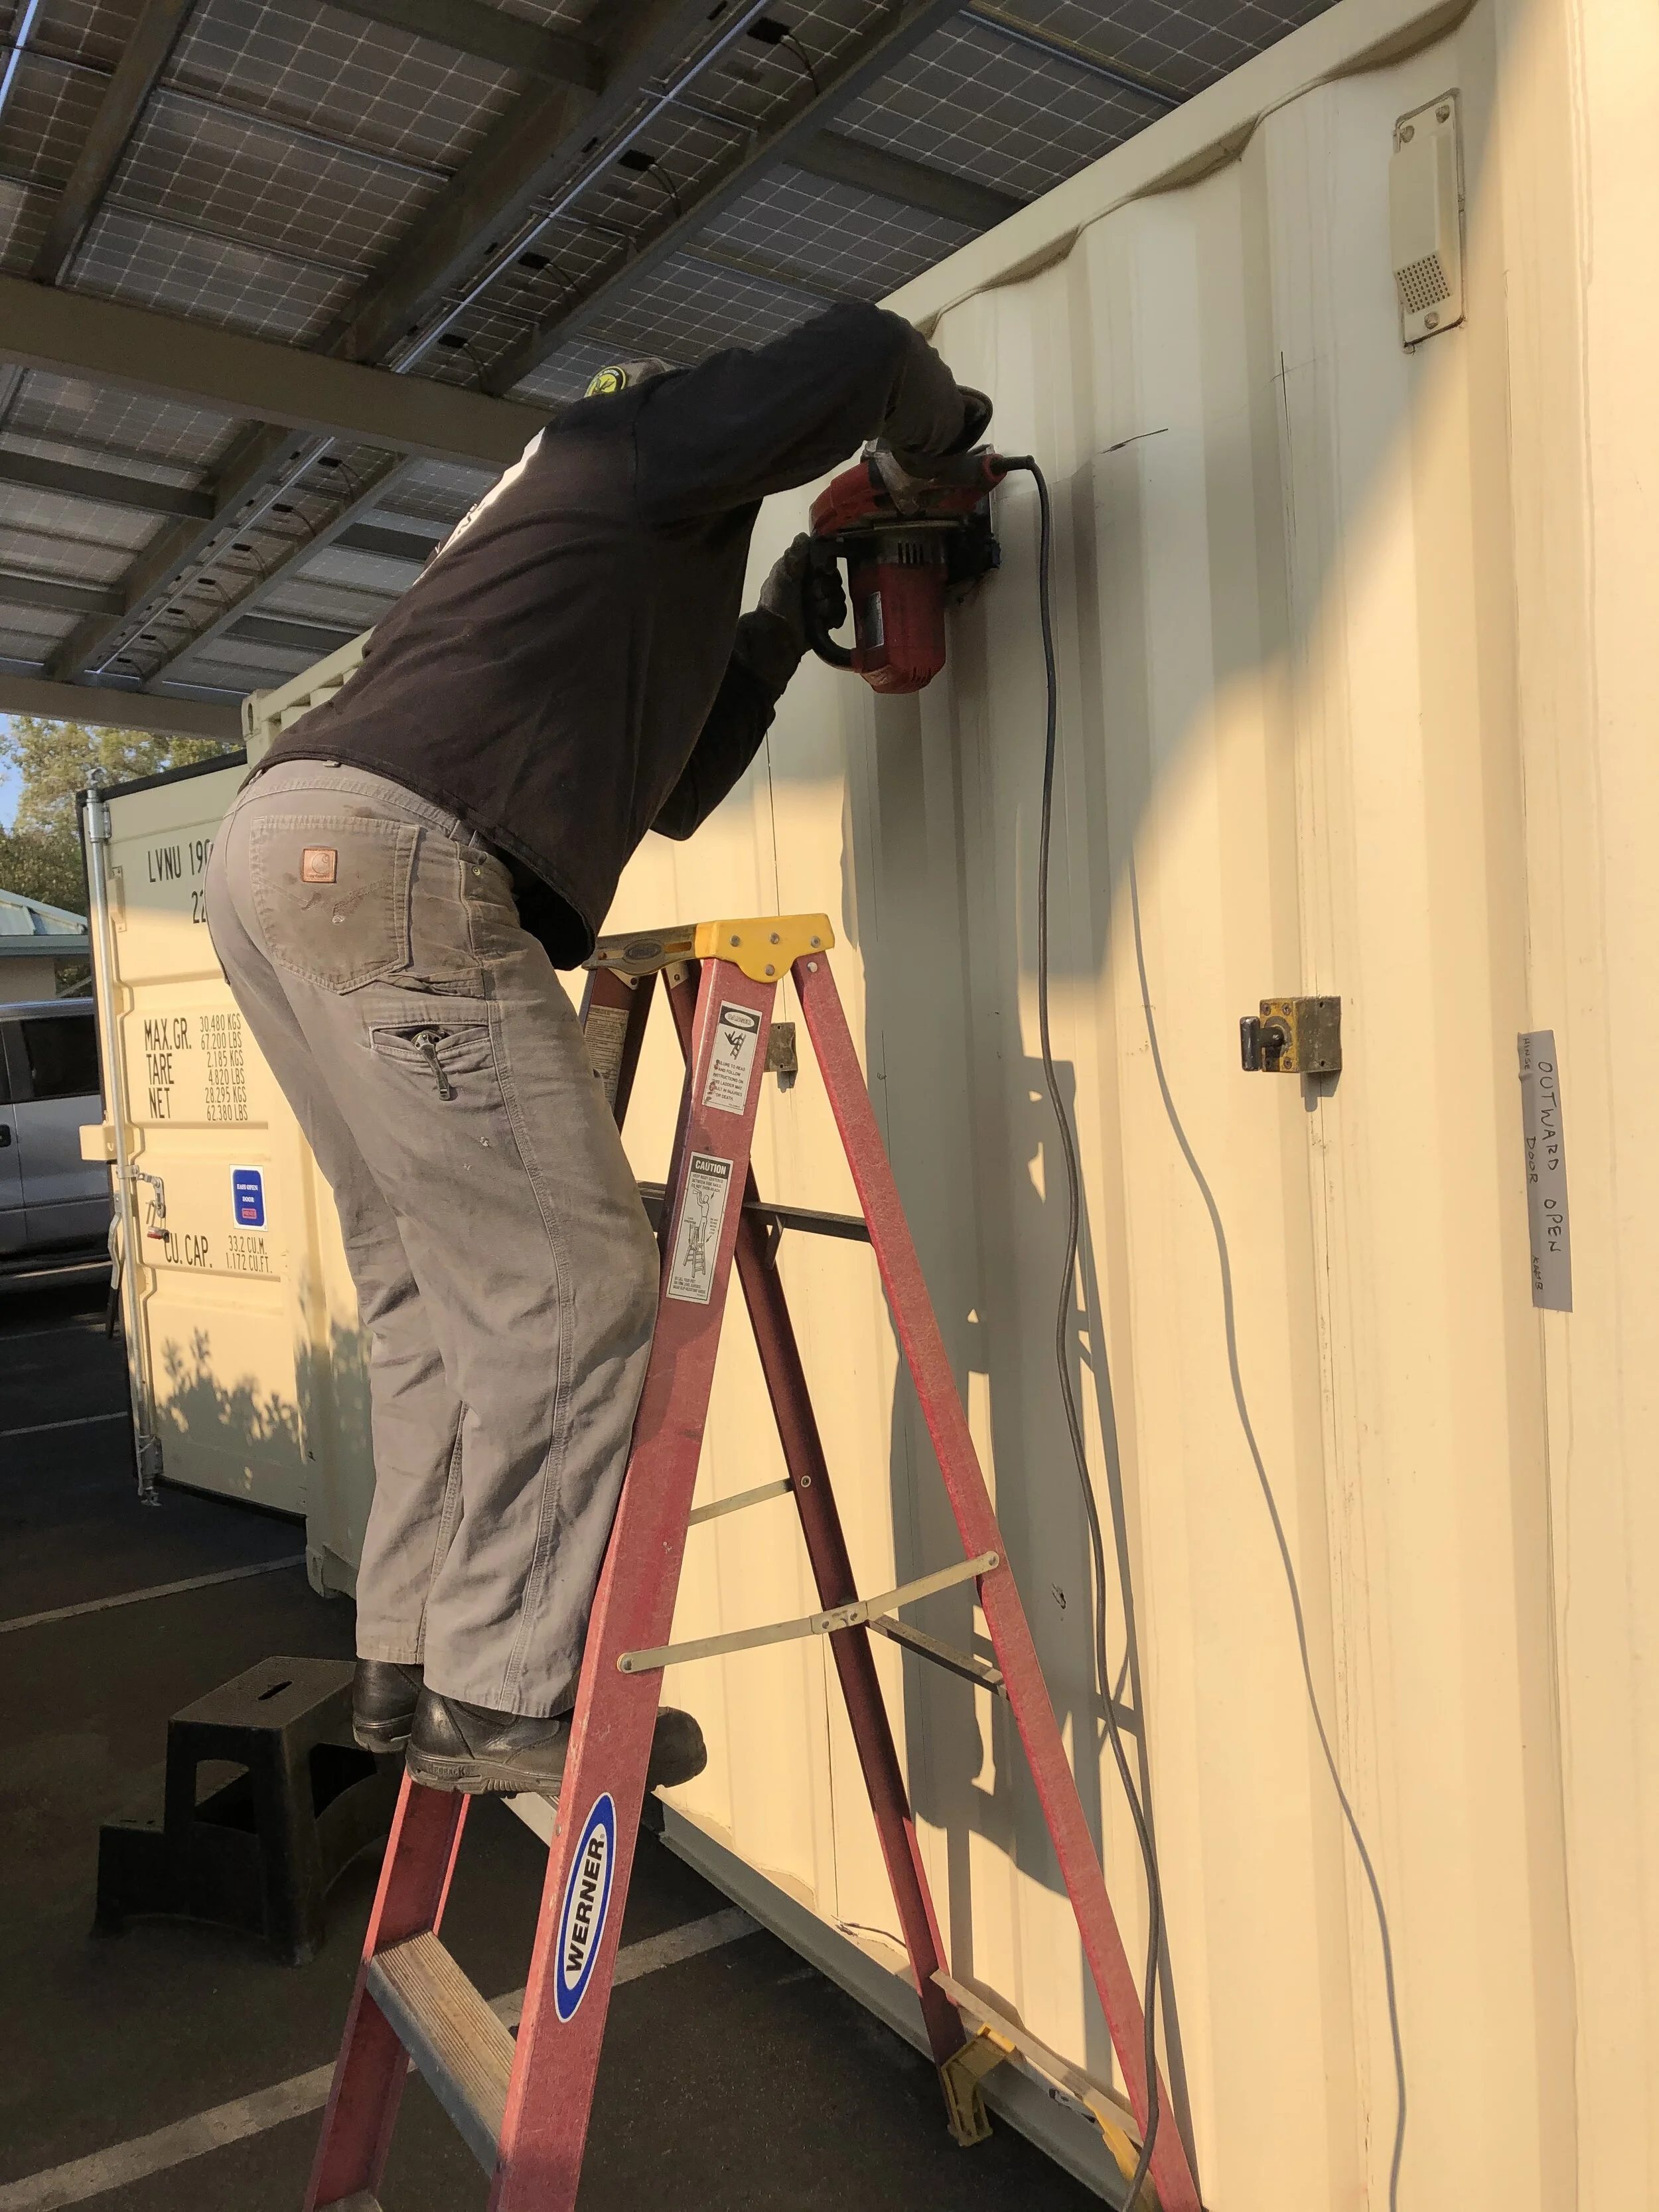
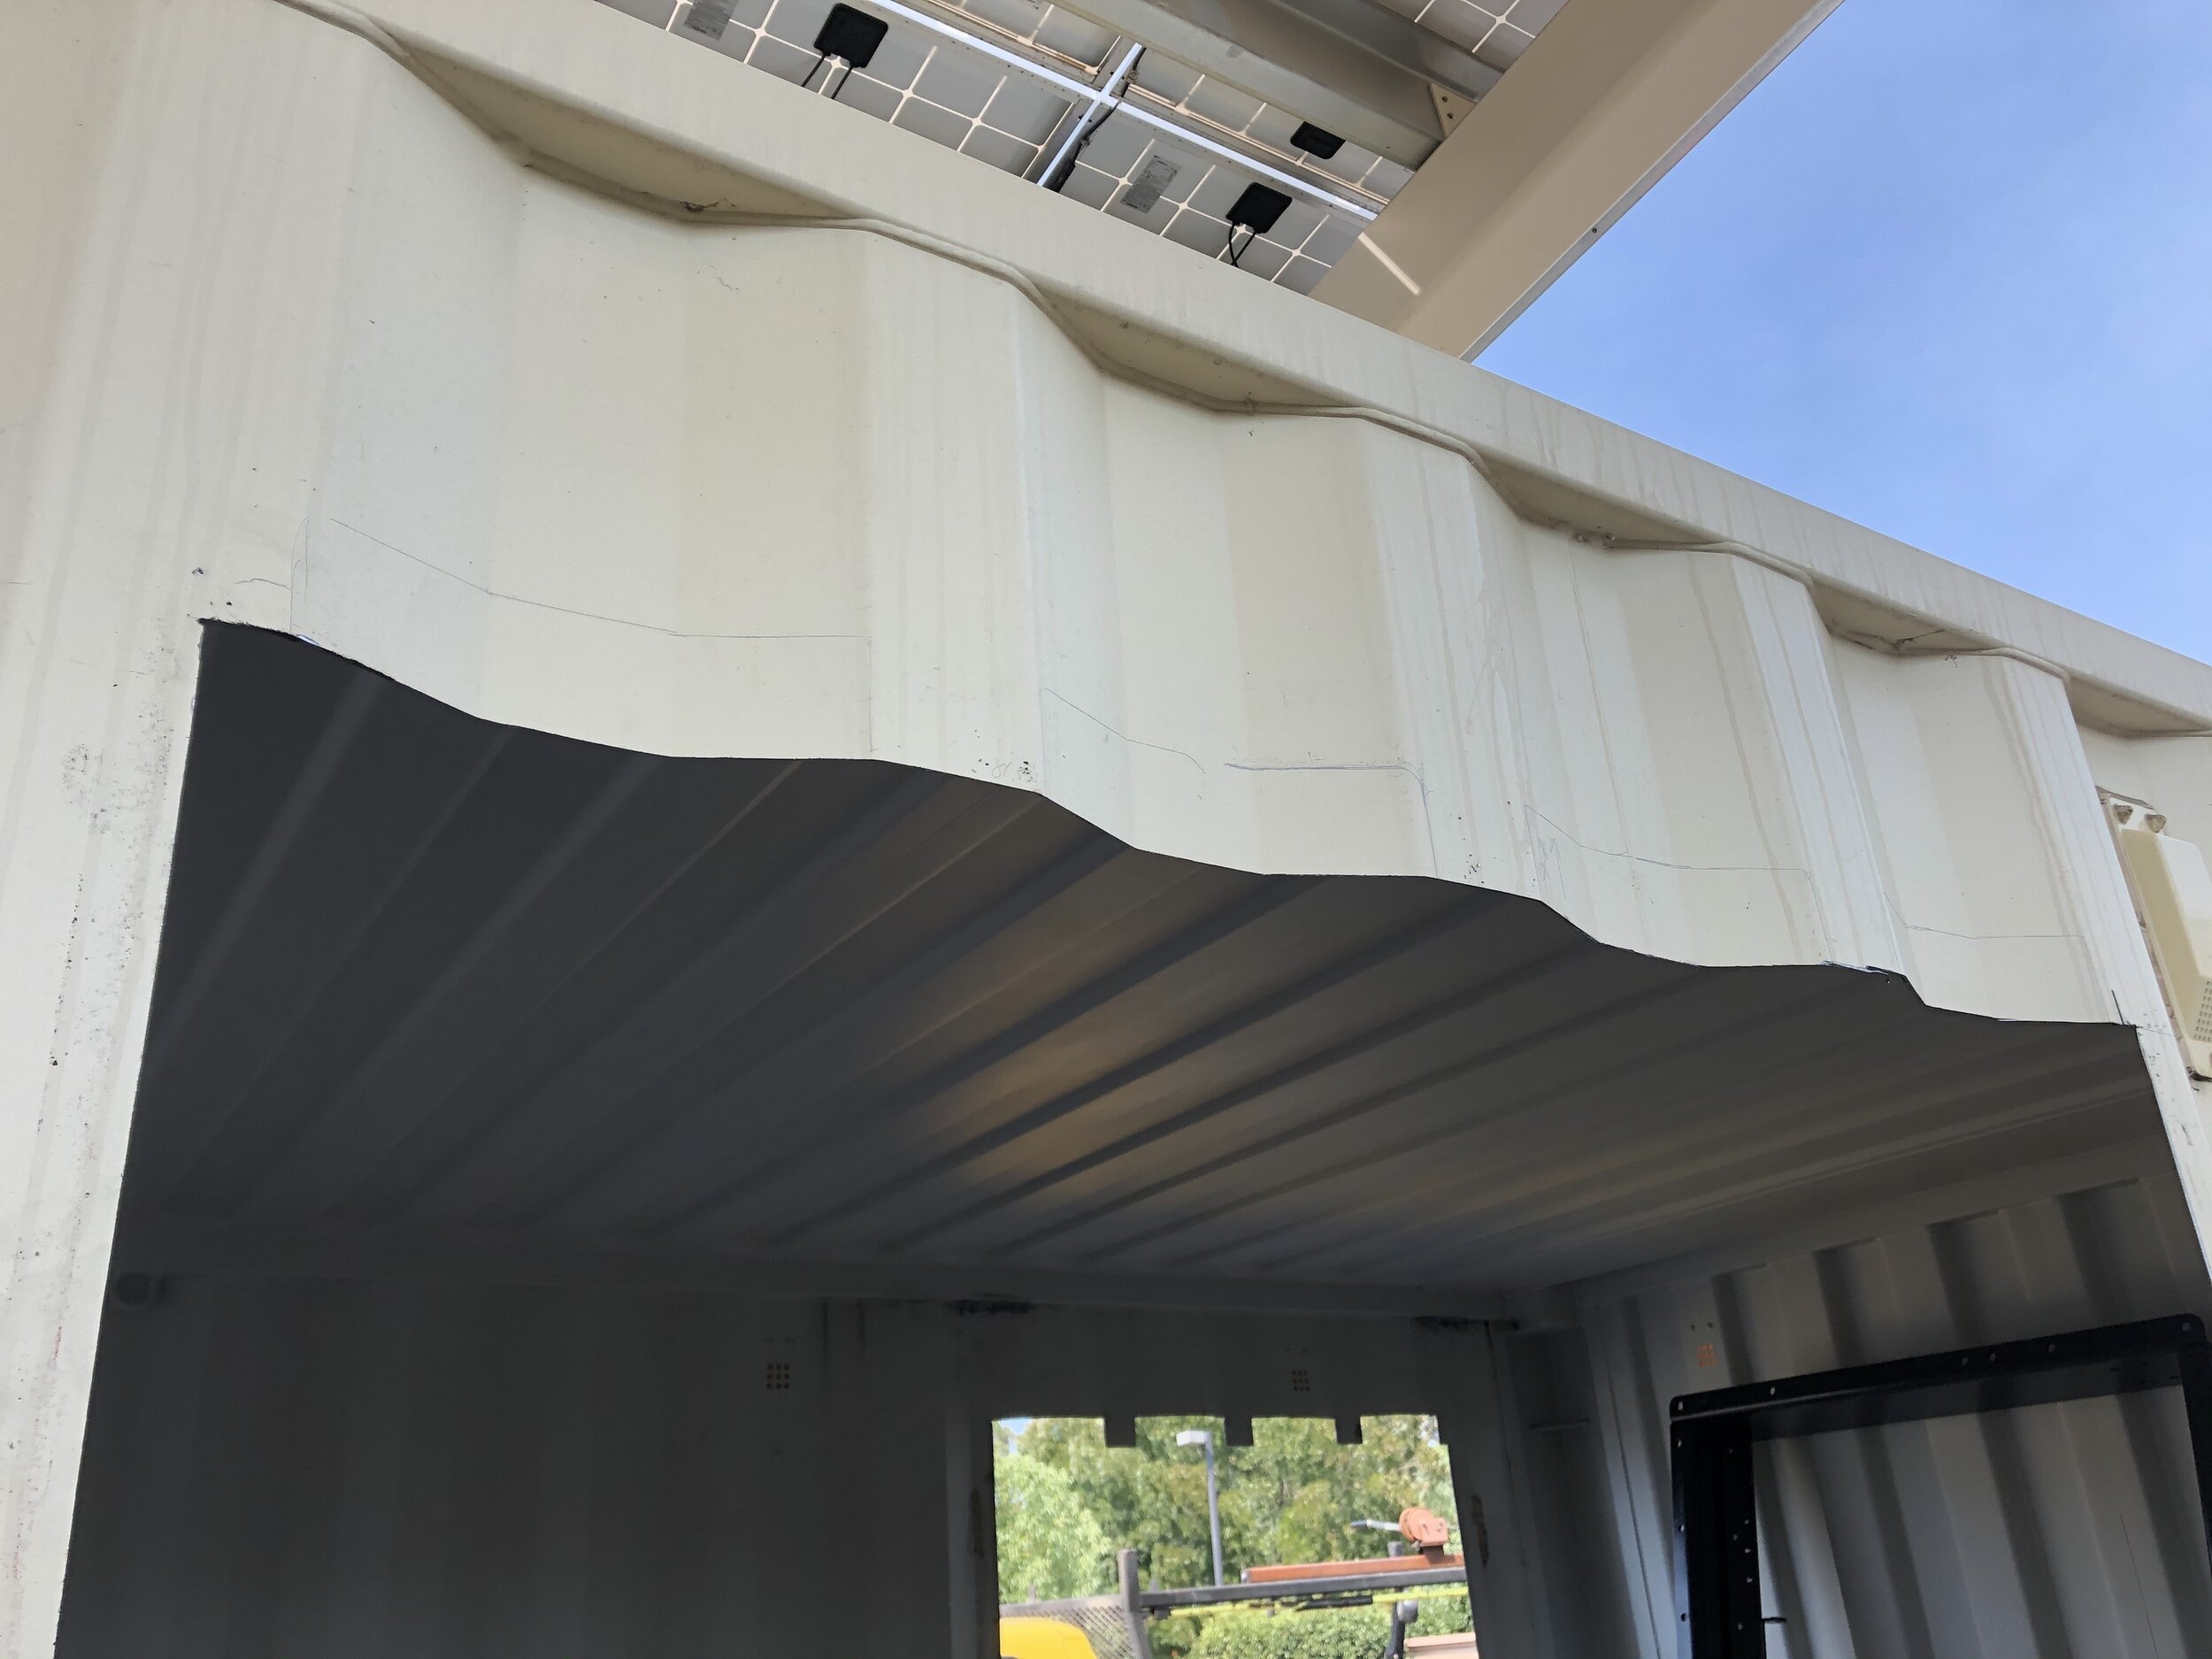
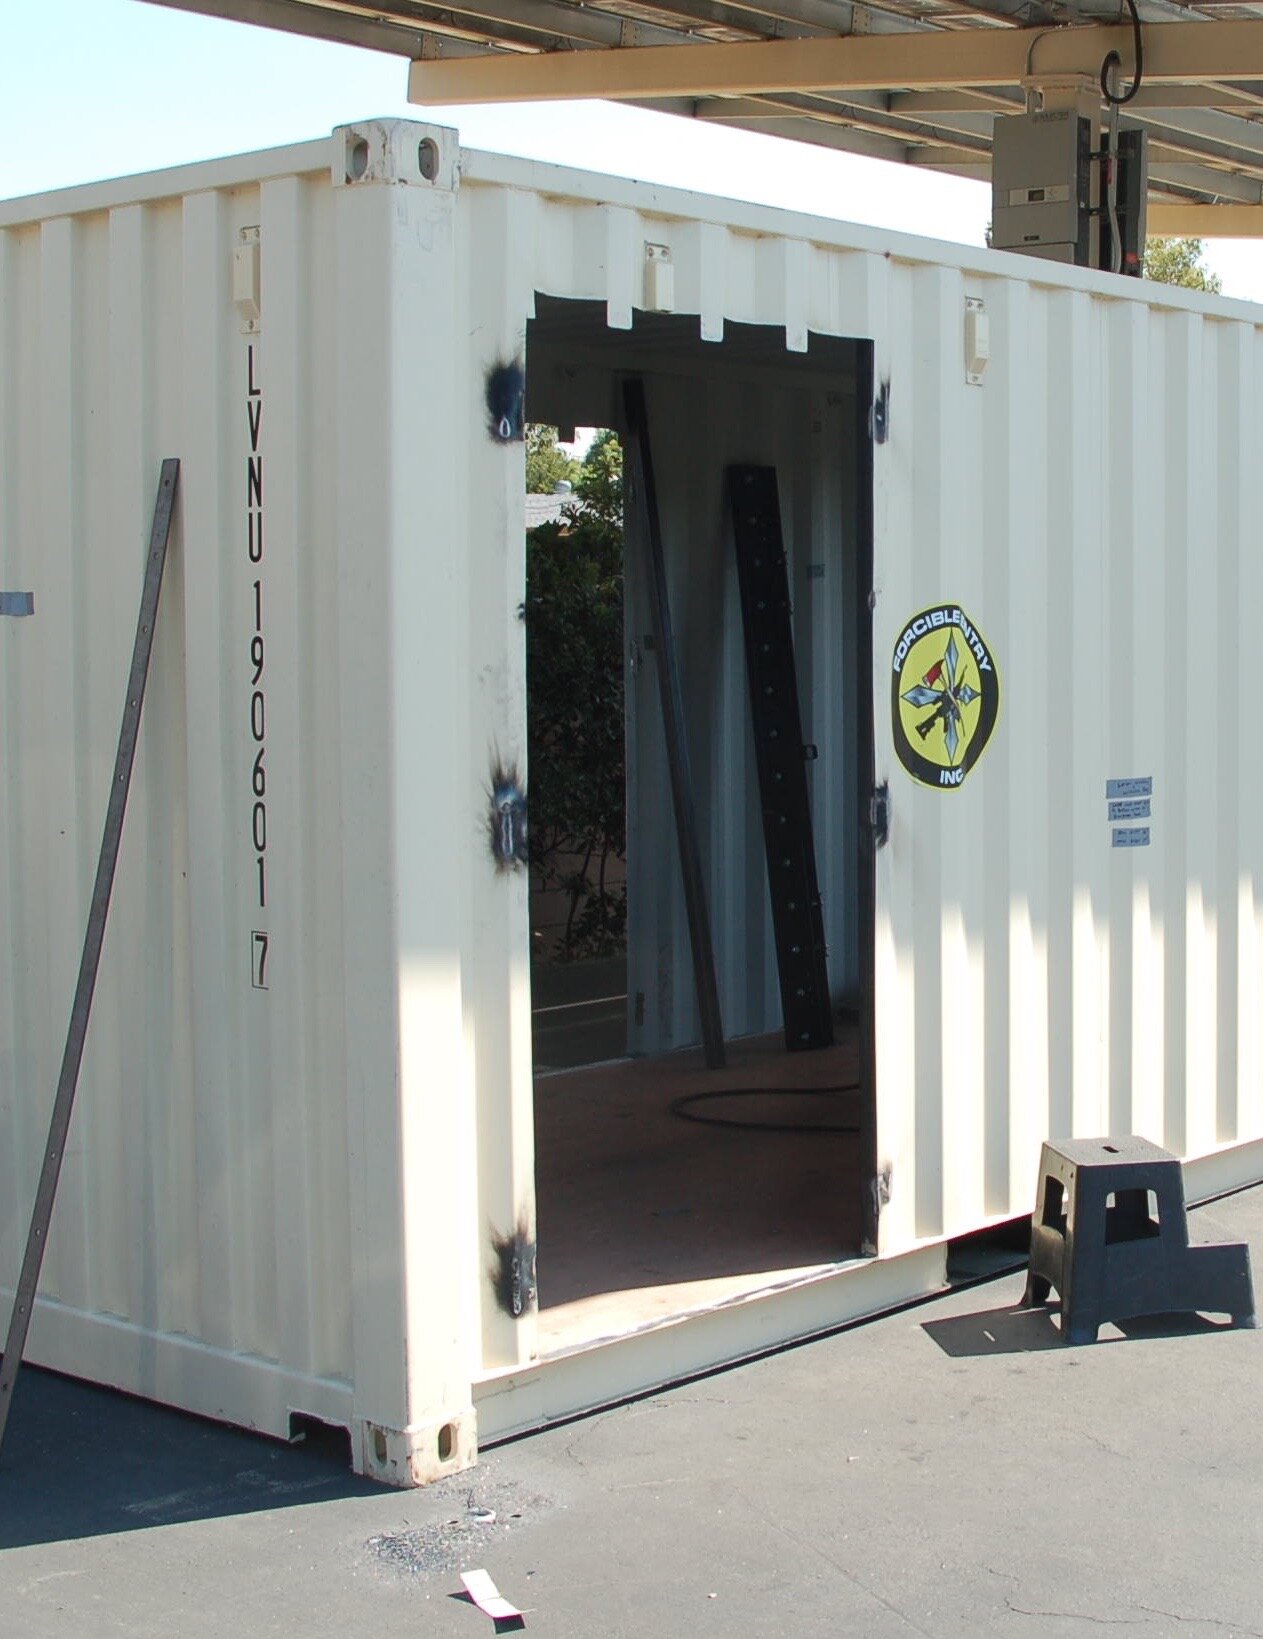
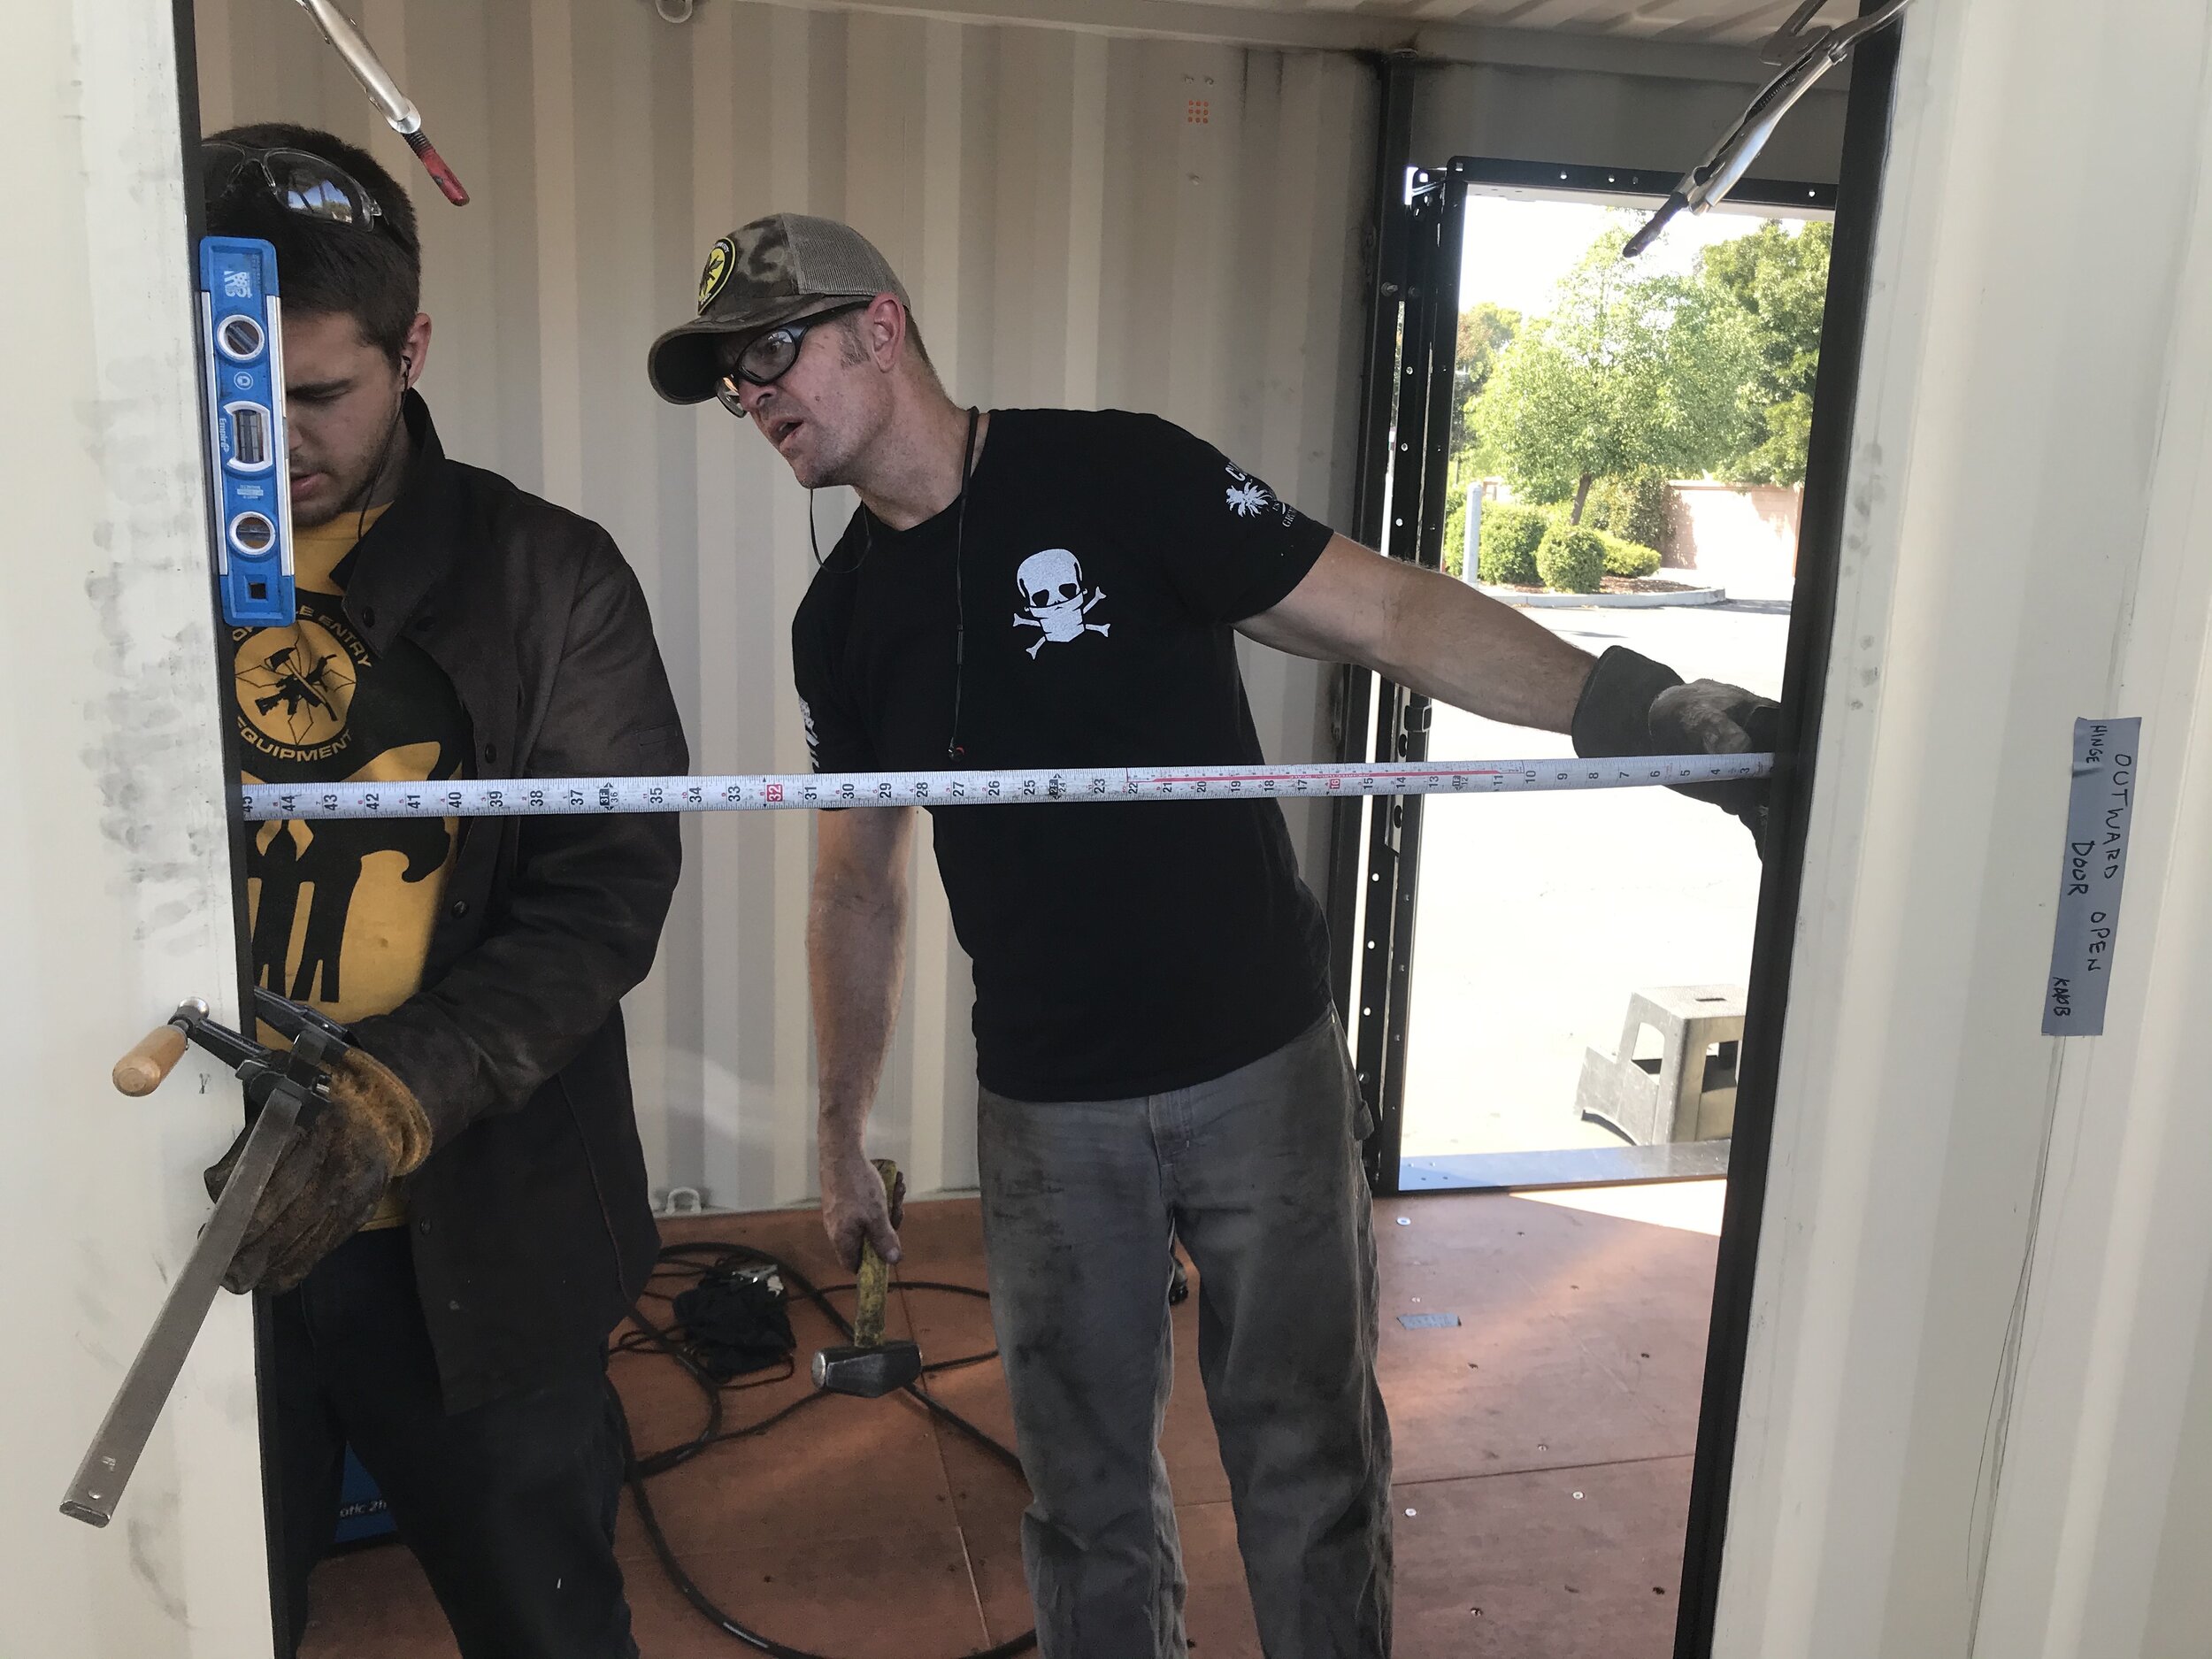
- Measure
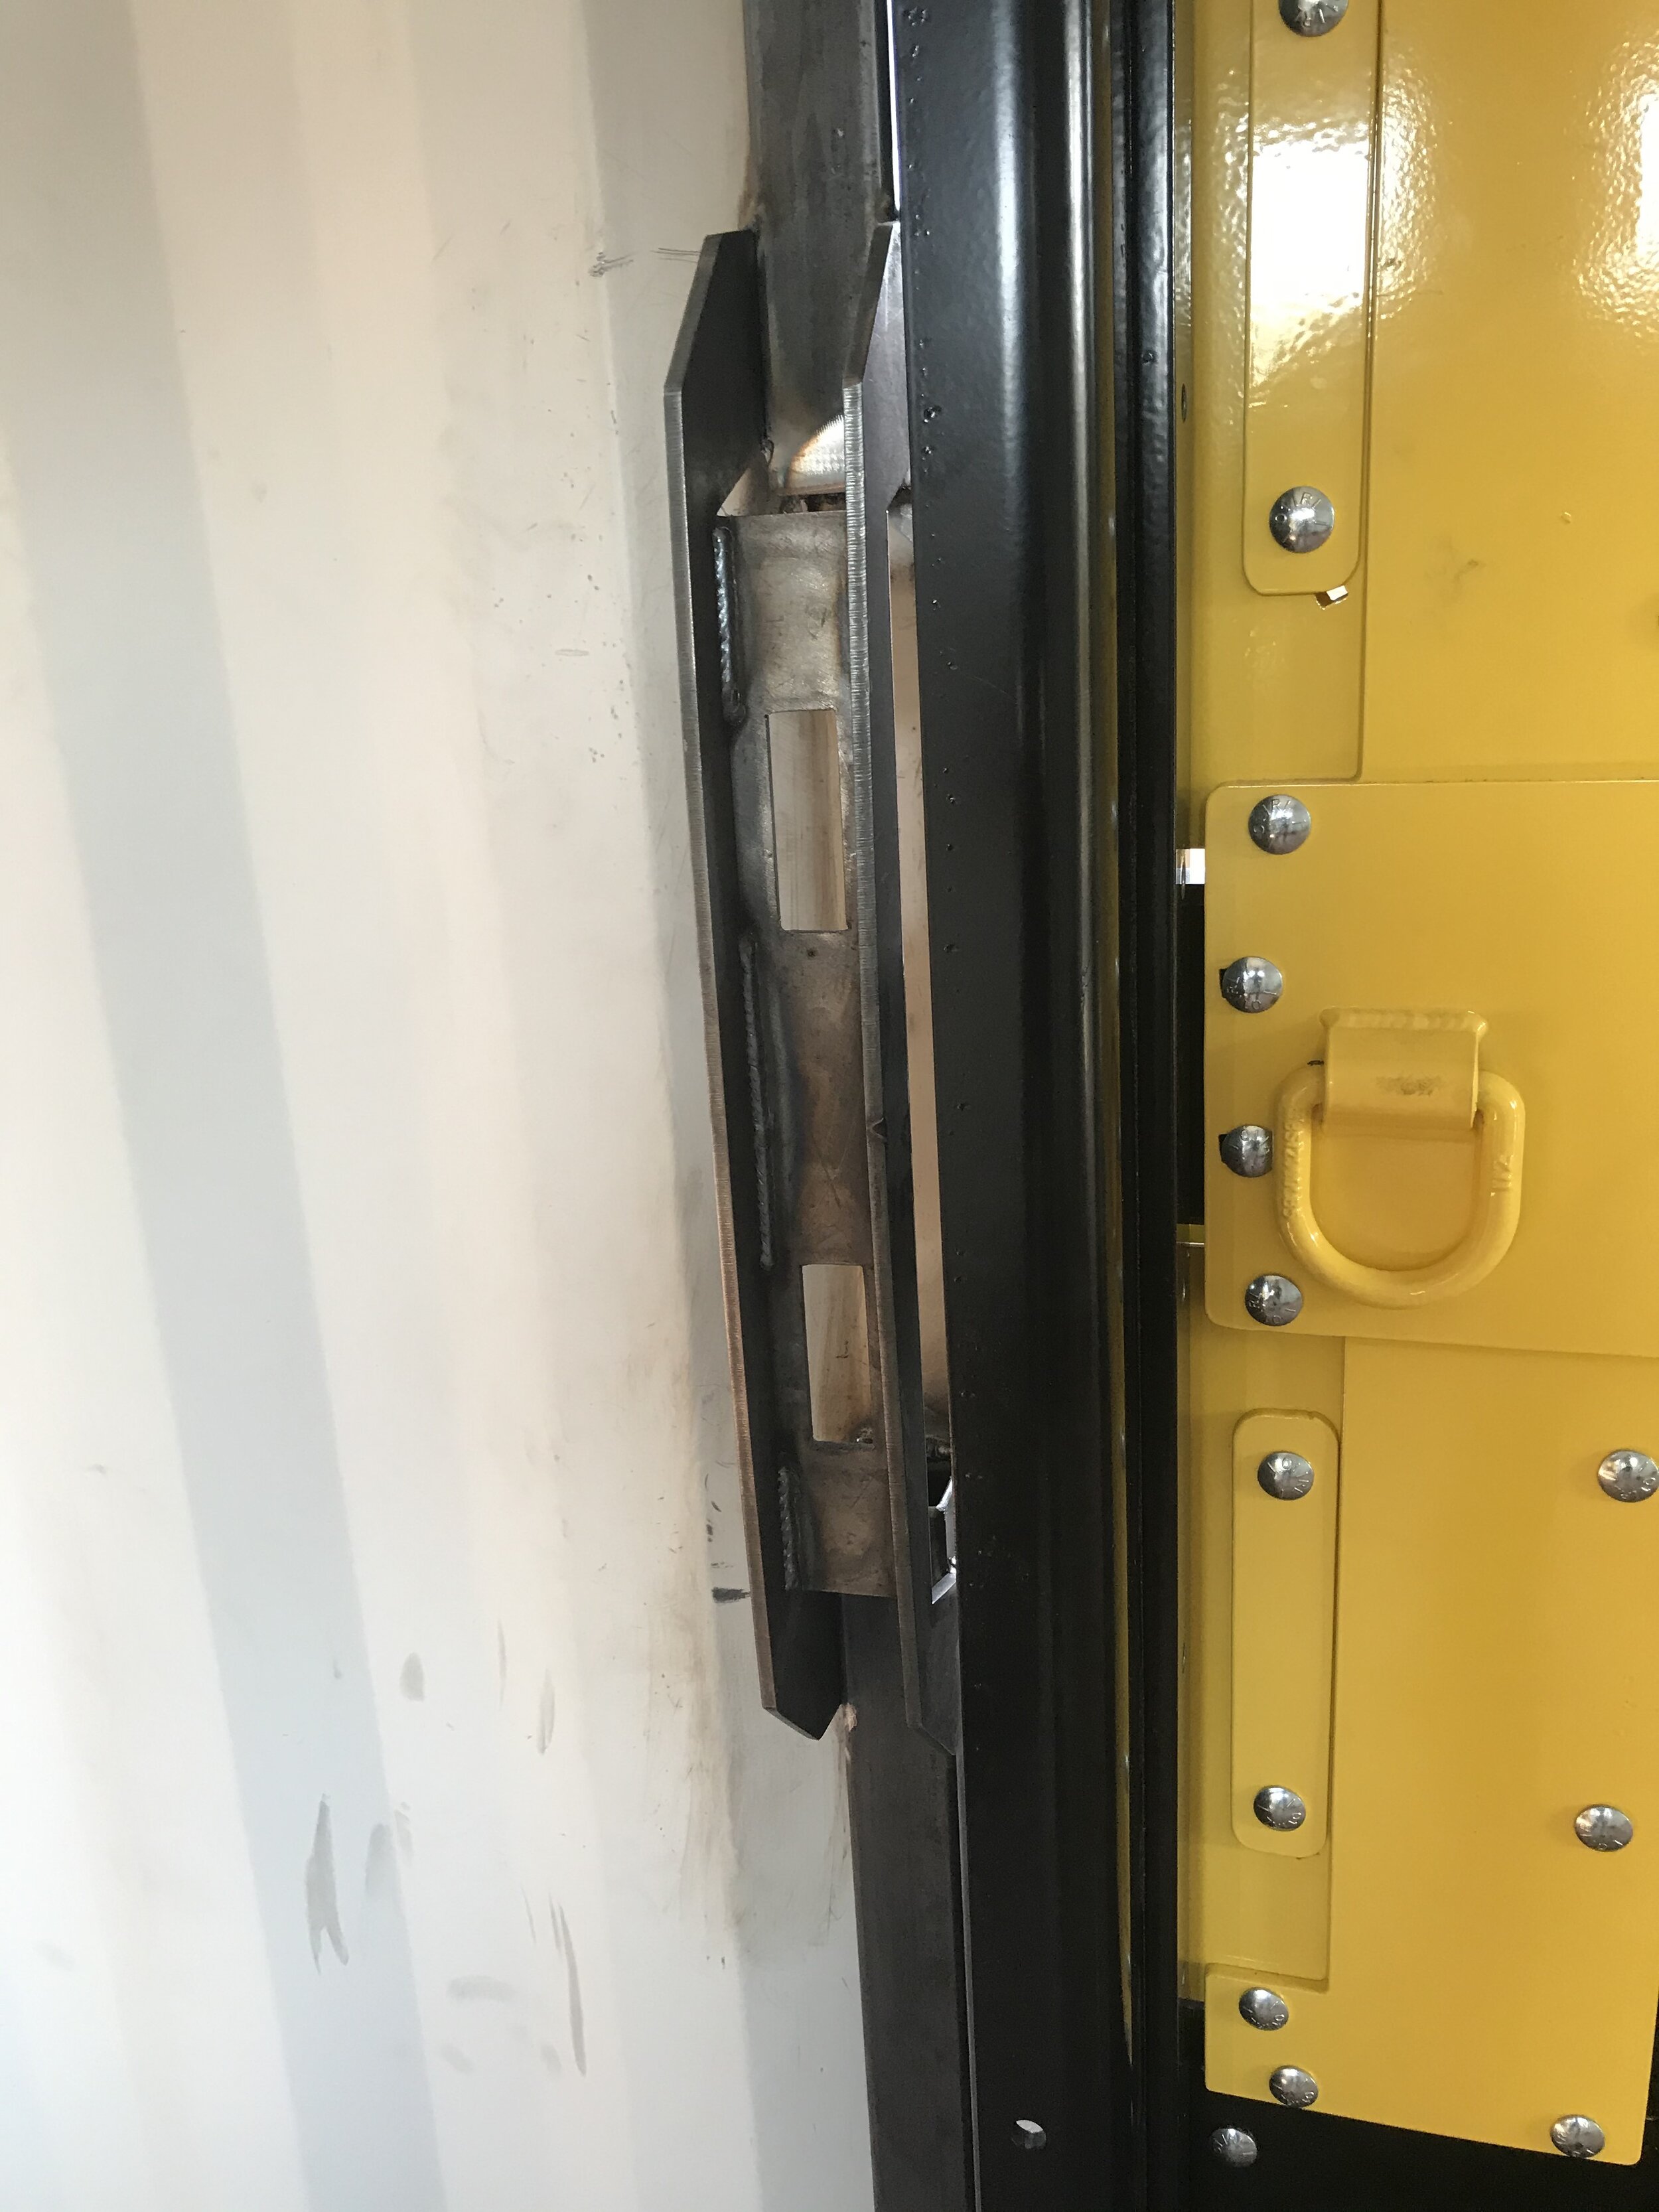
- Cut out the rough opening for the door frame
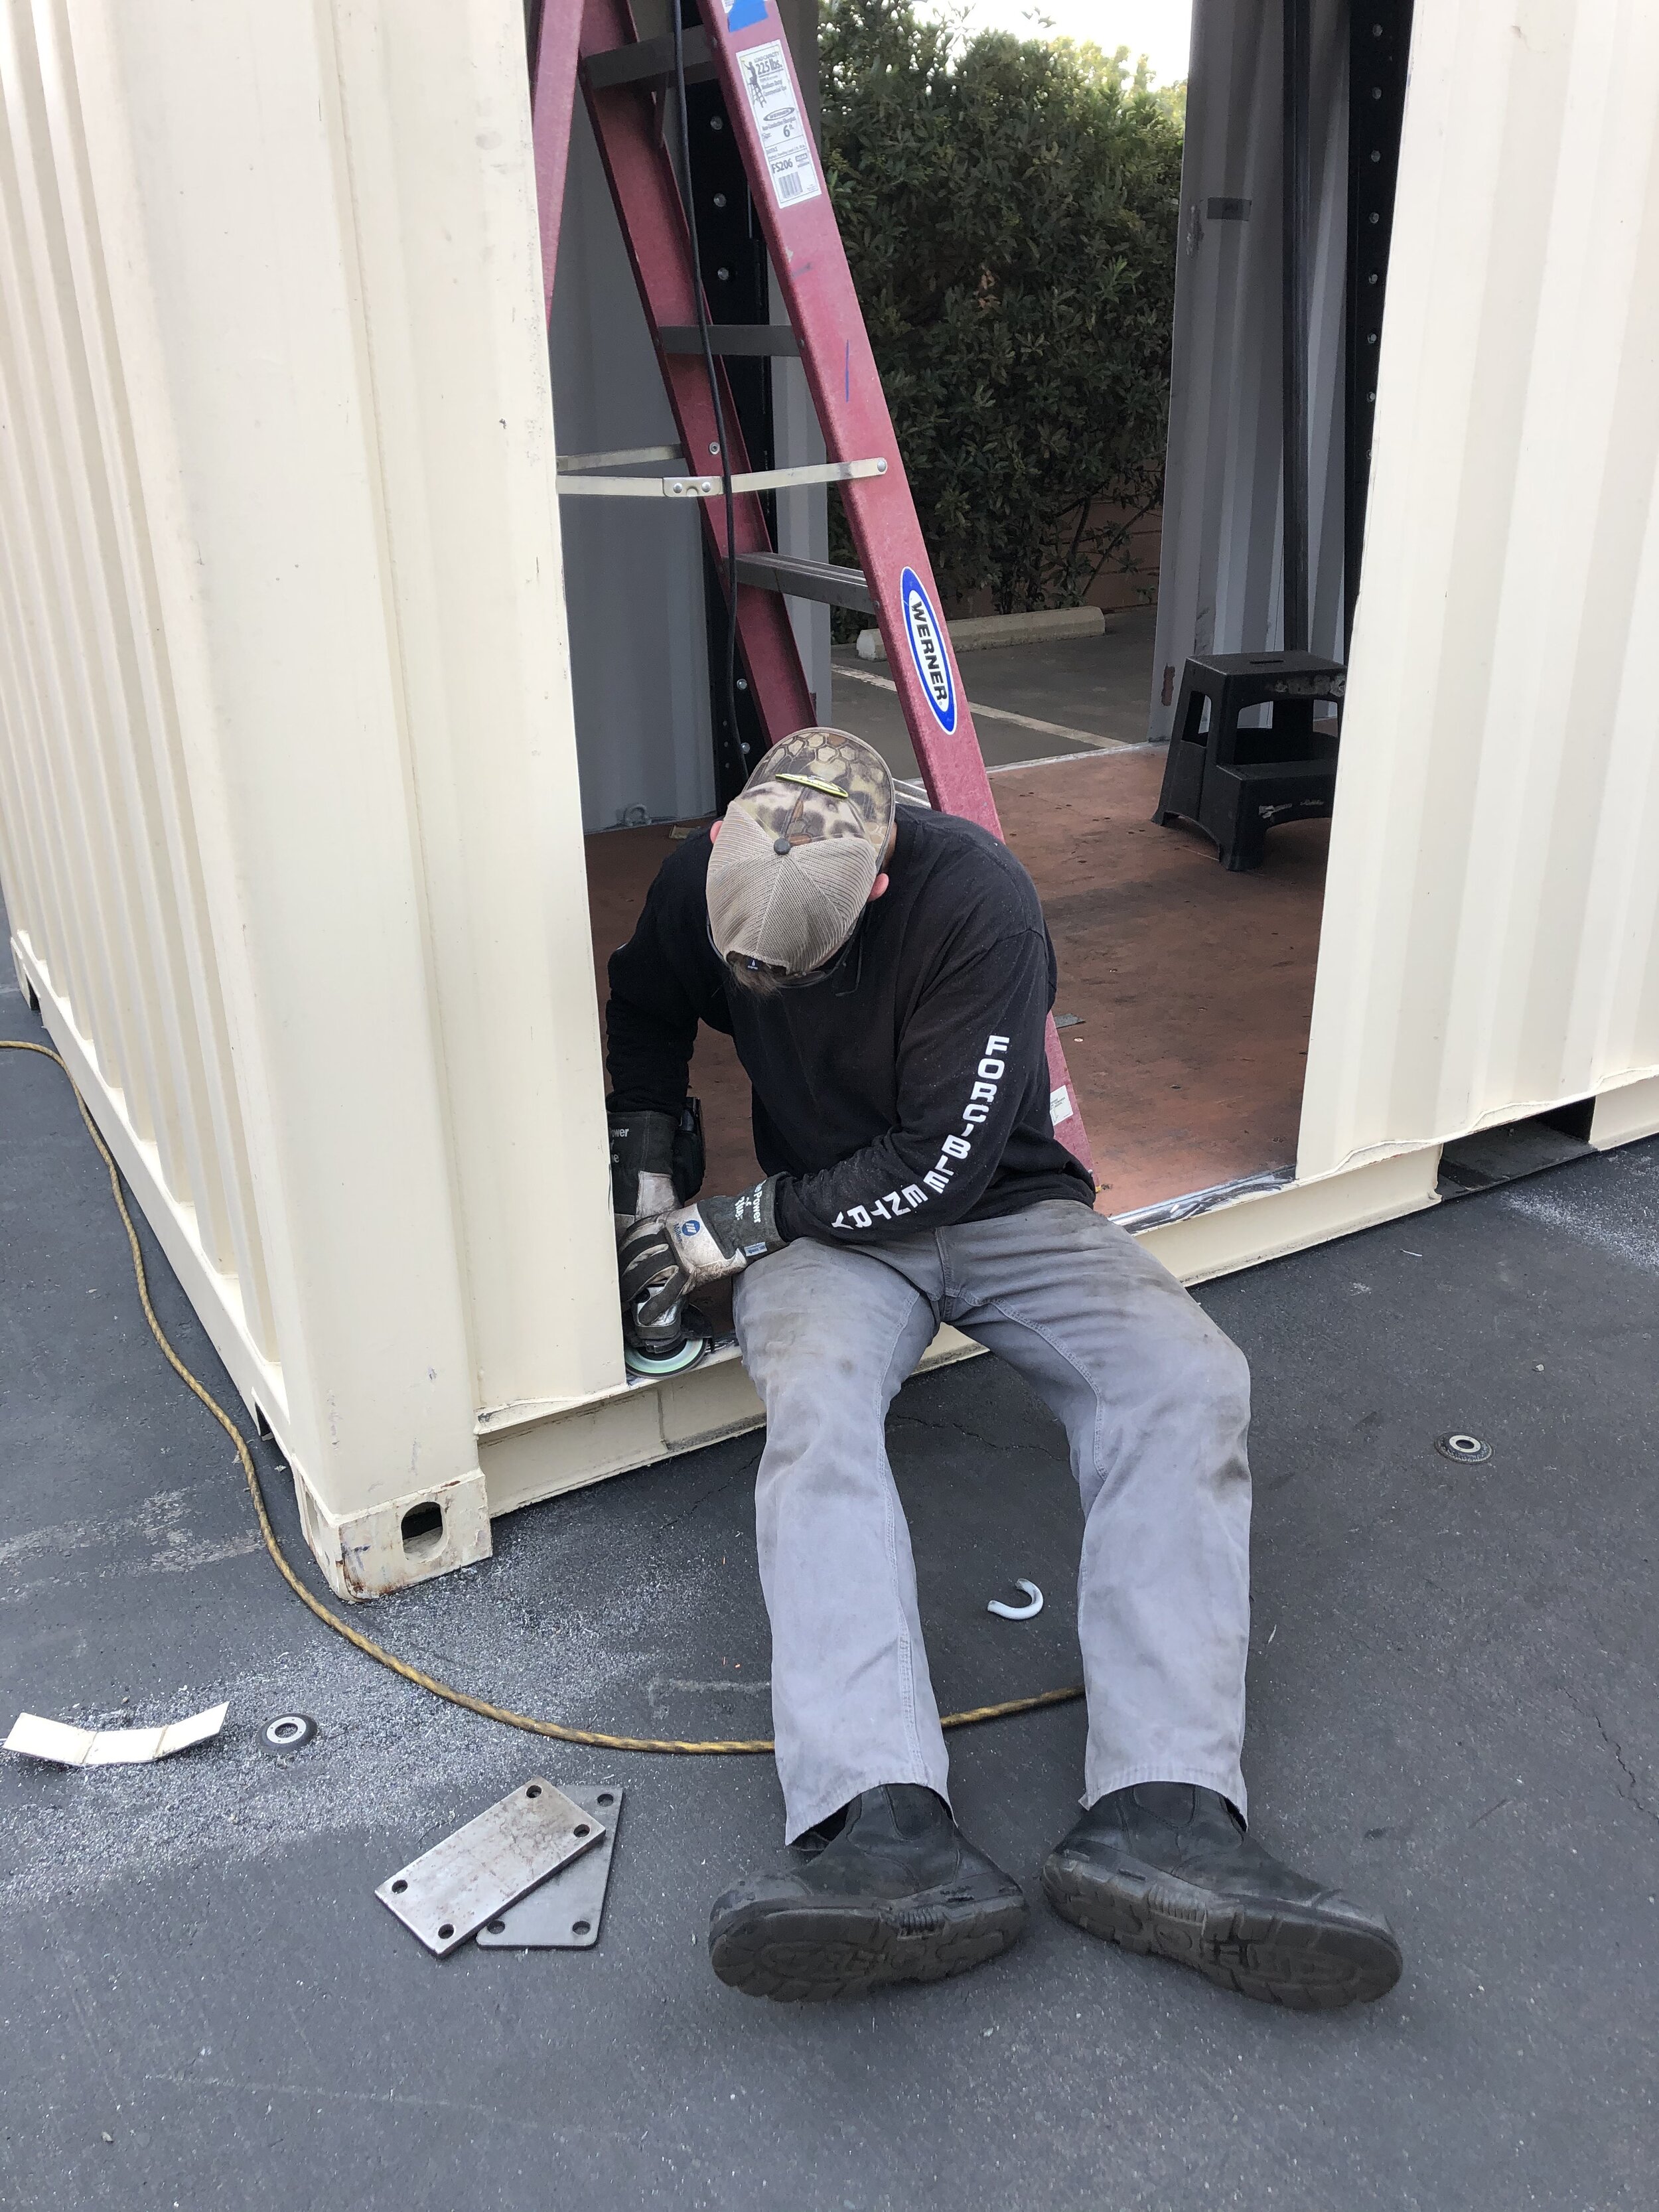
- Grind down the edges
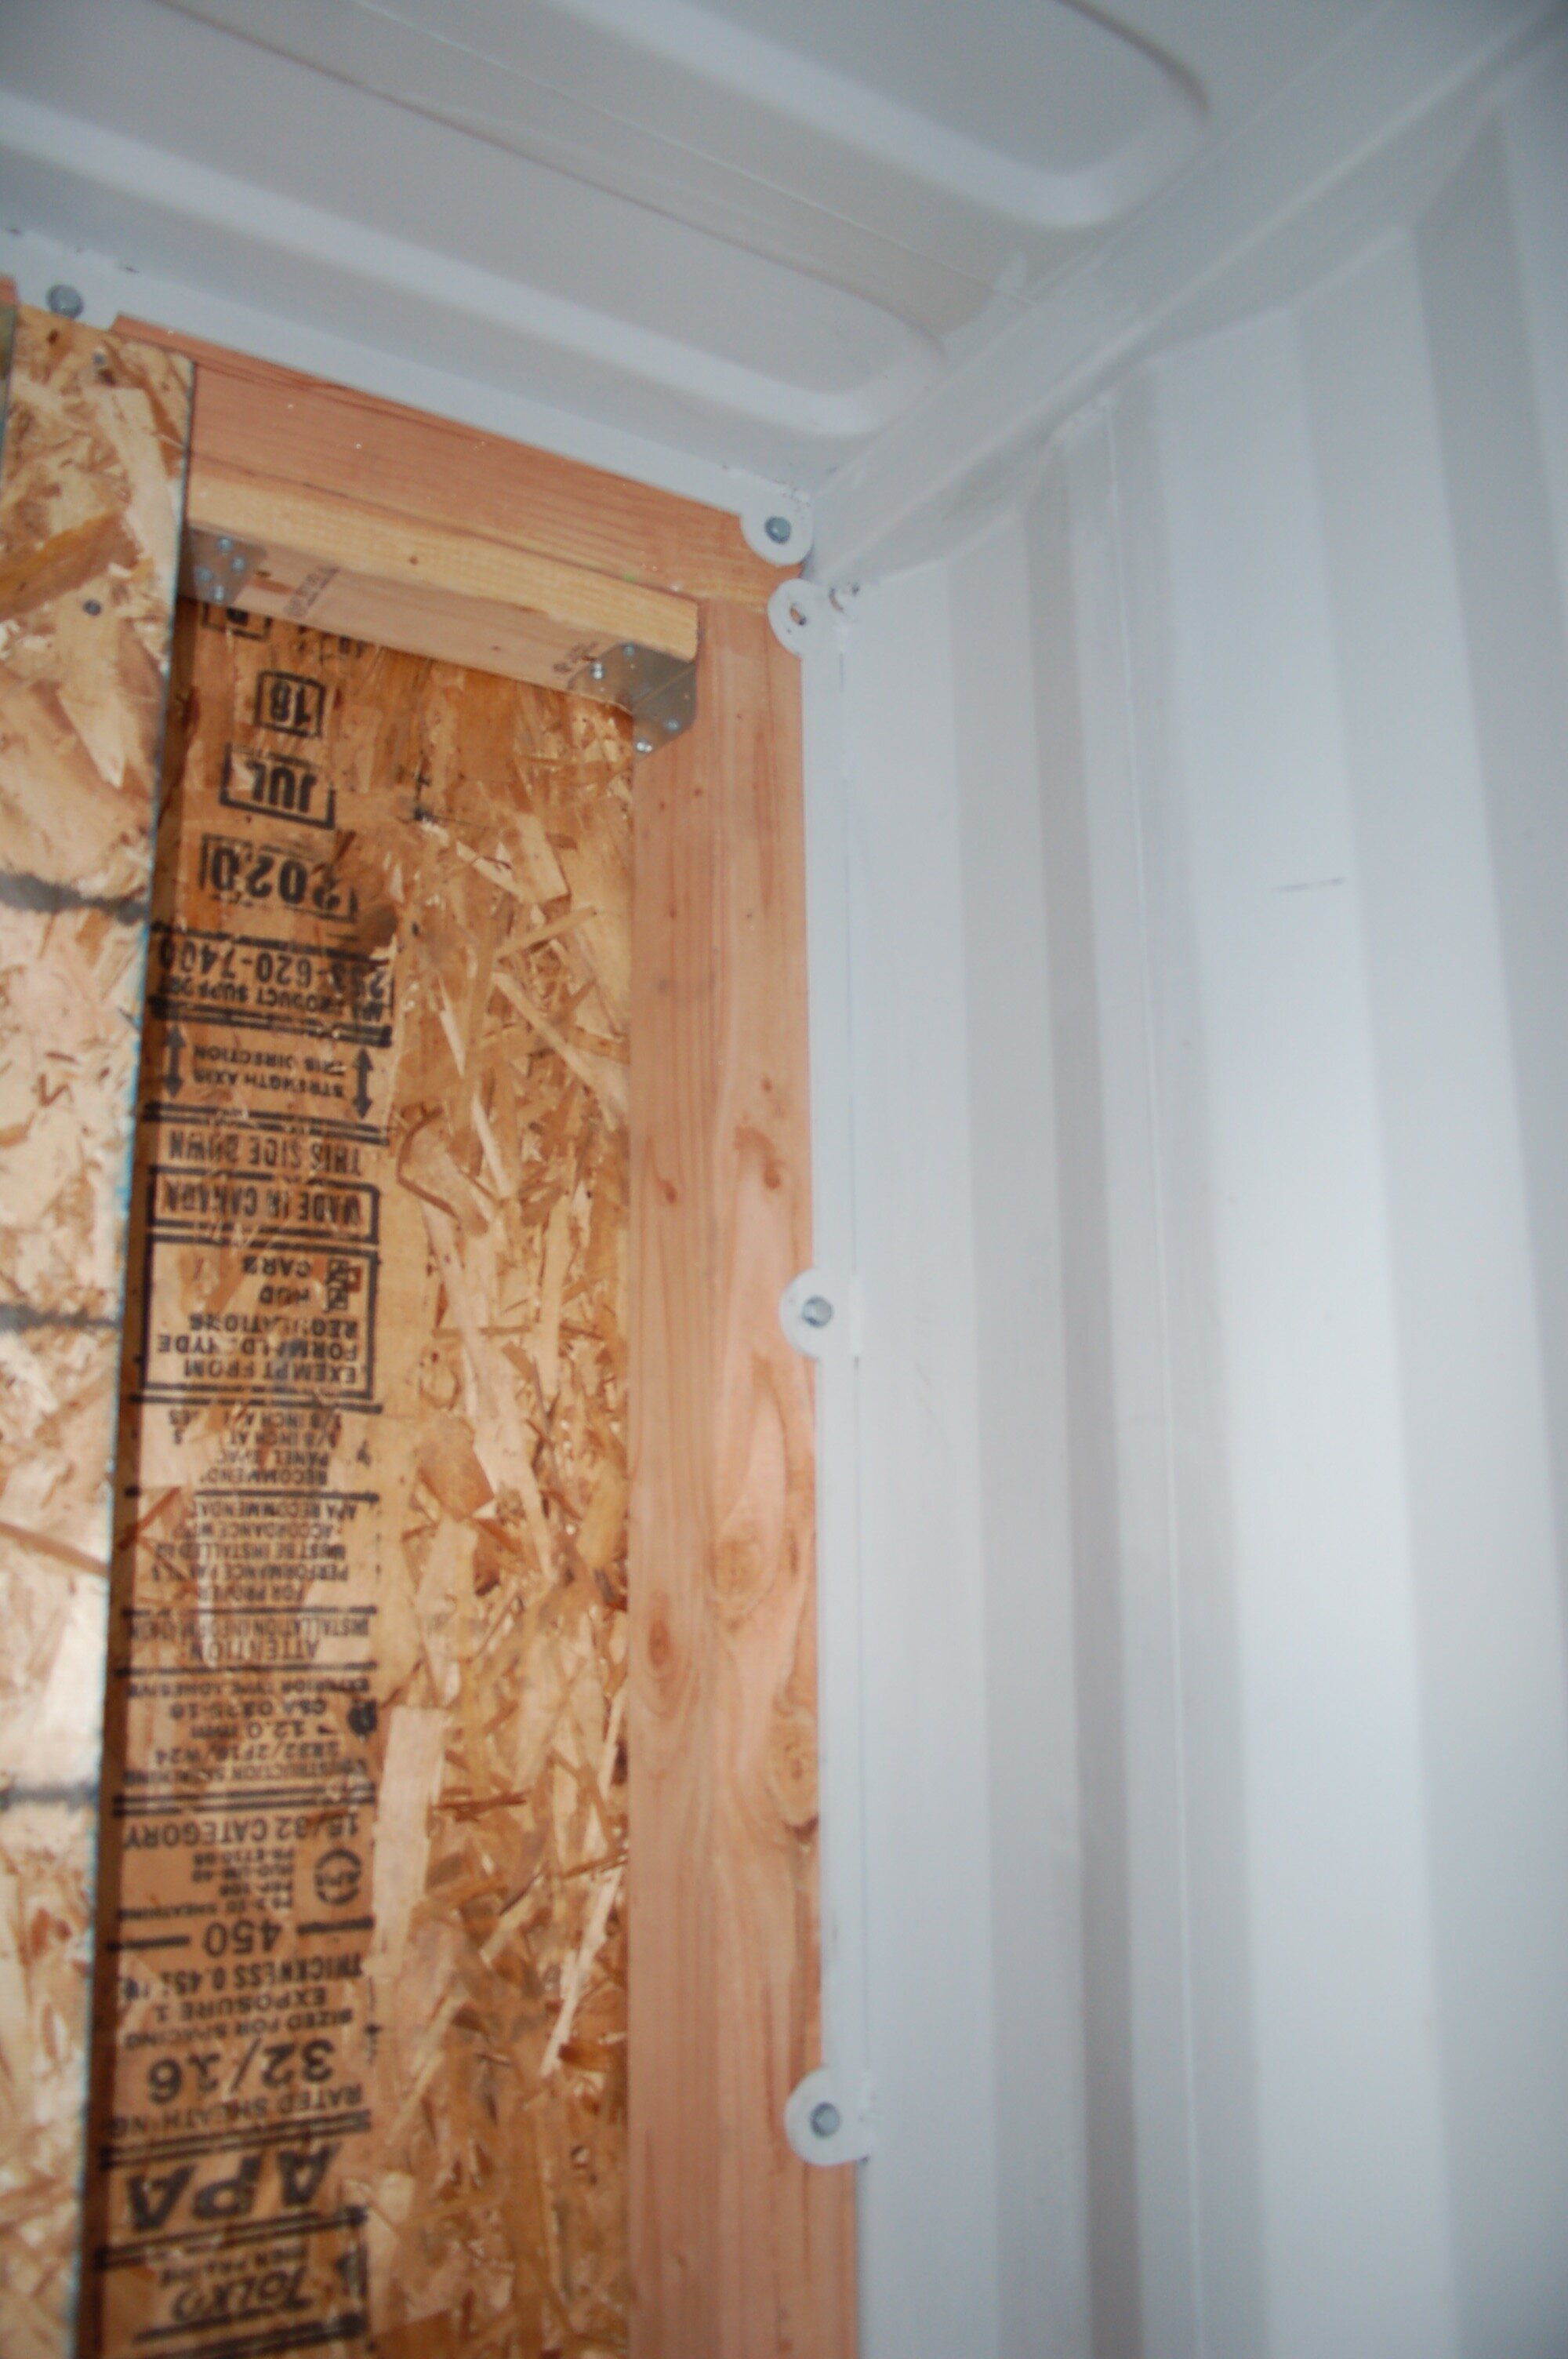
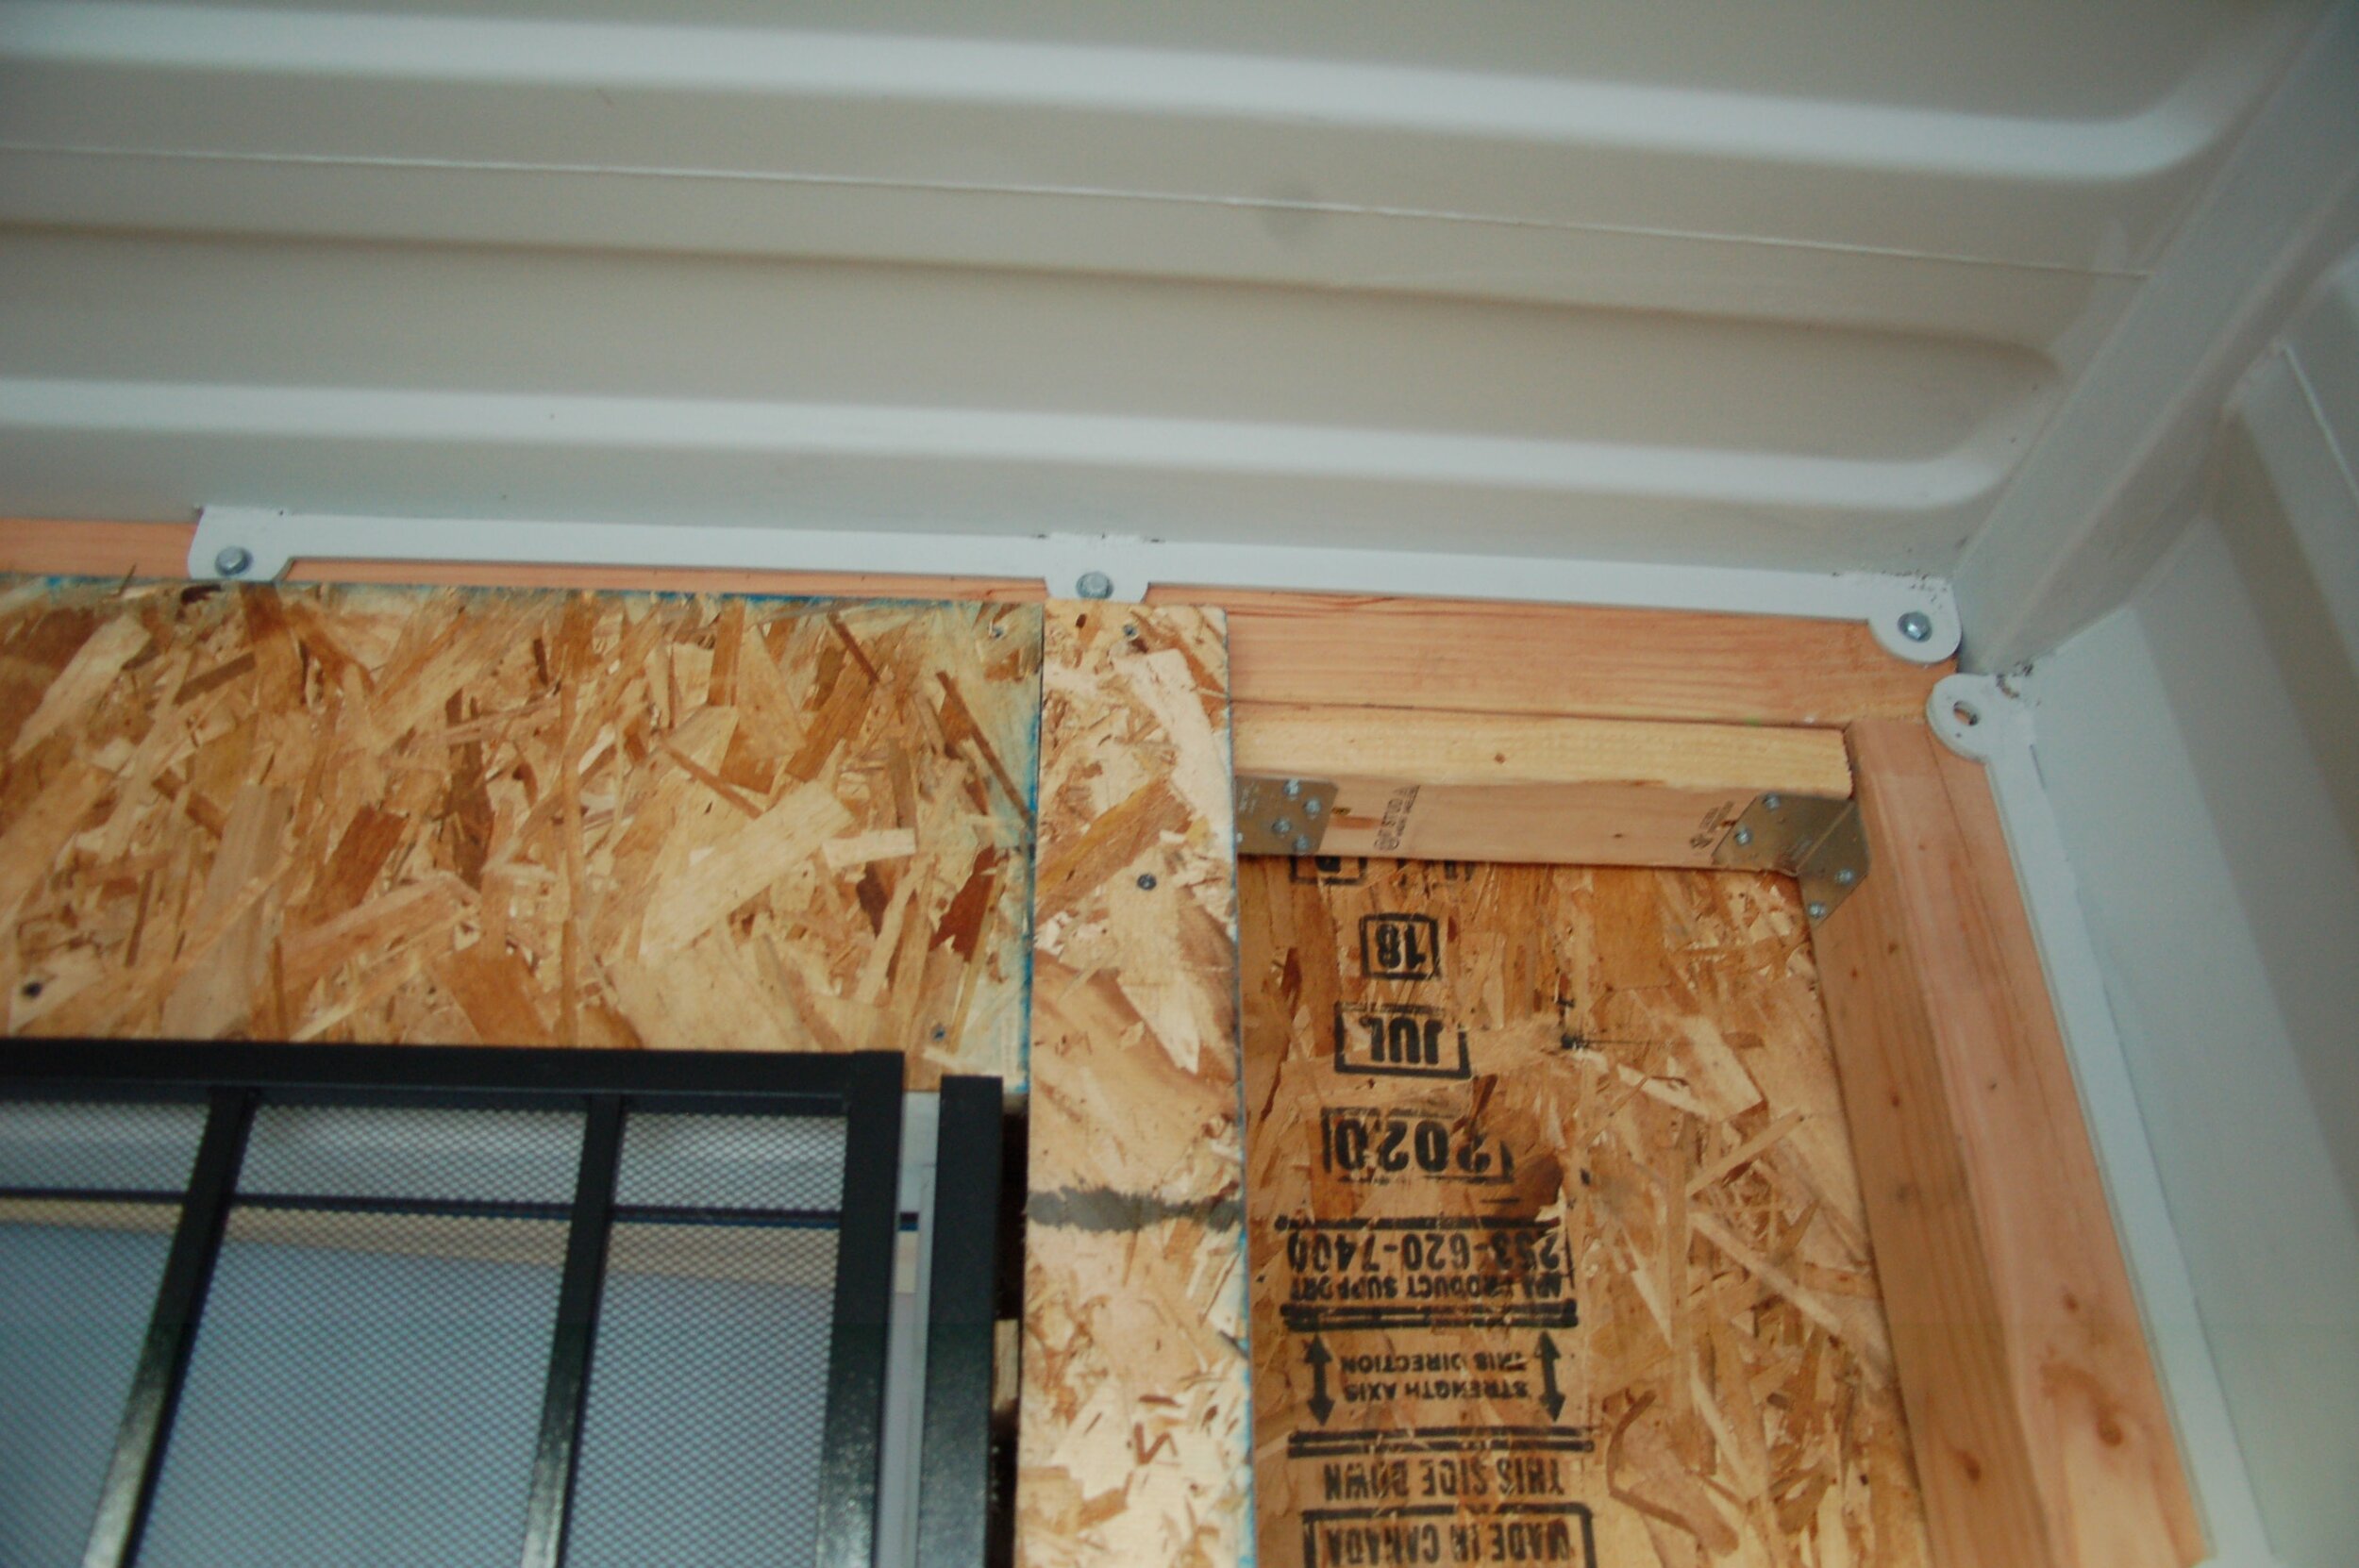
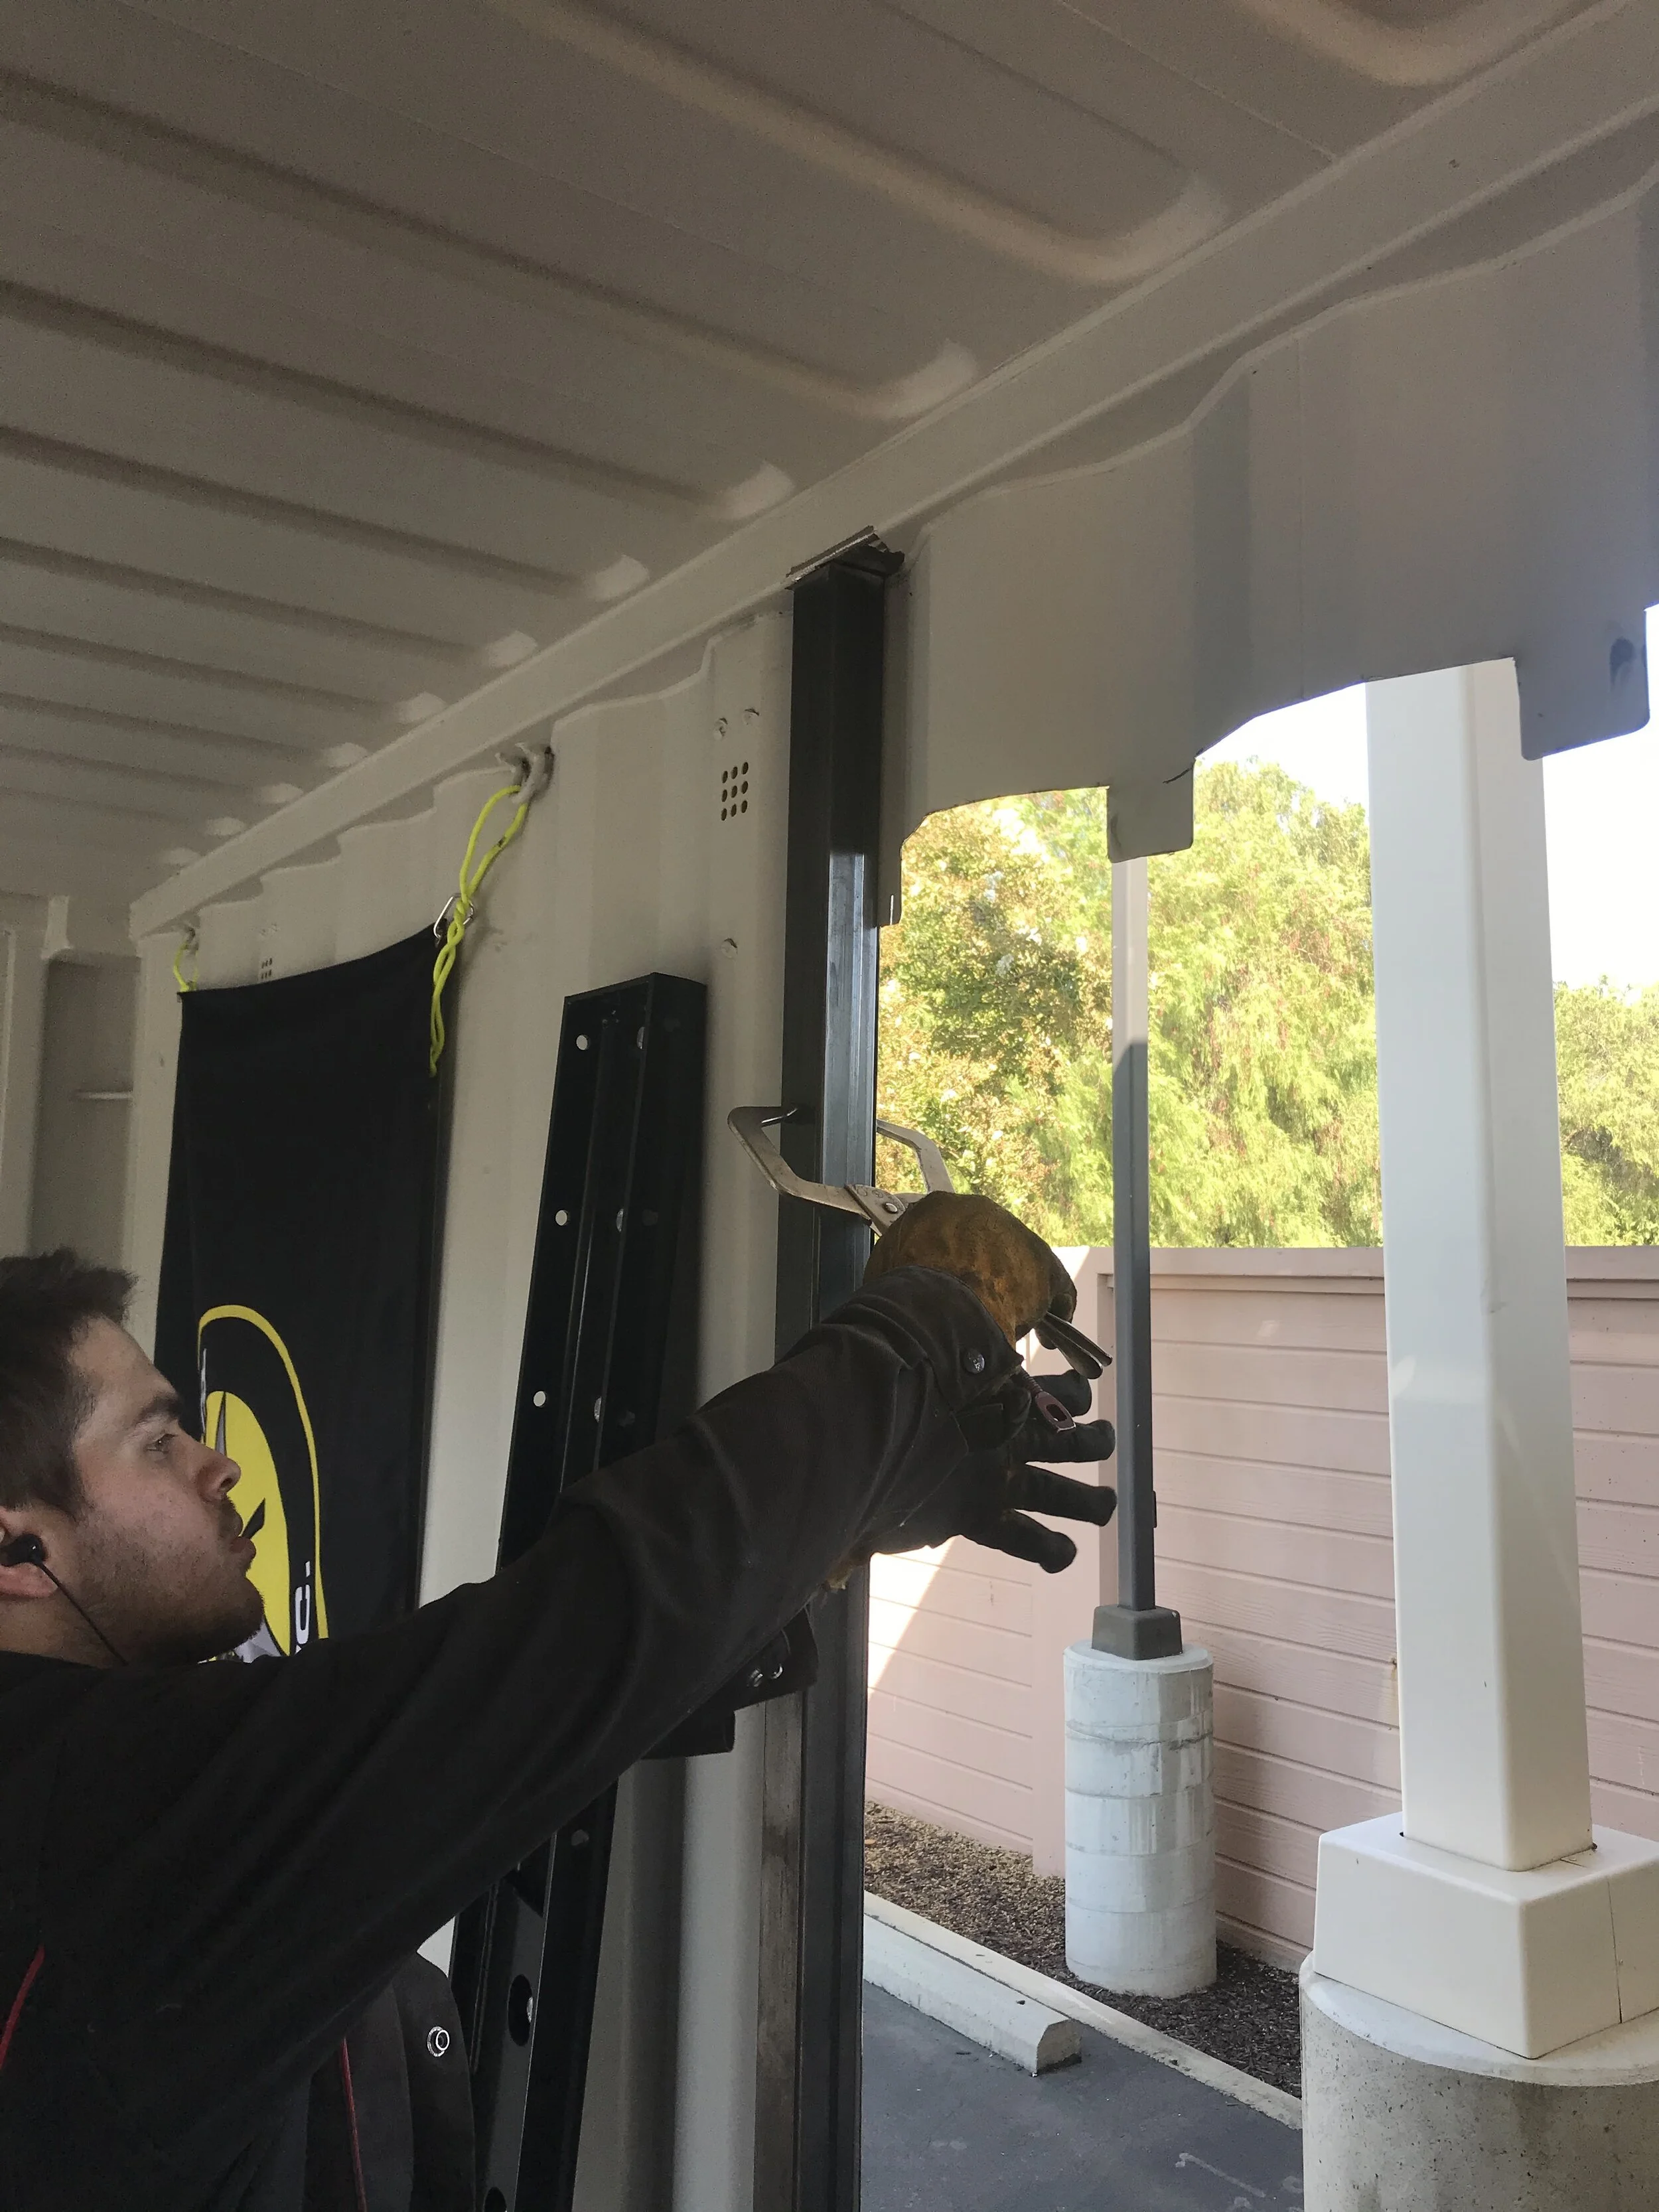
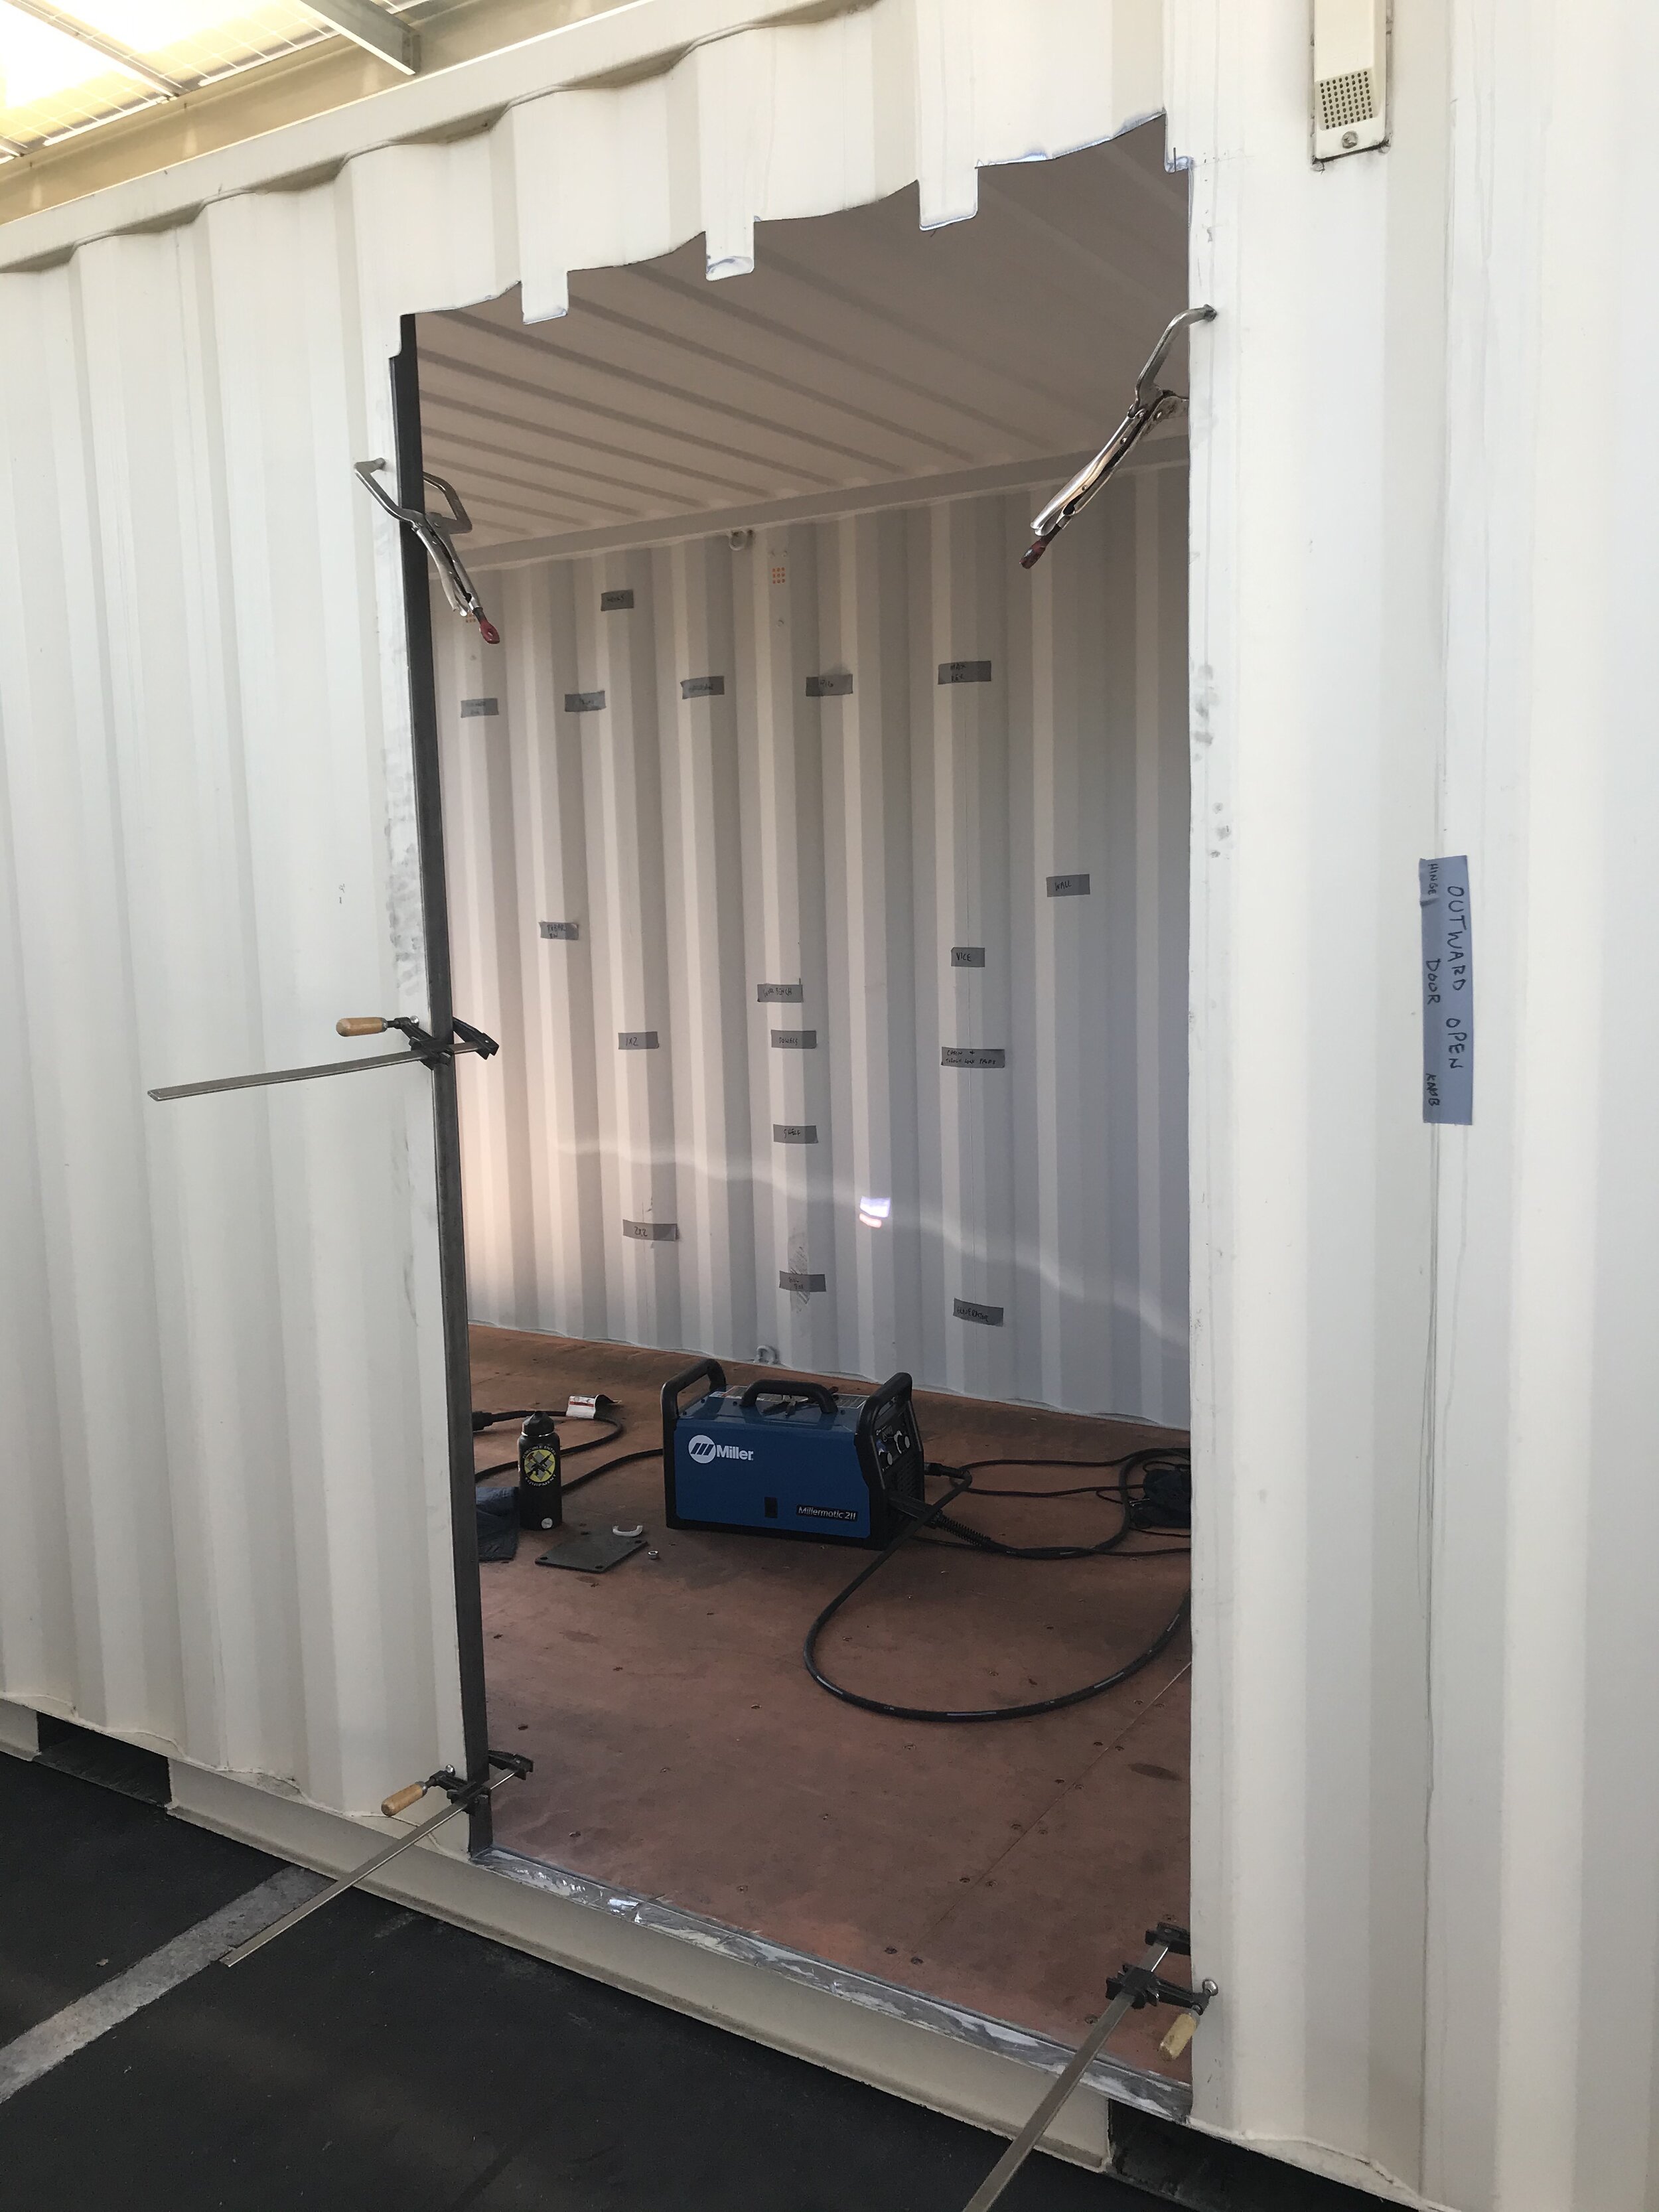
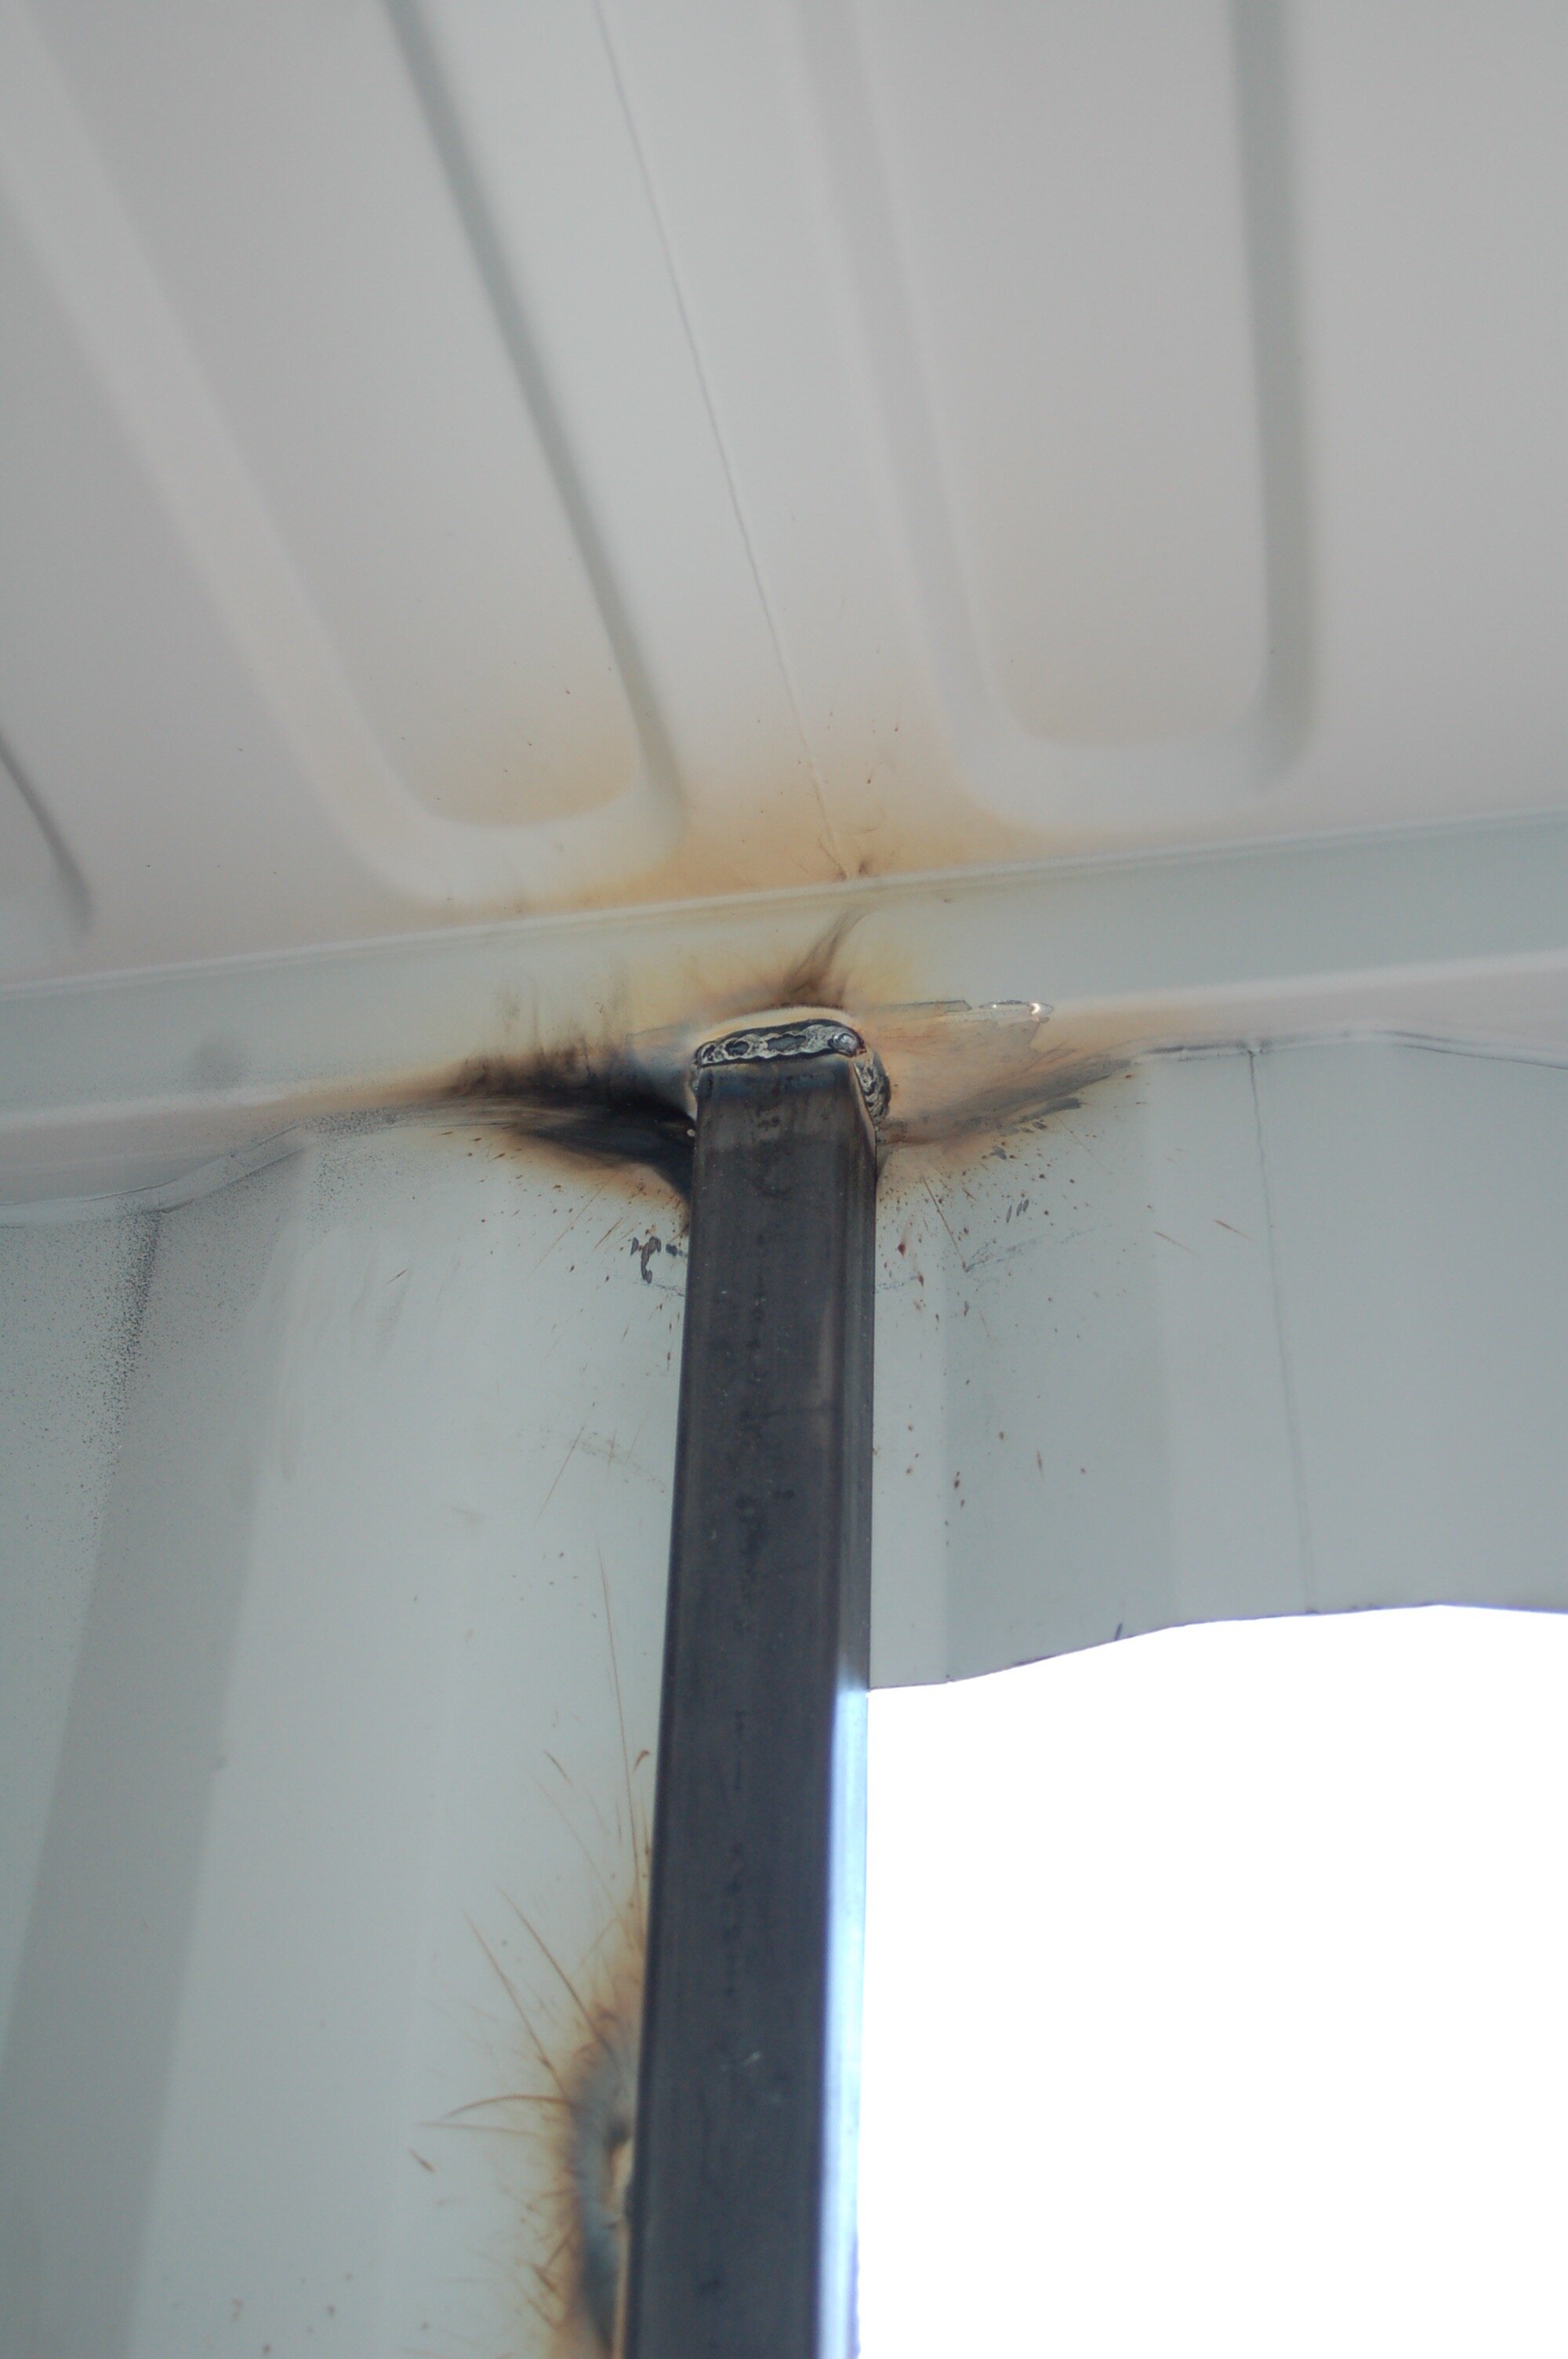
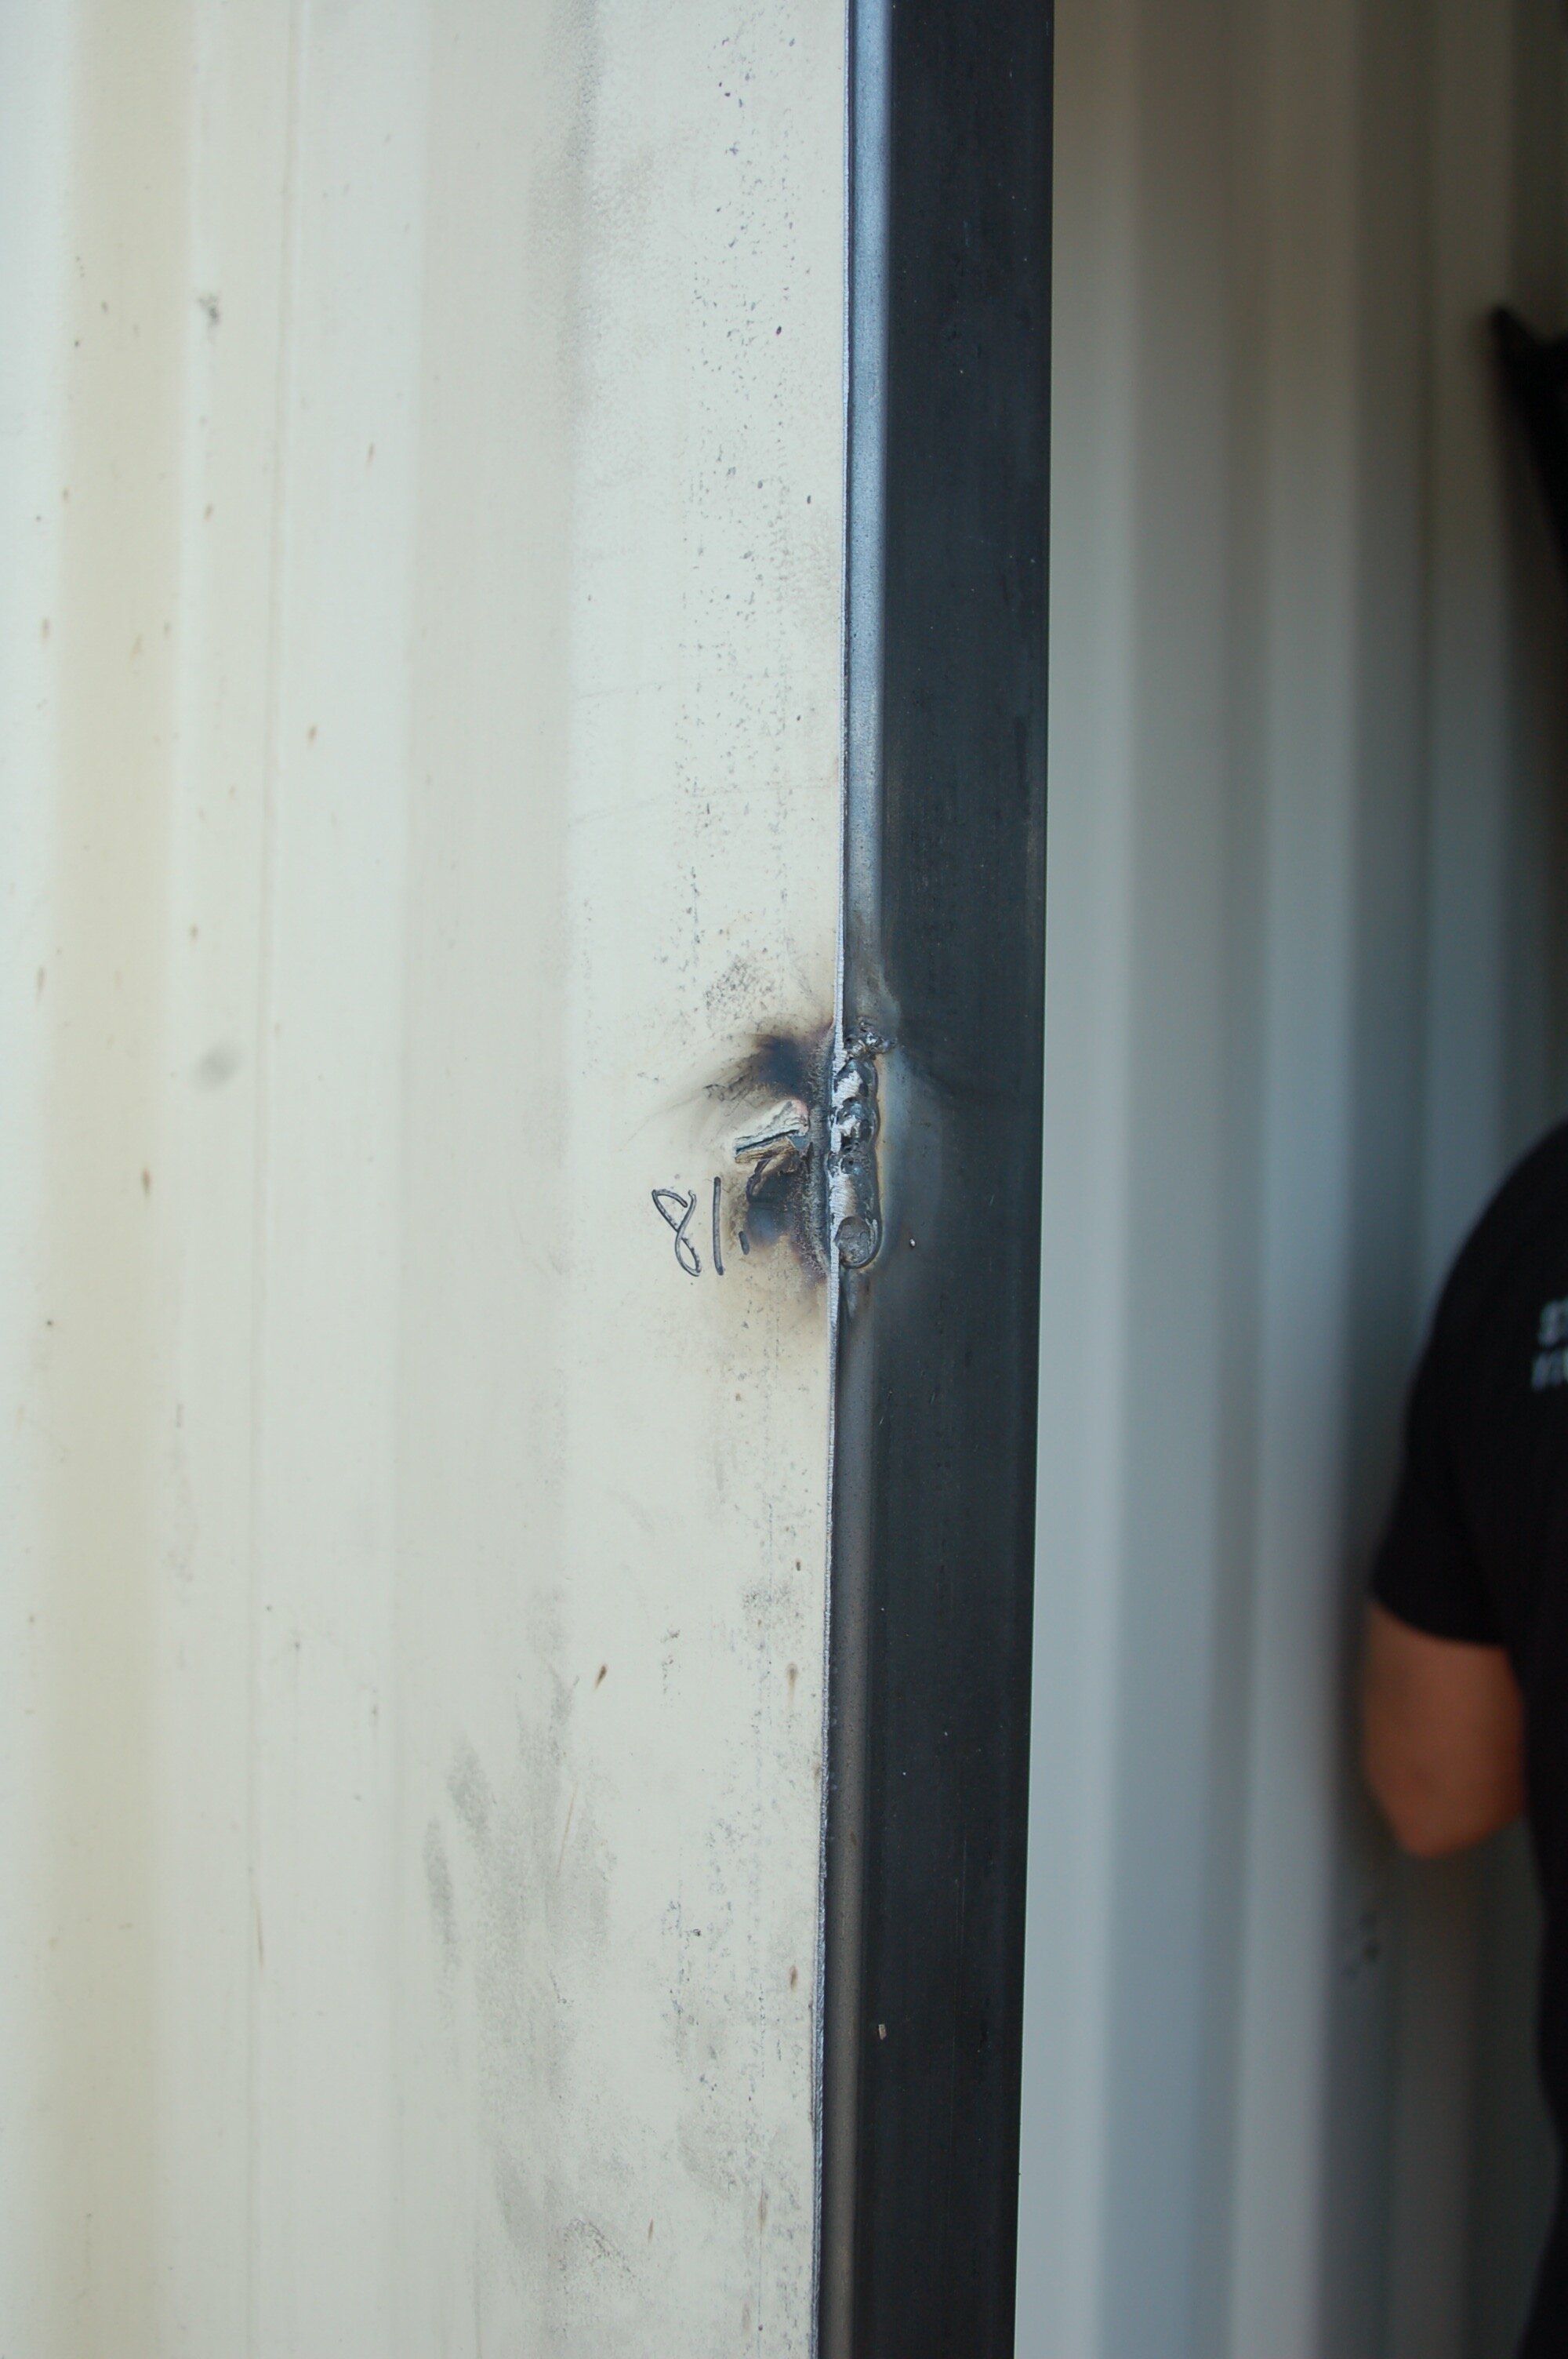
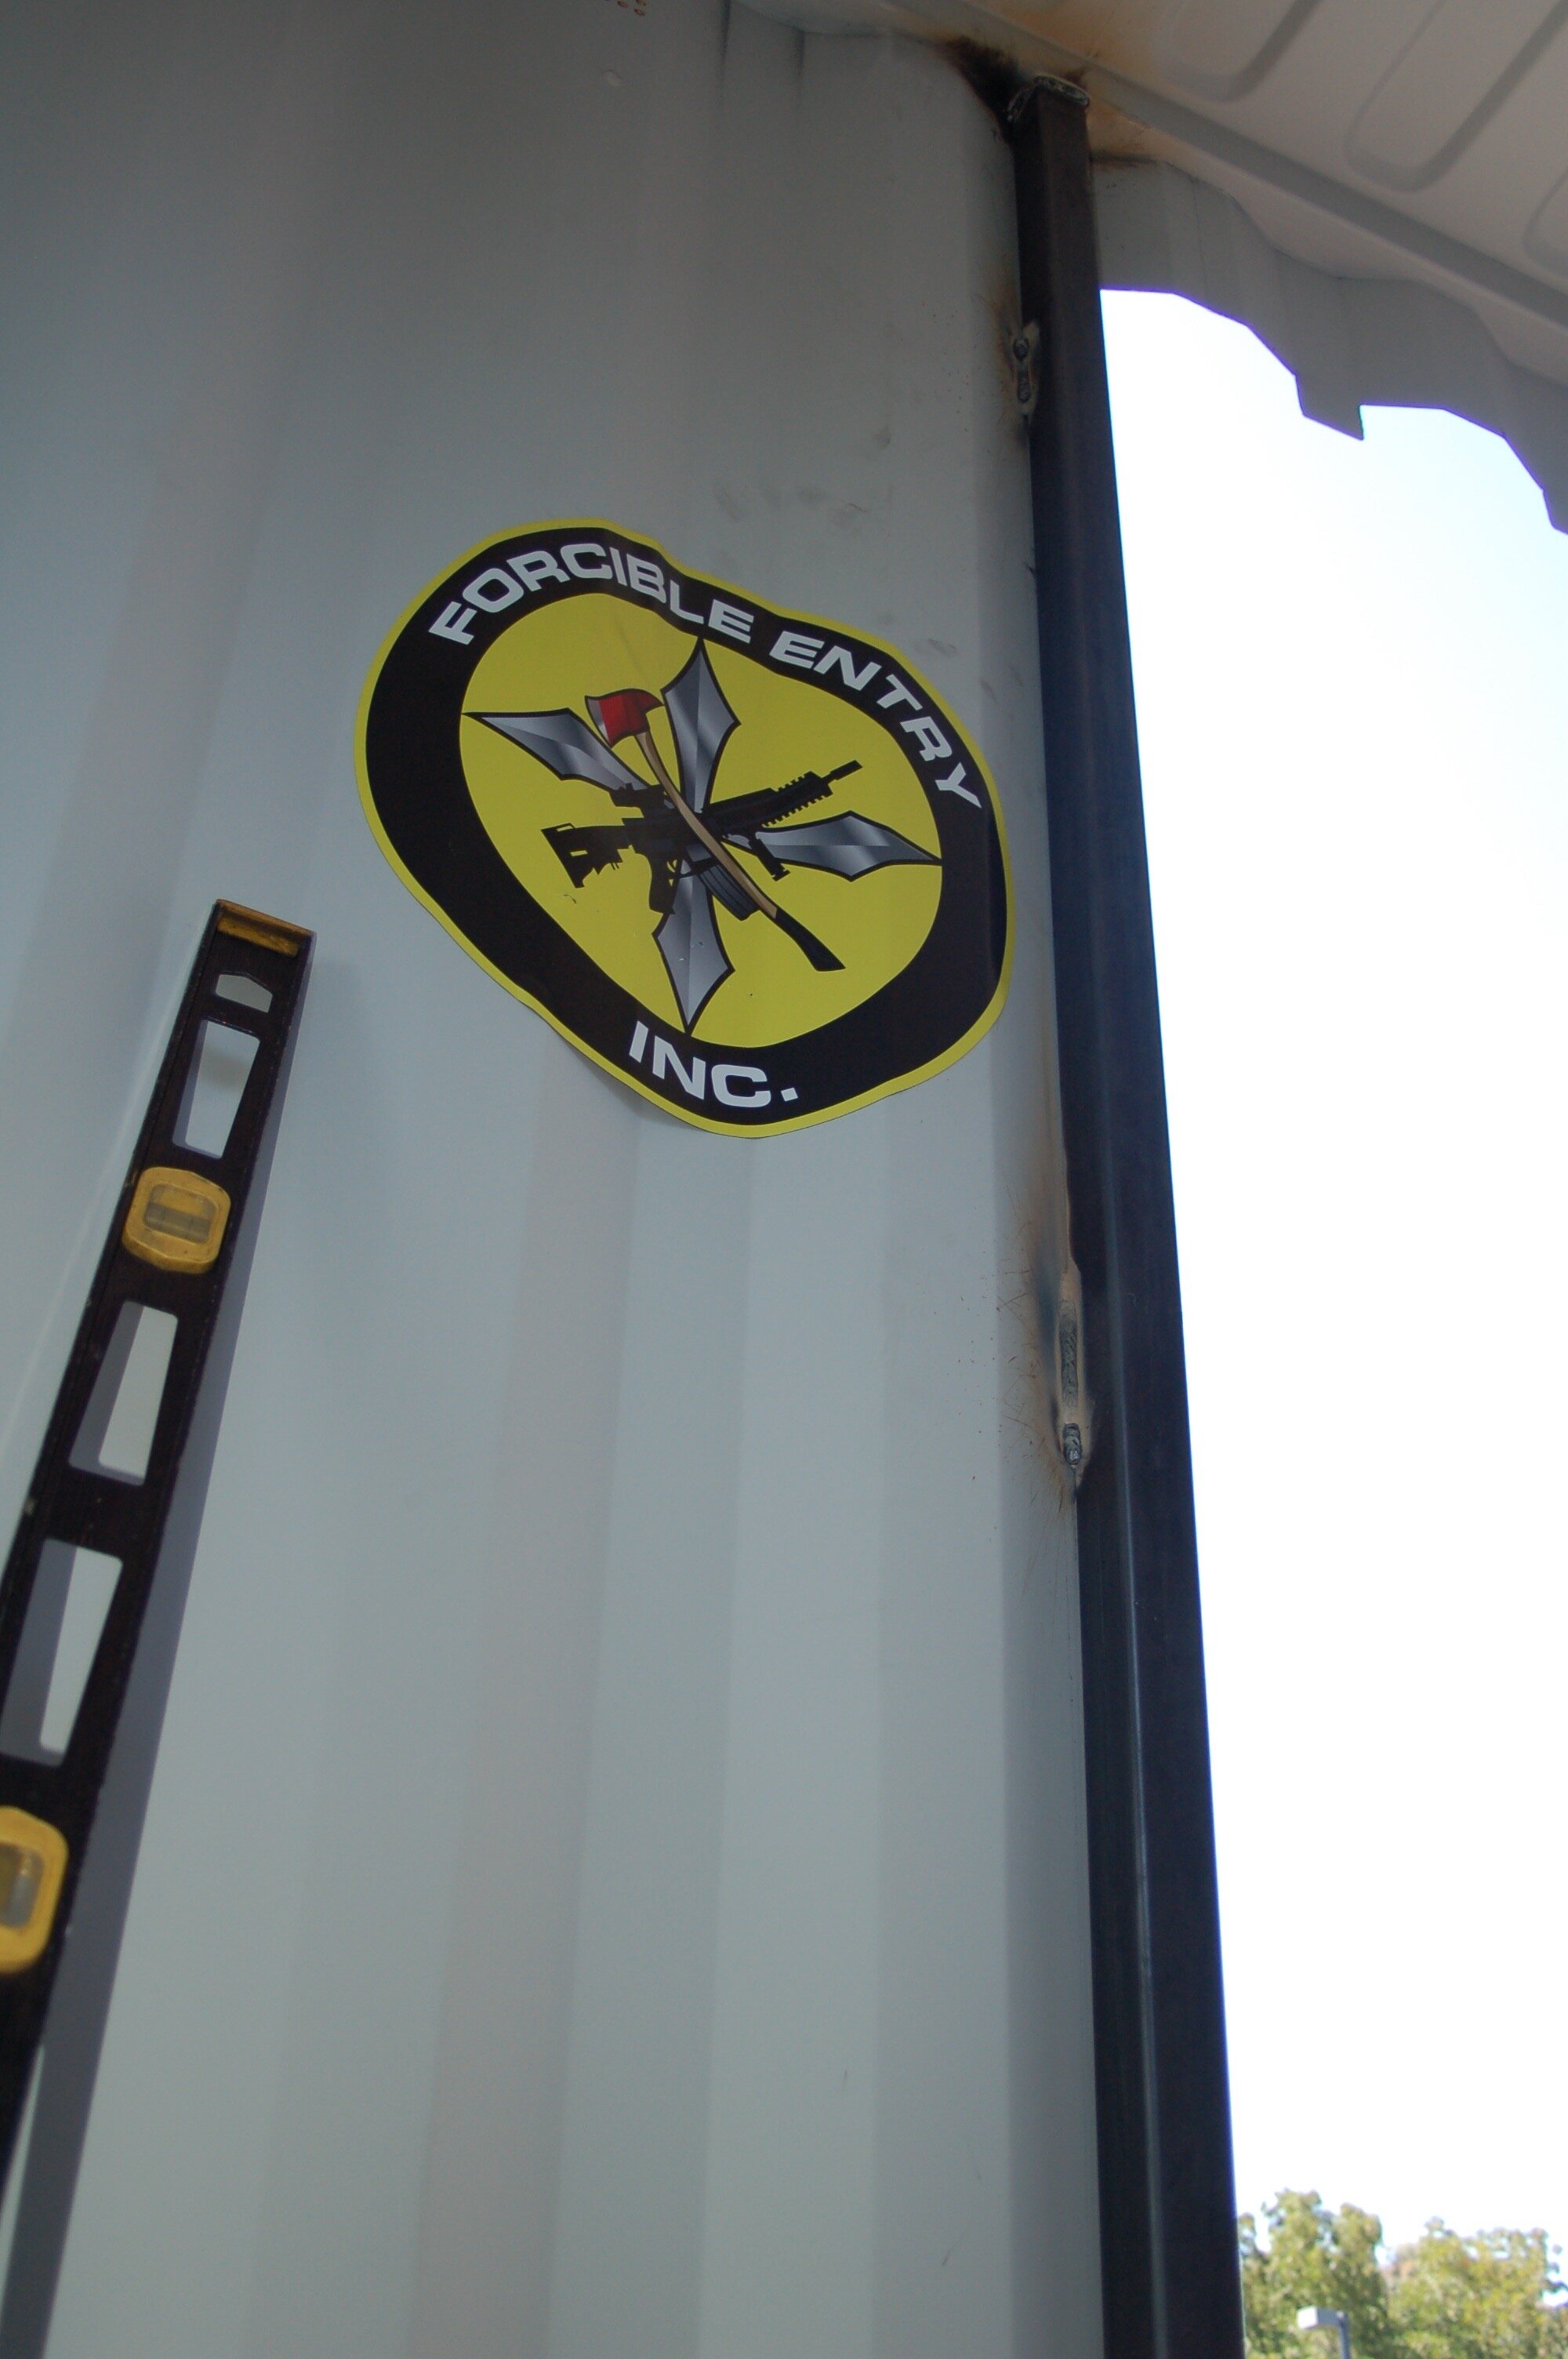
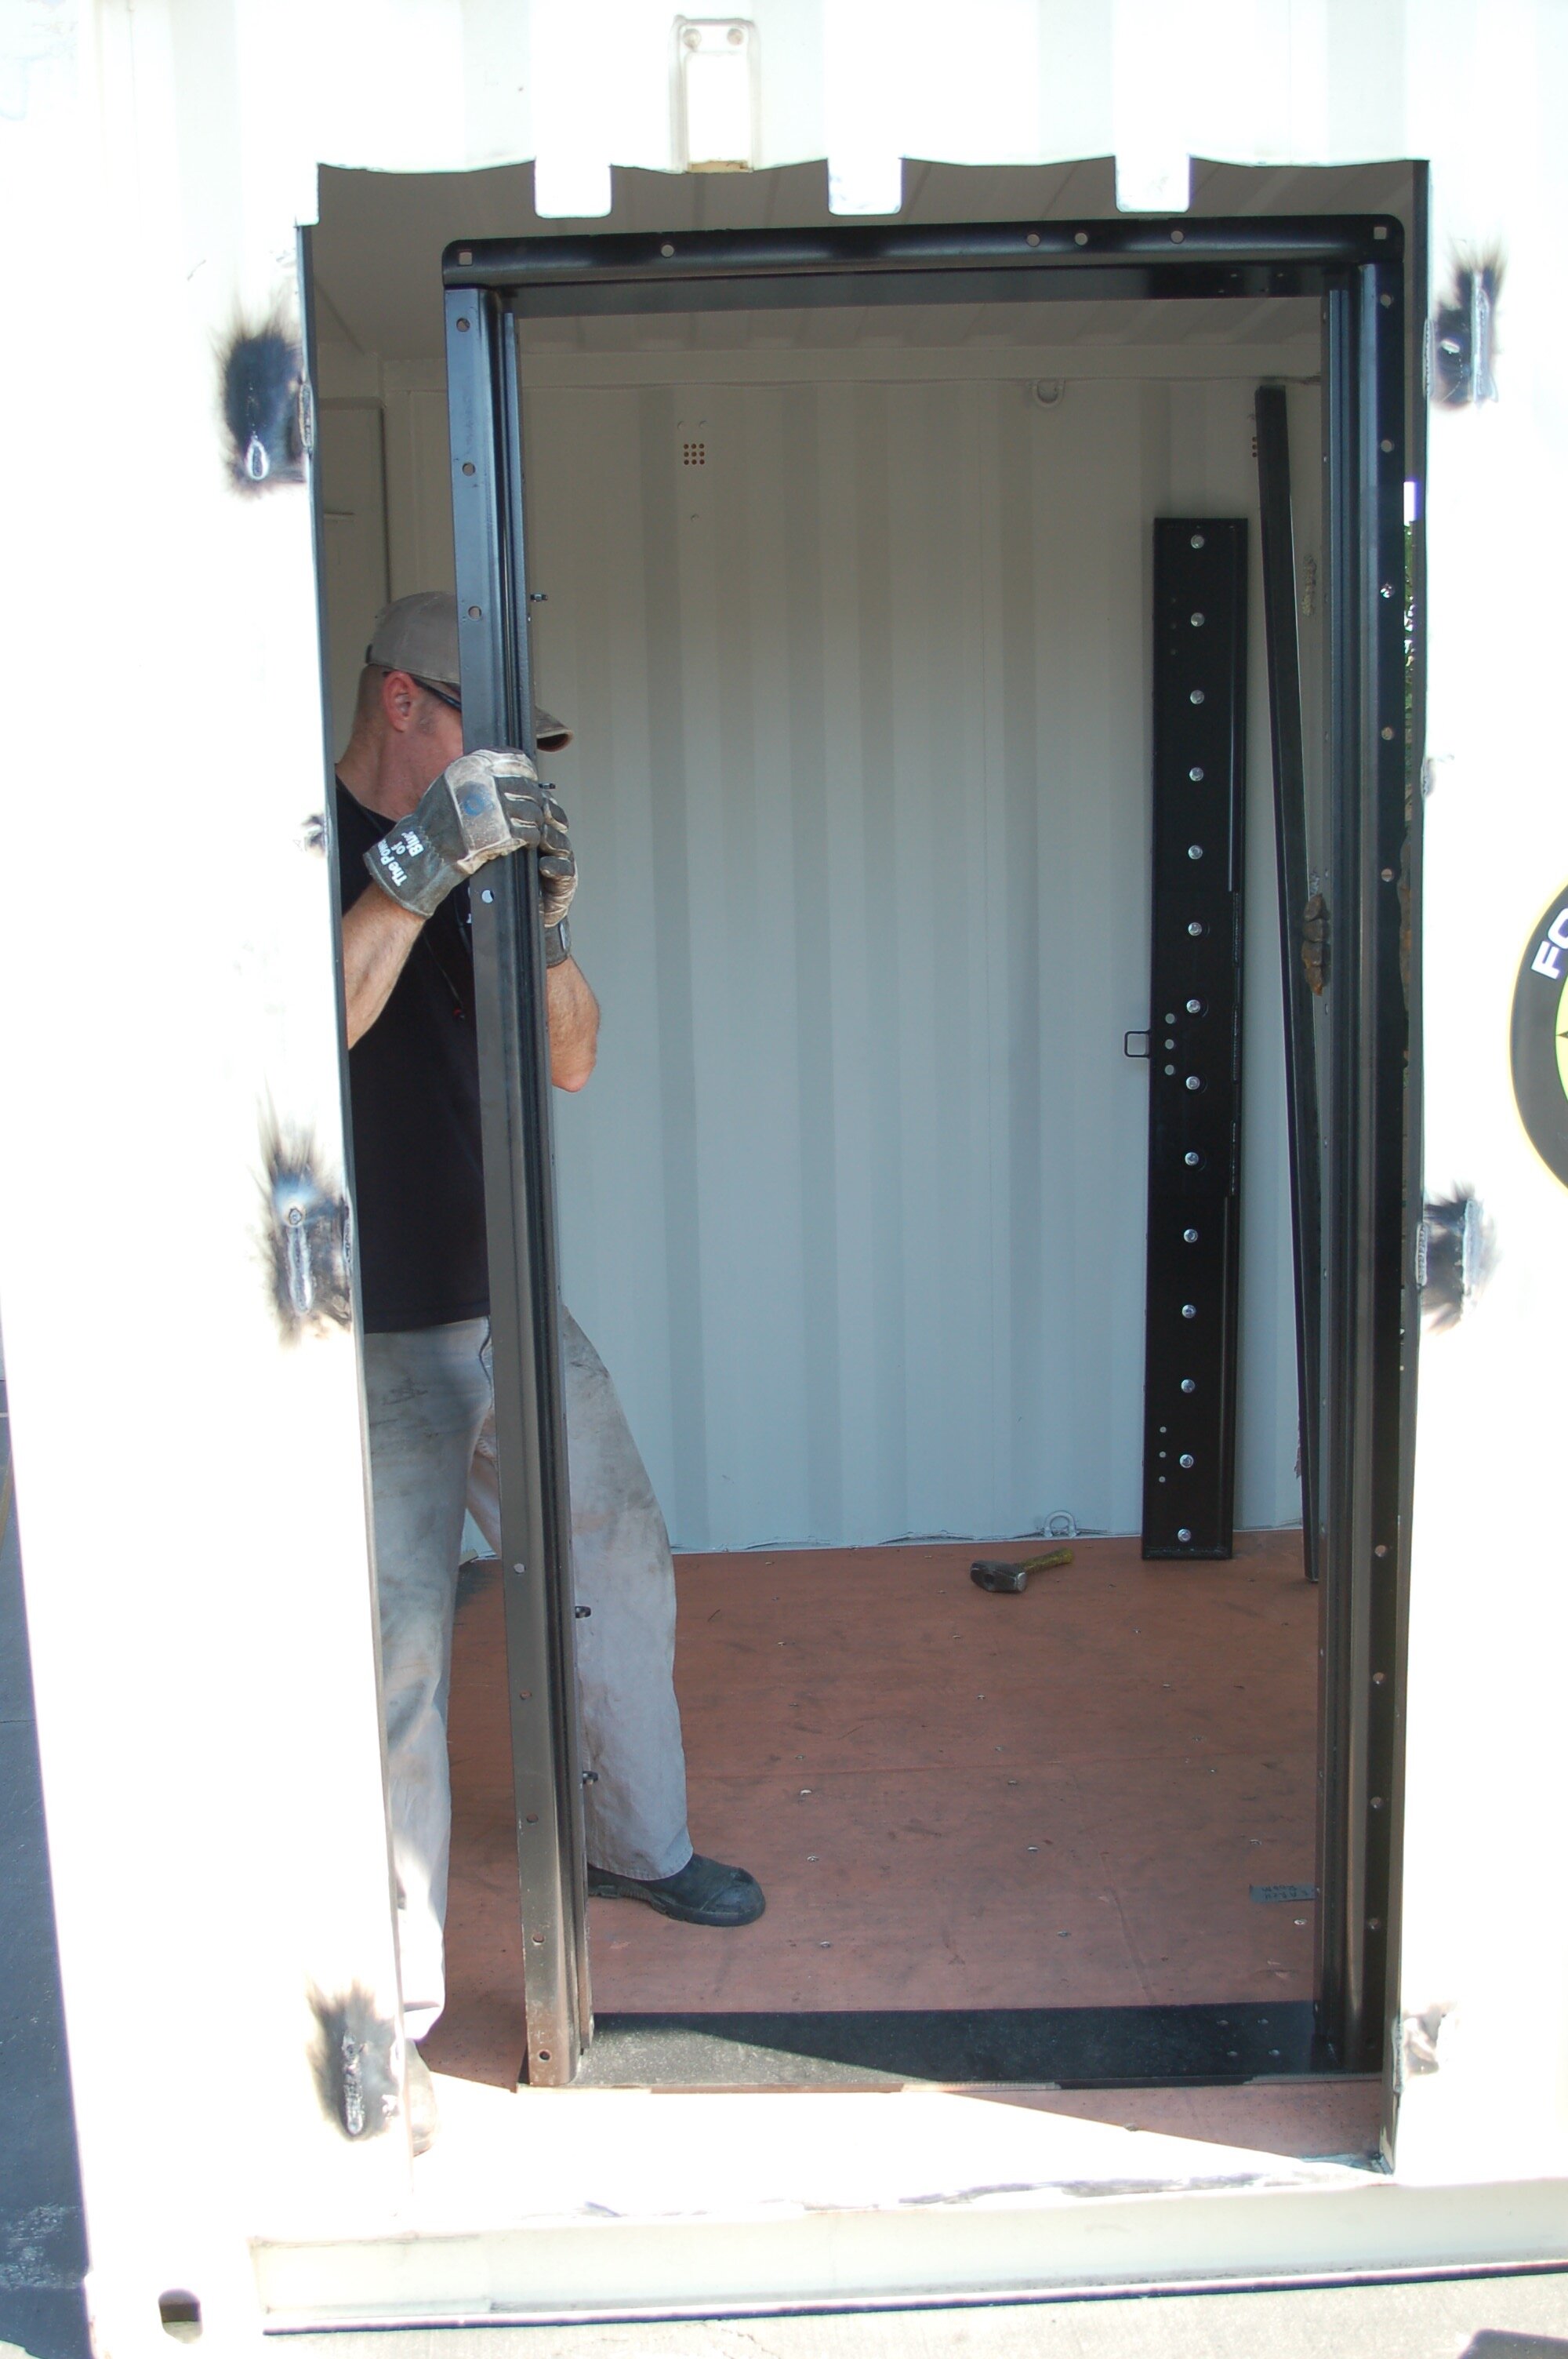
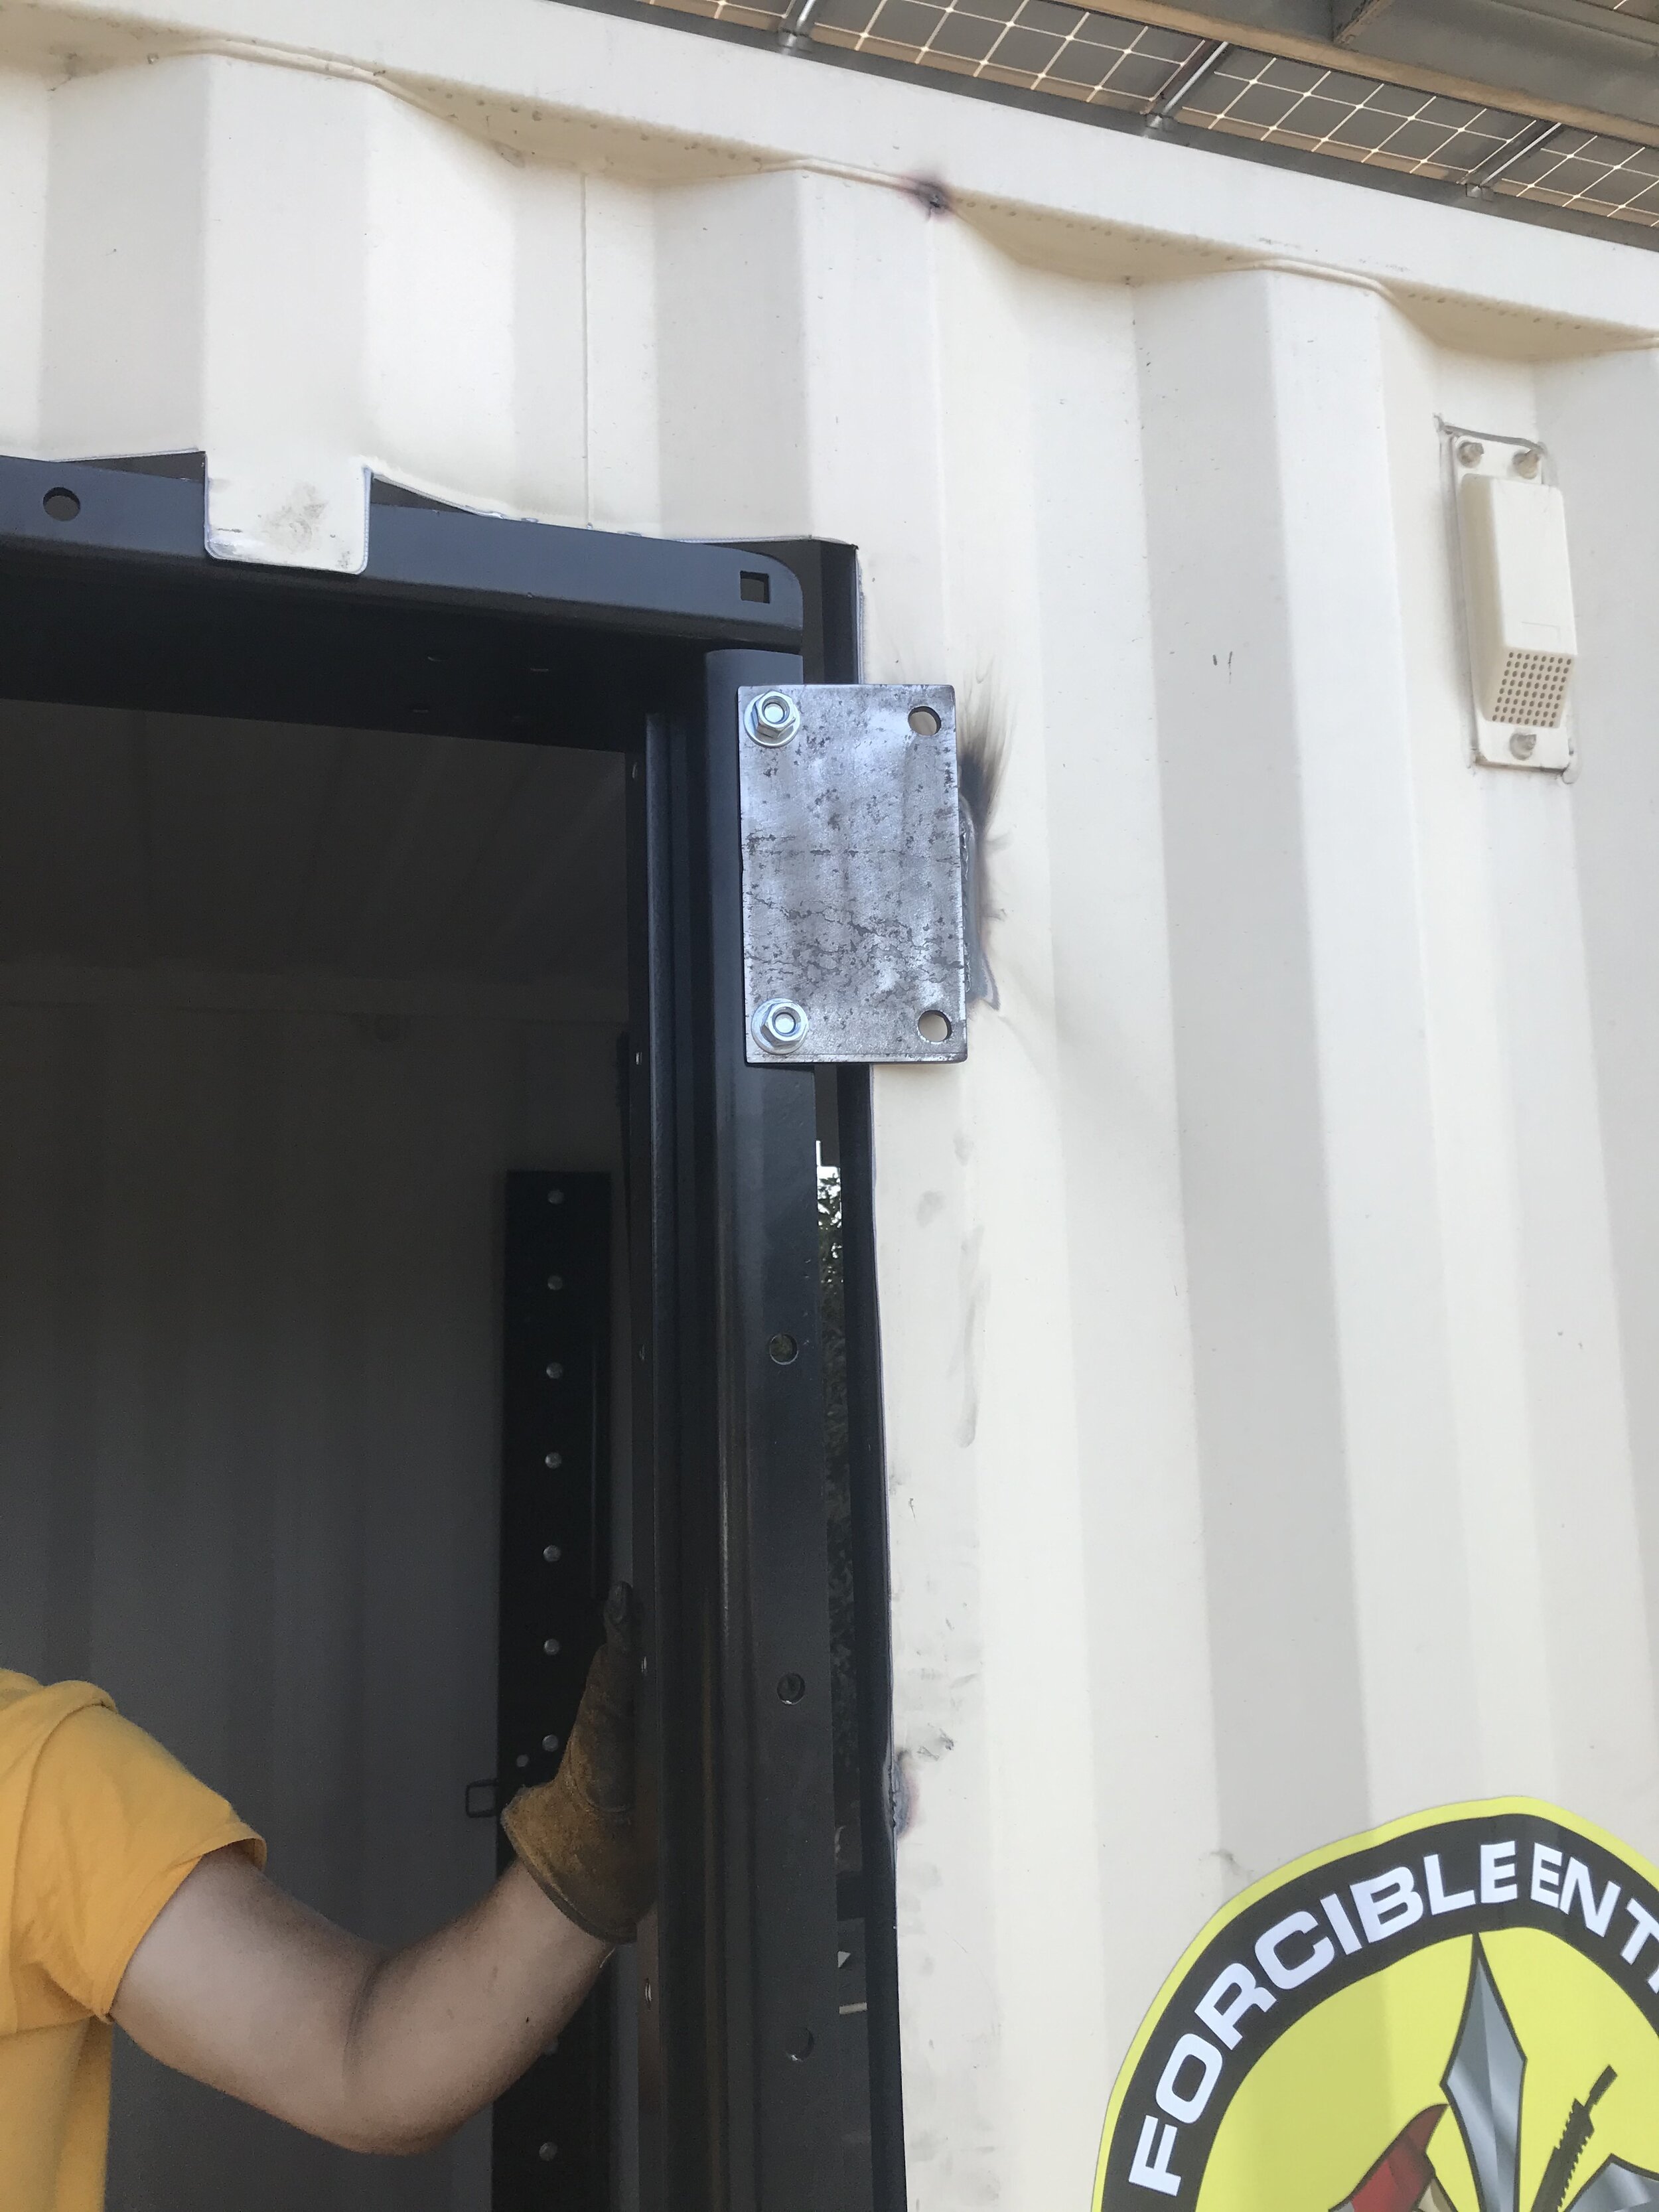
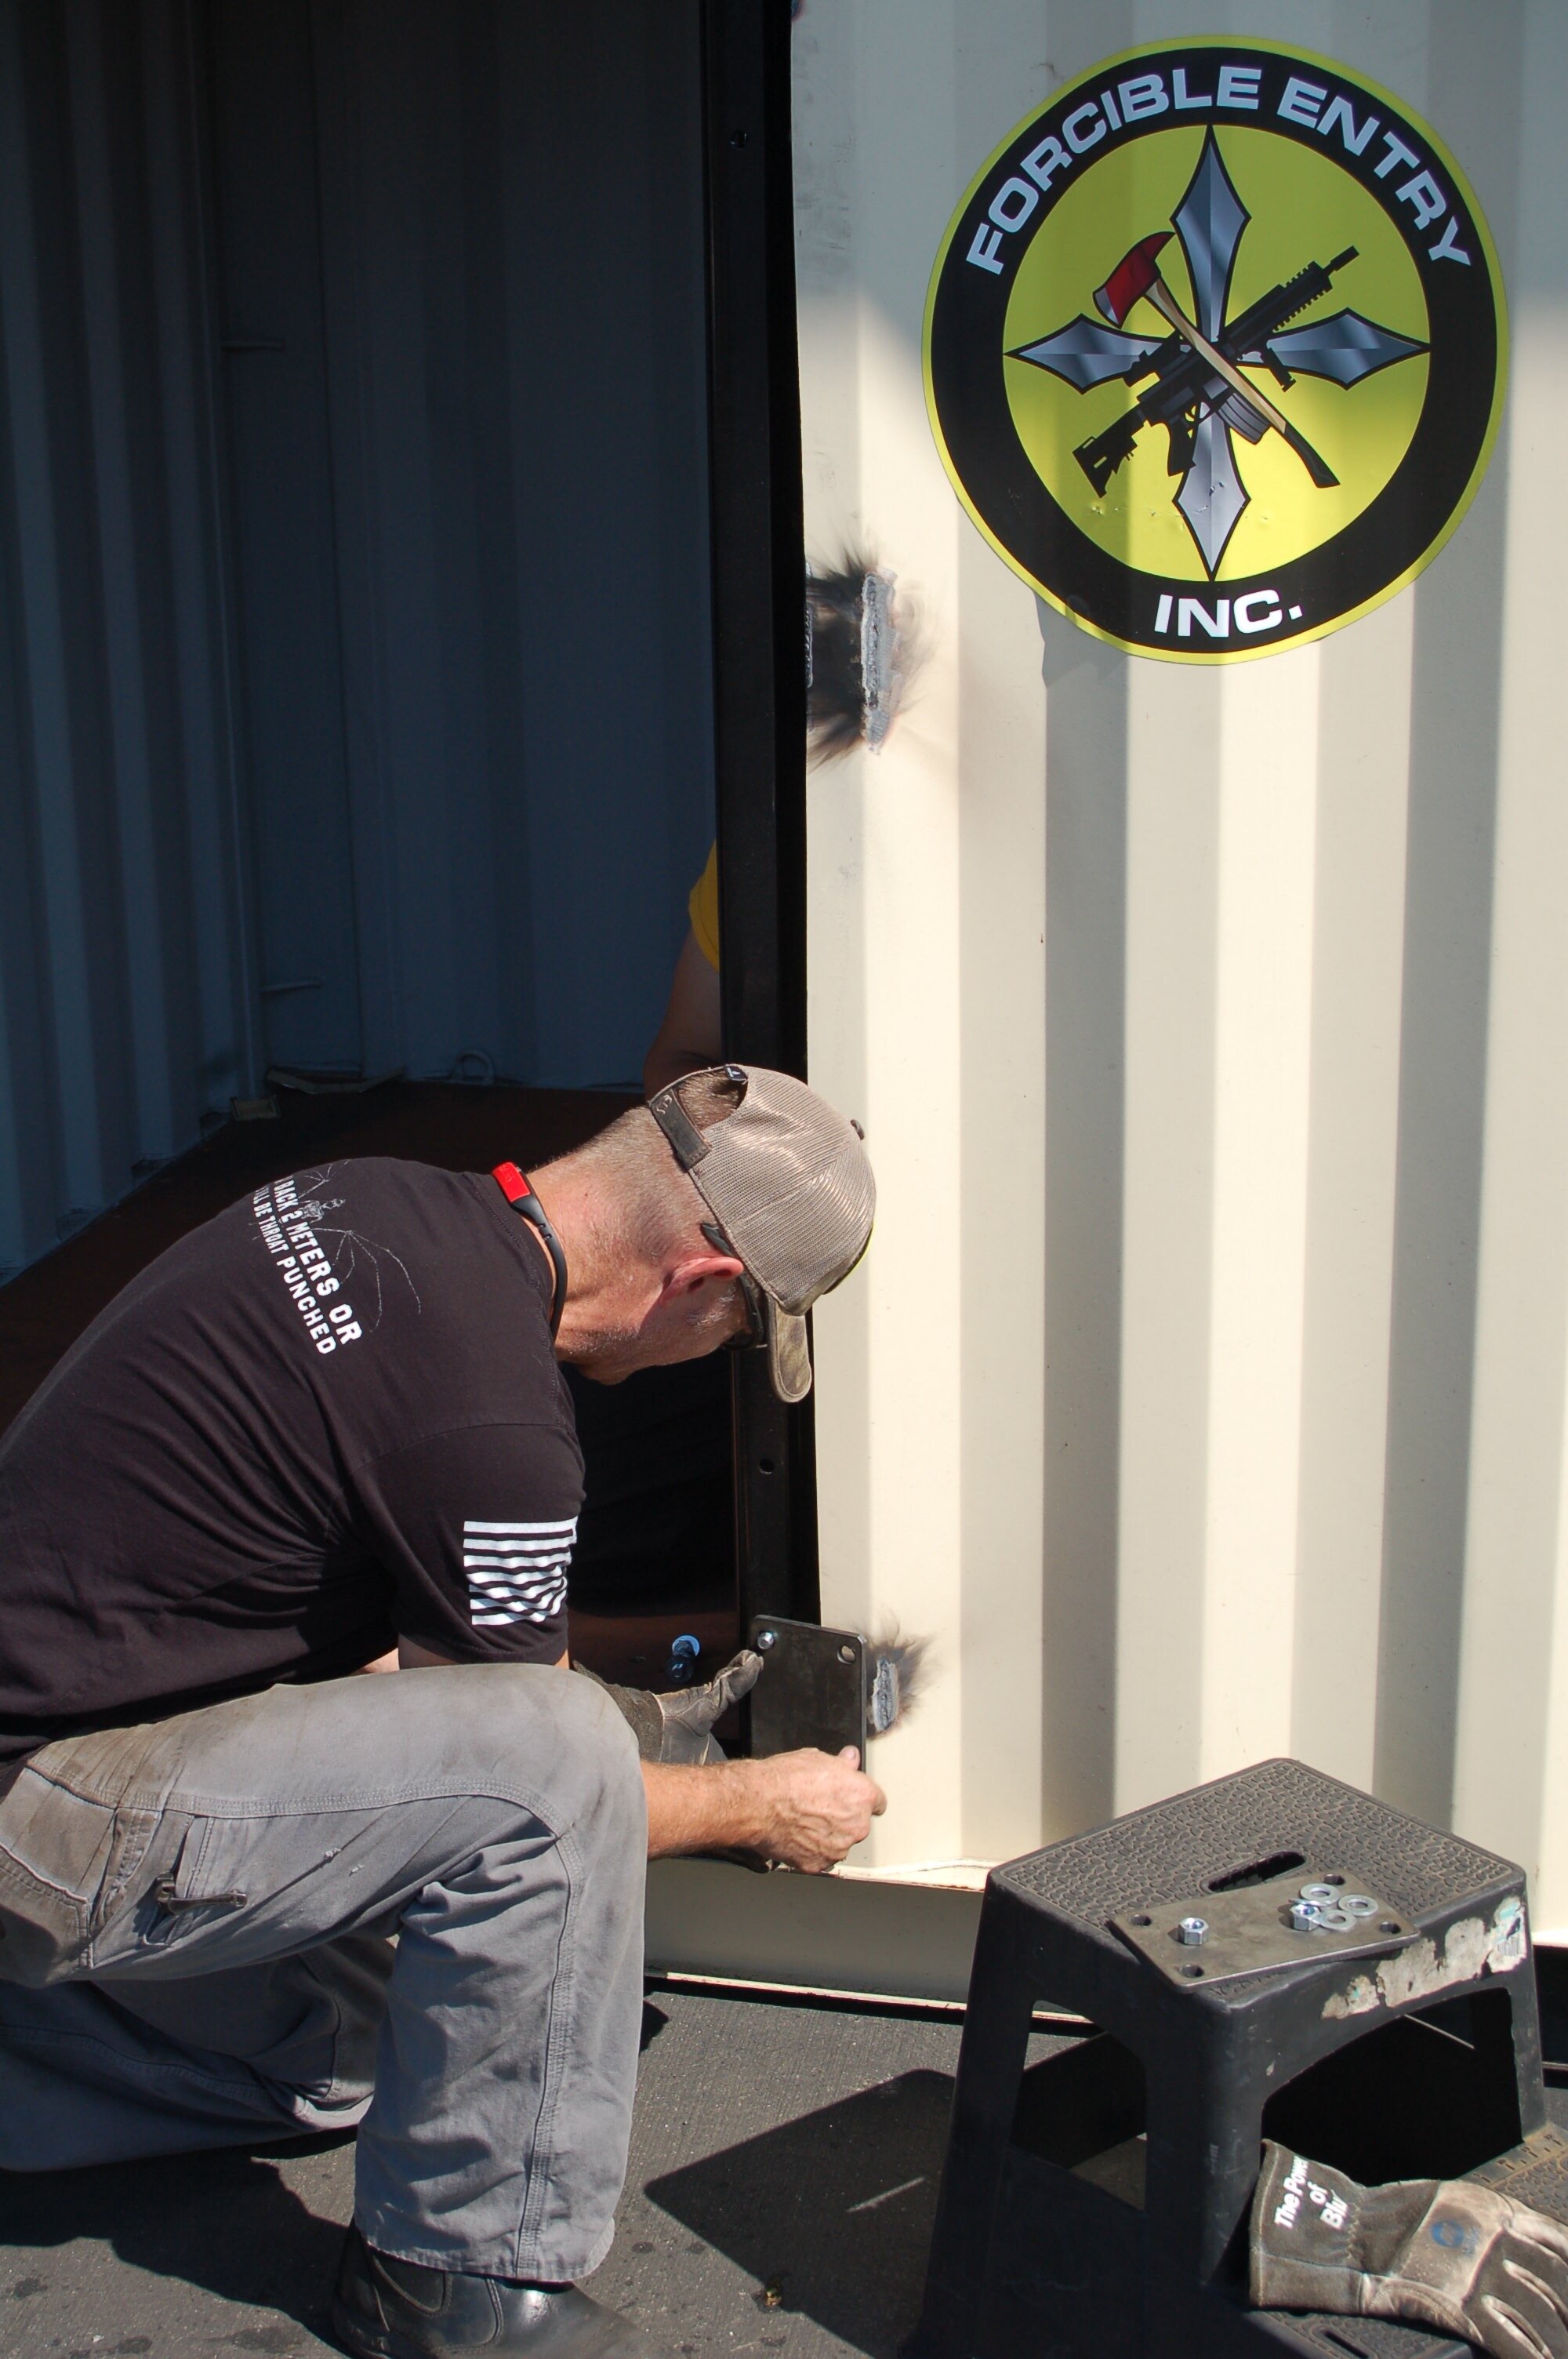
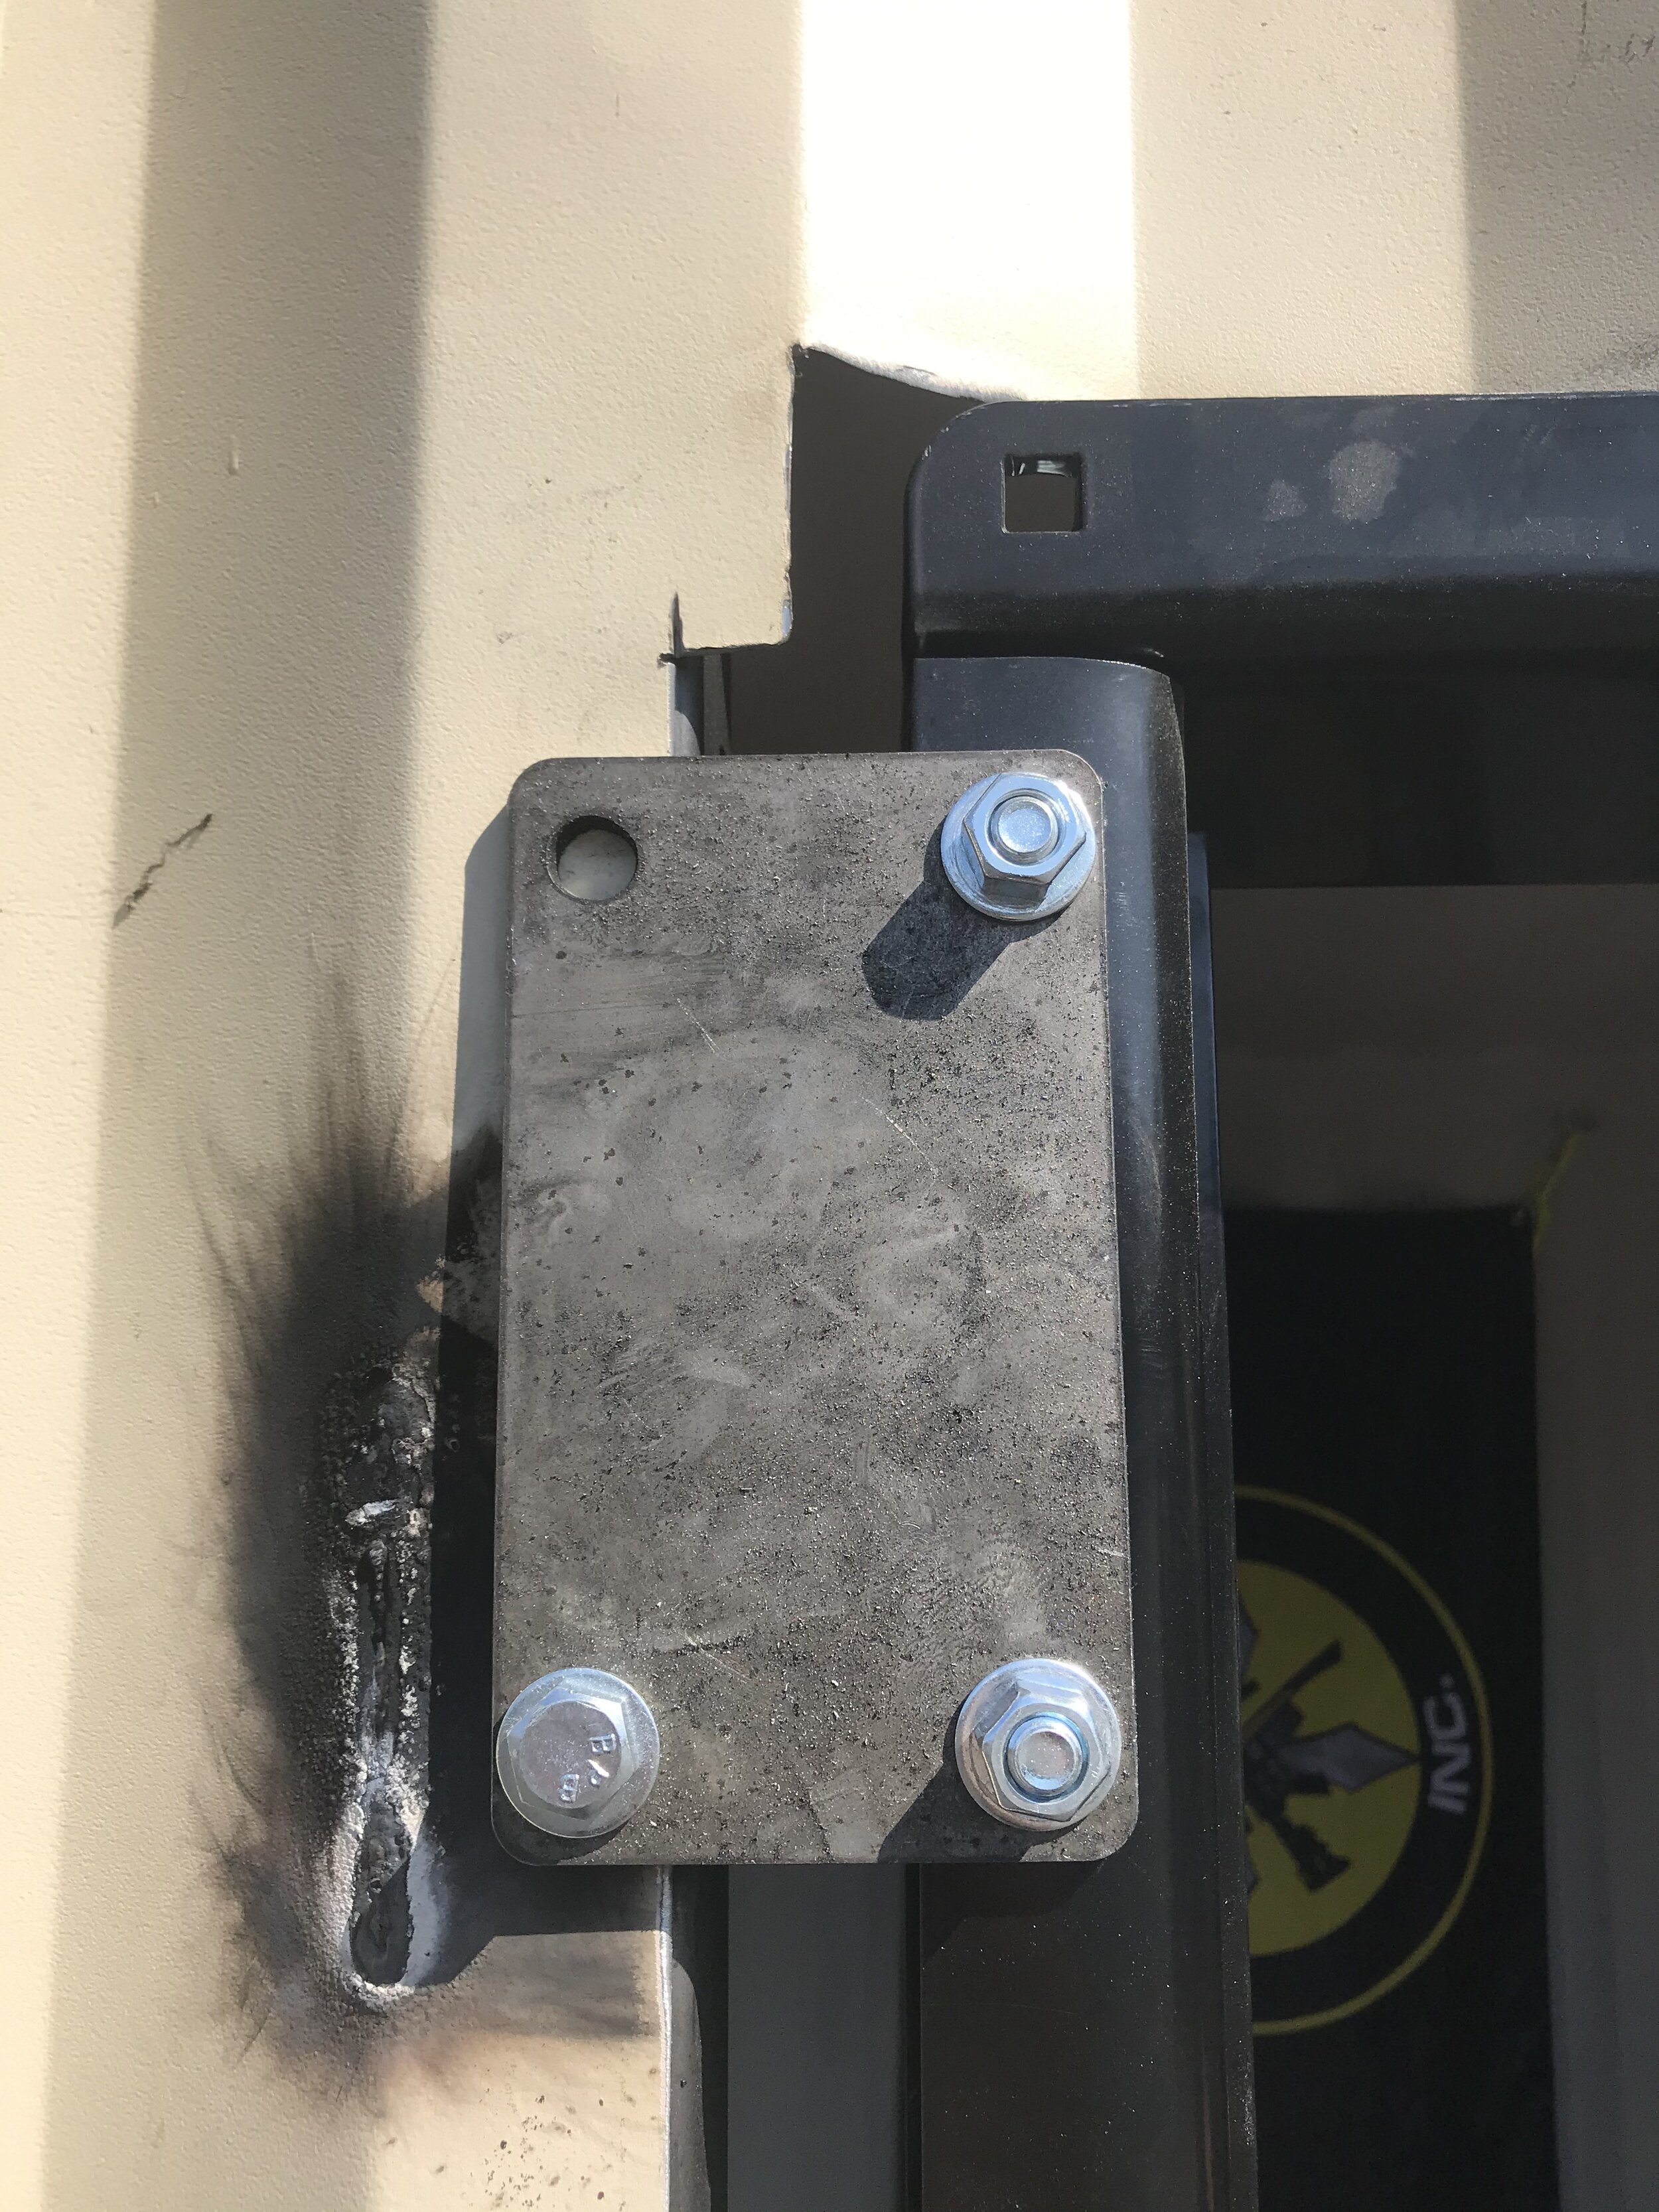
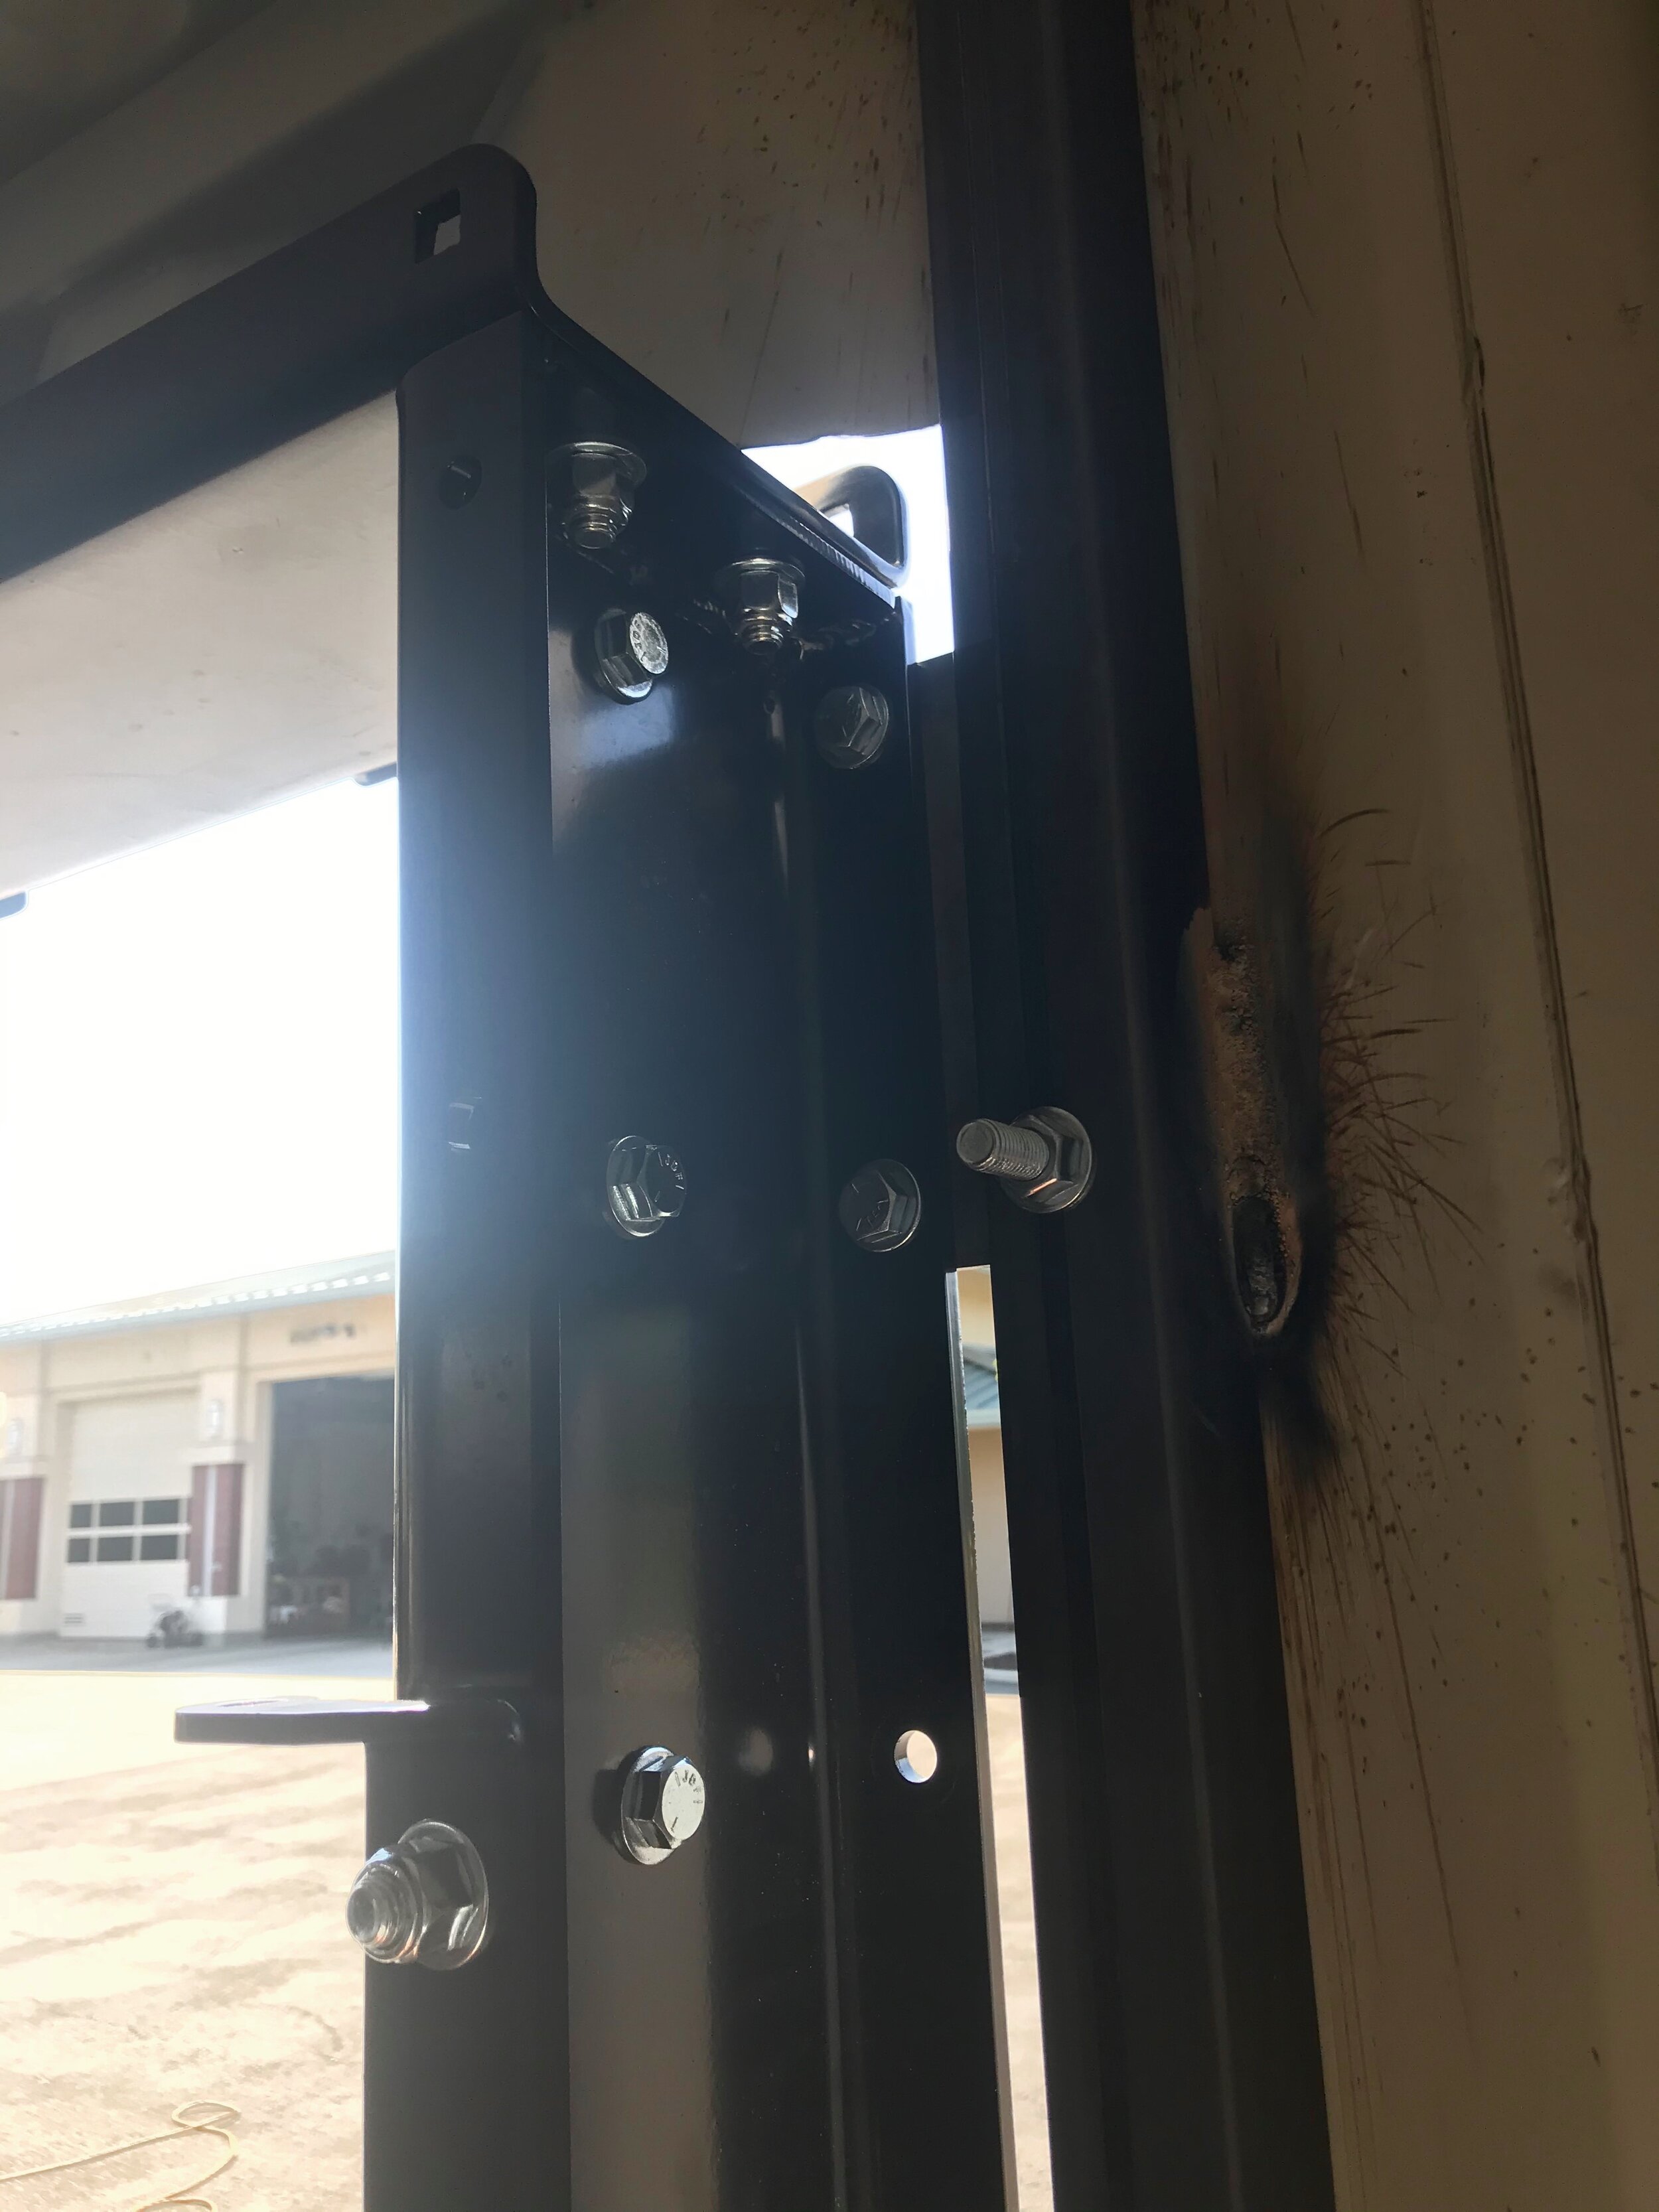
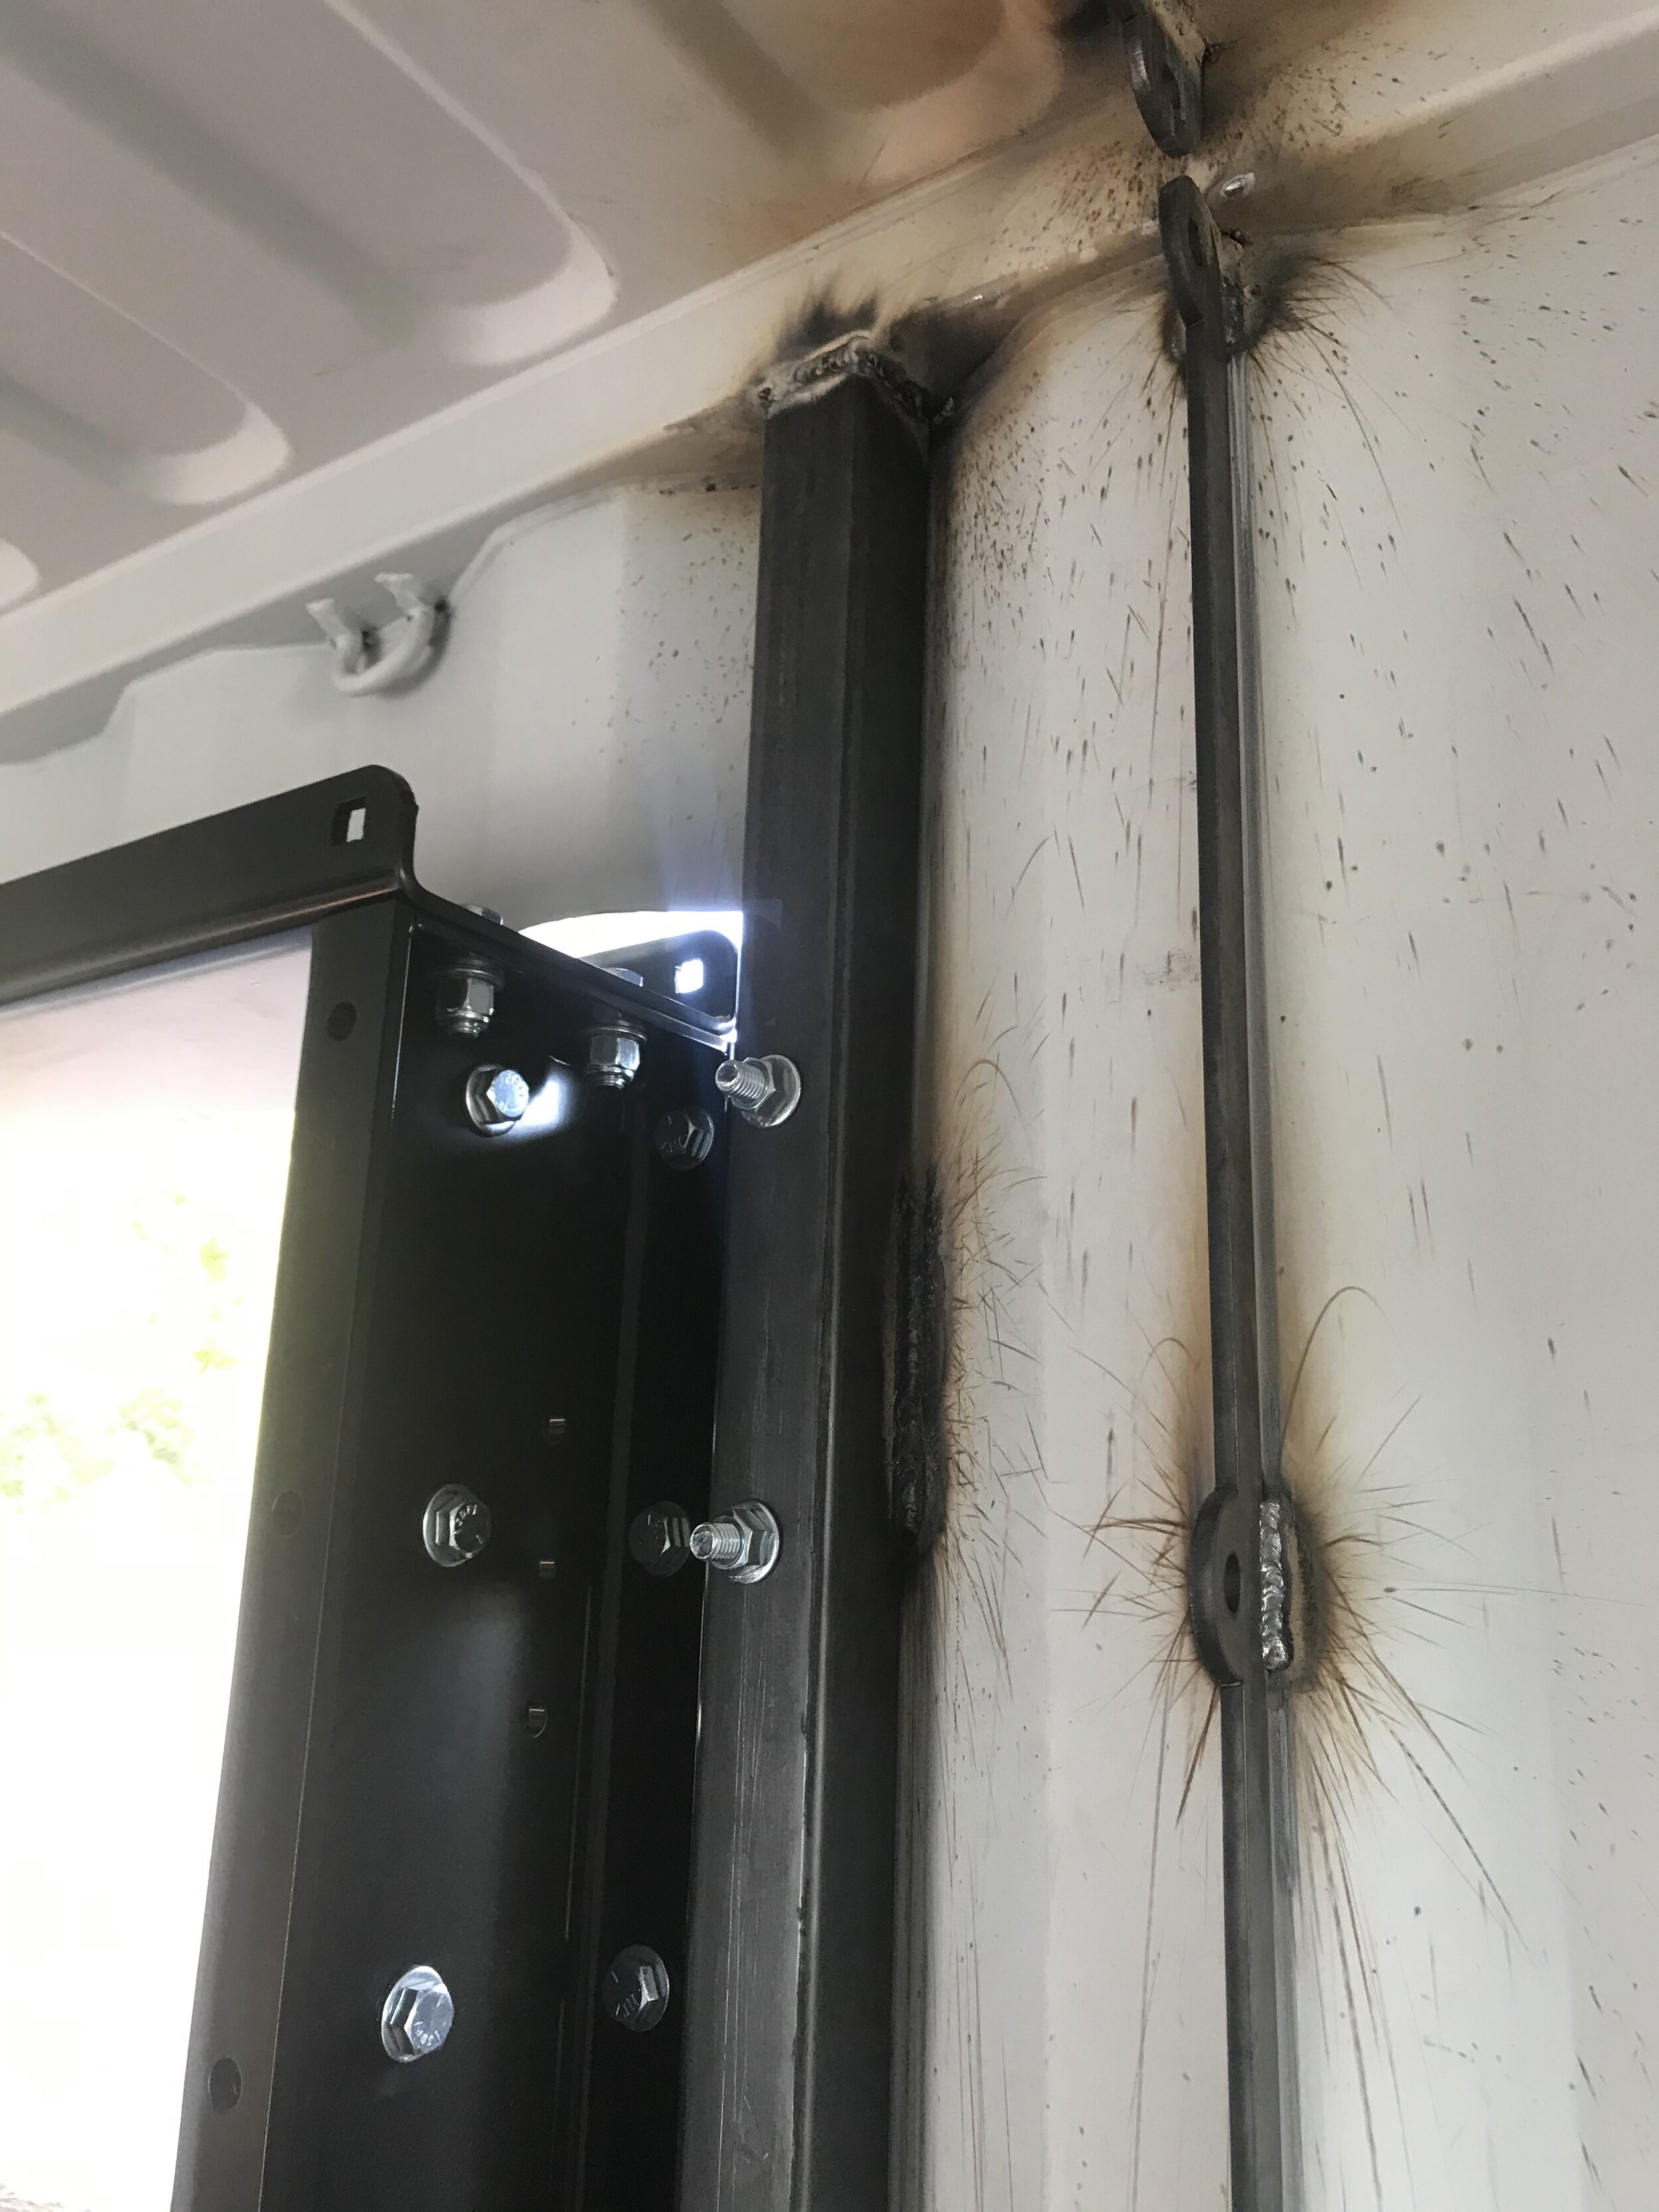
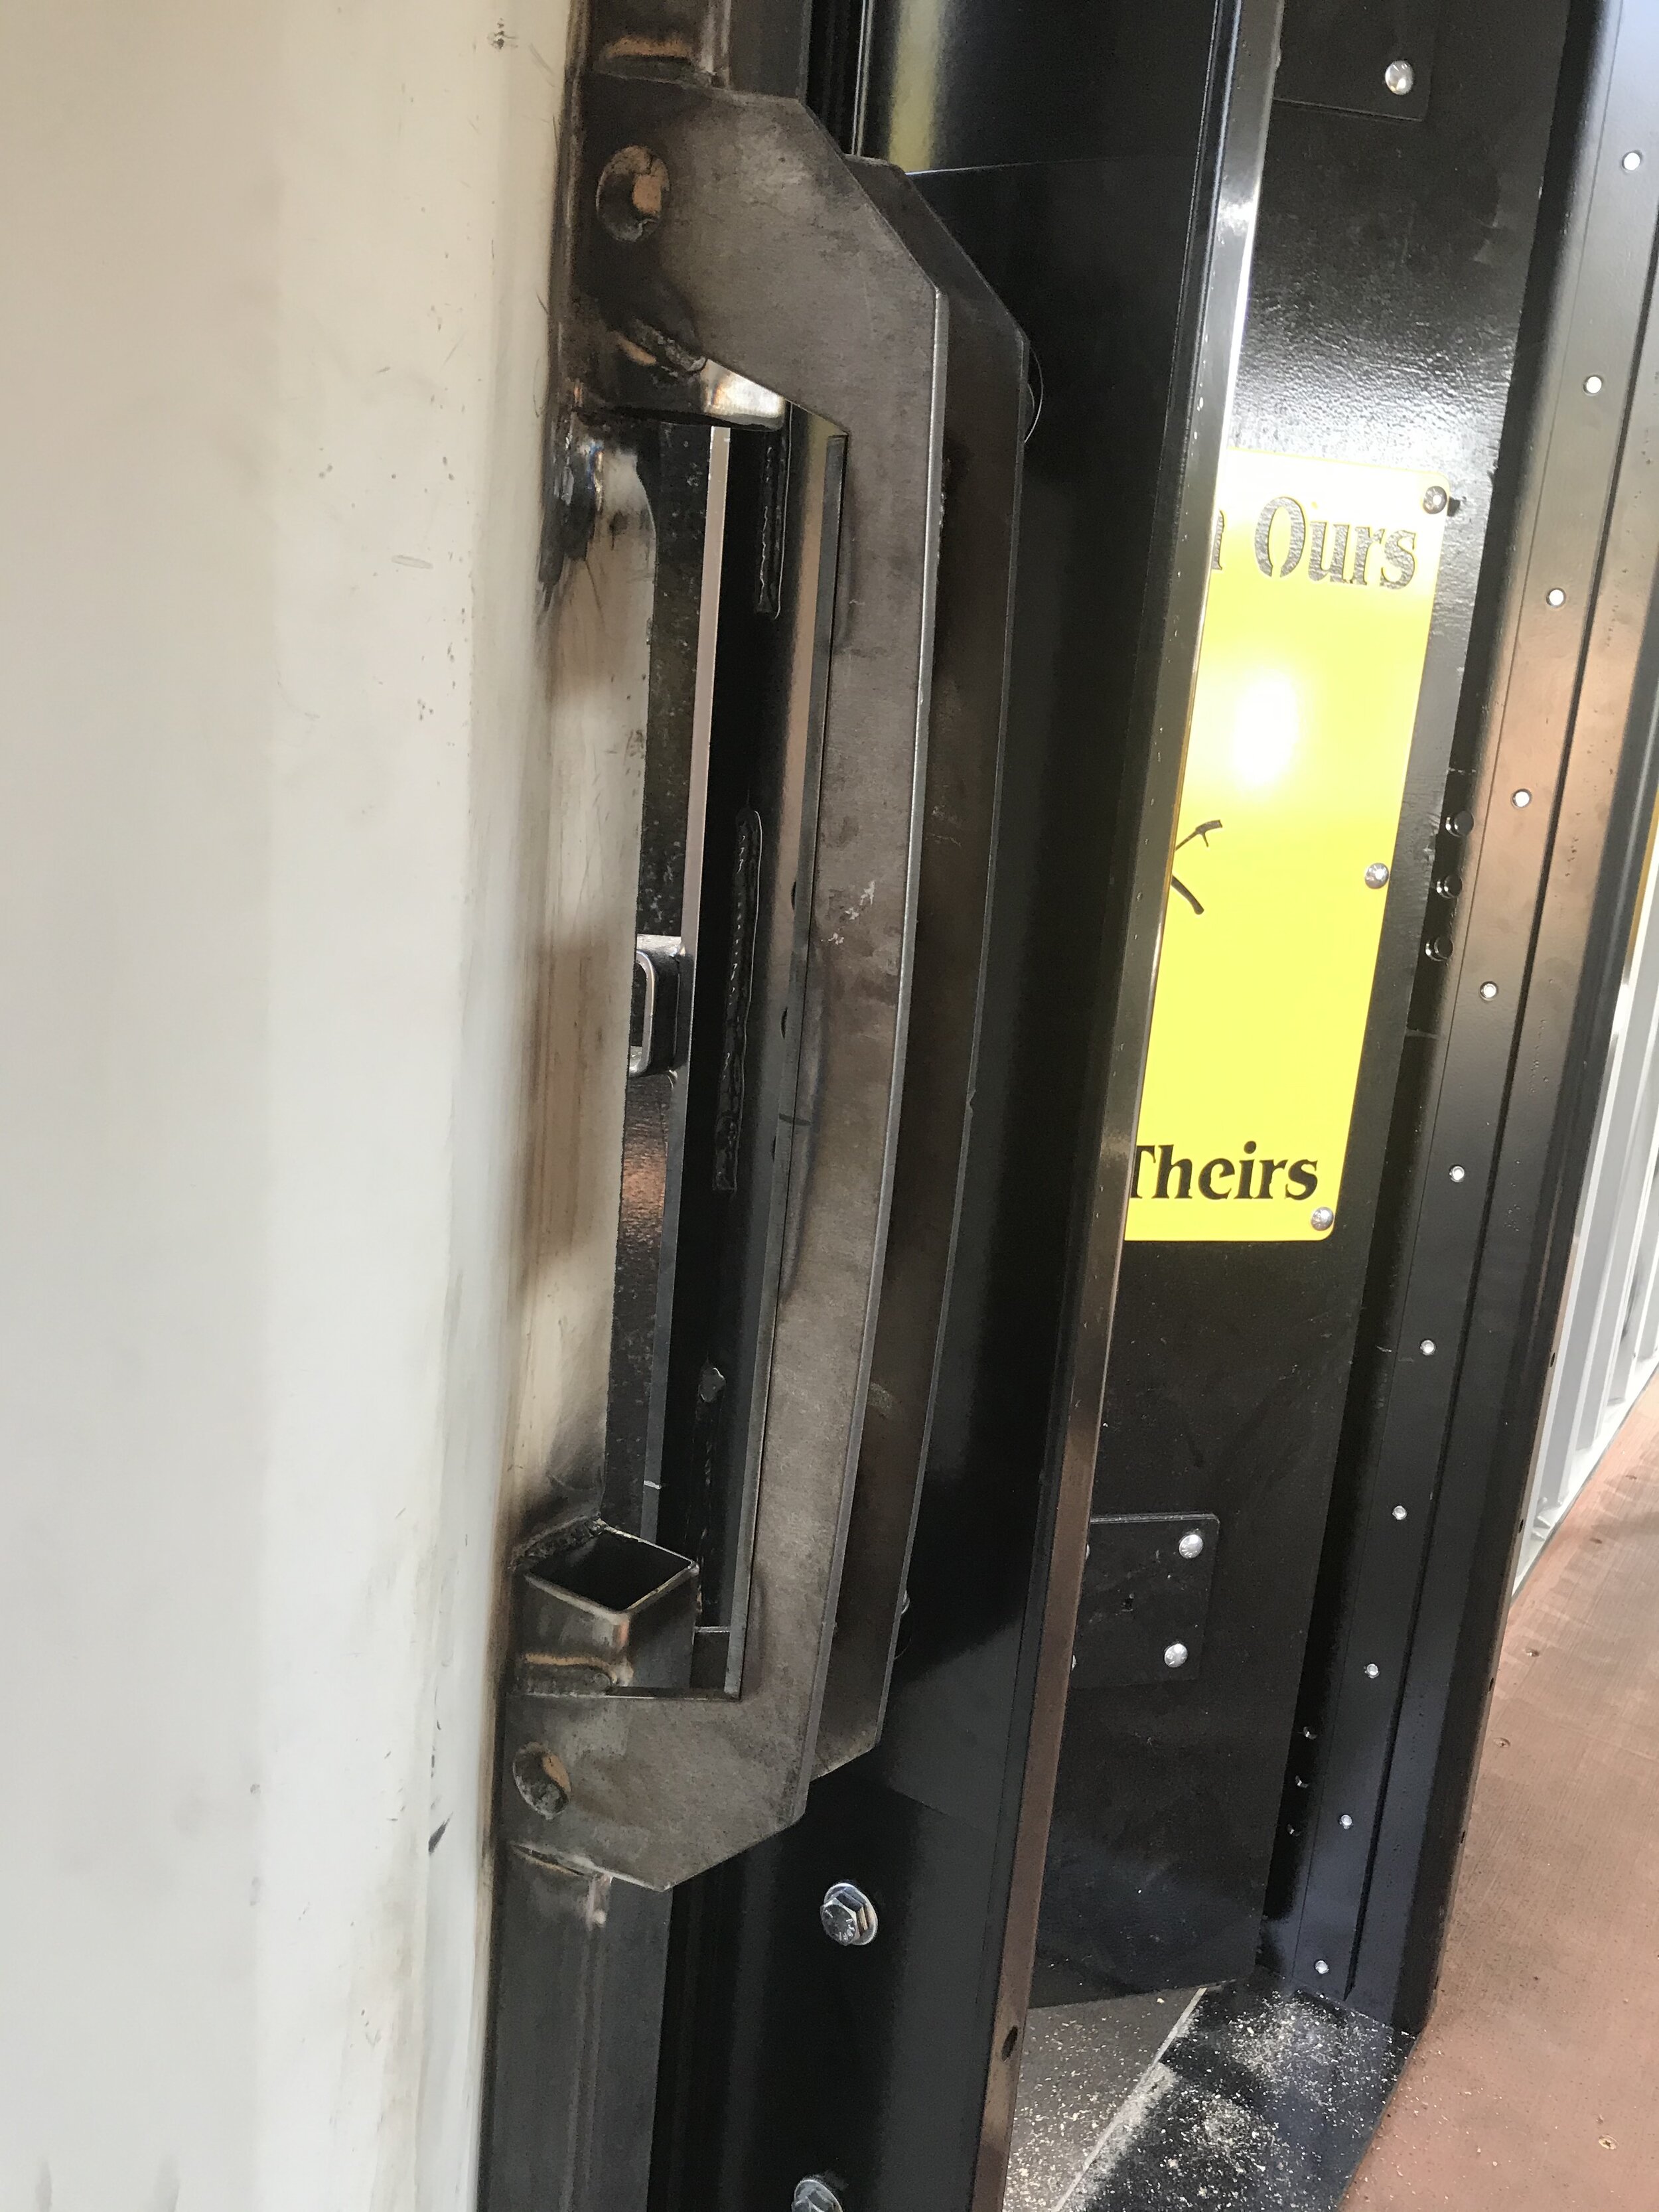
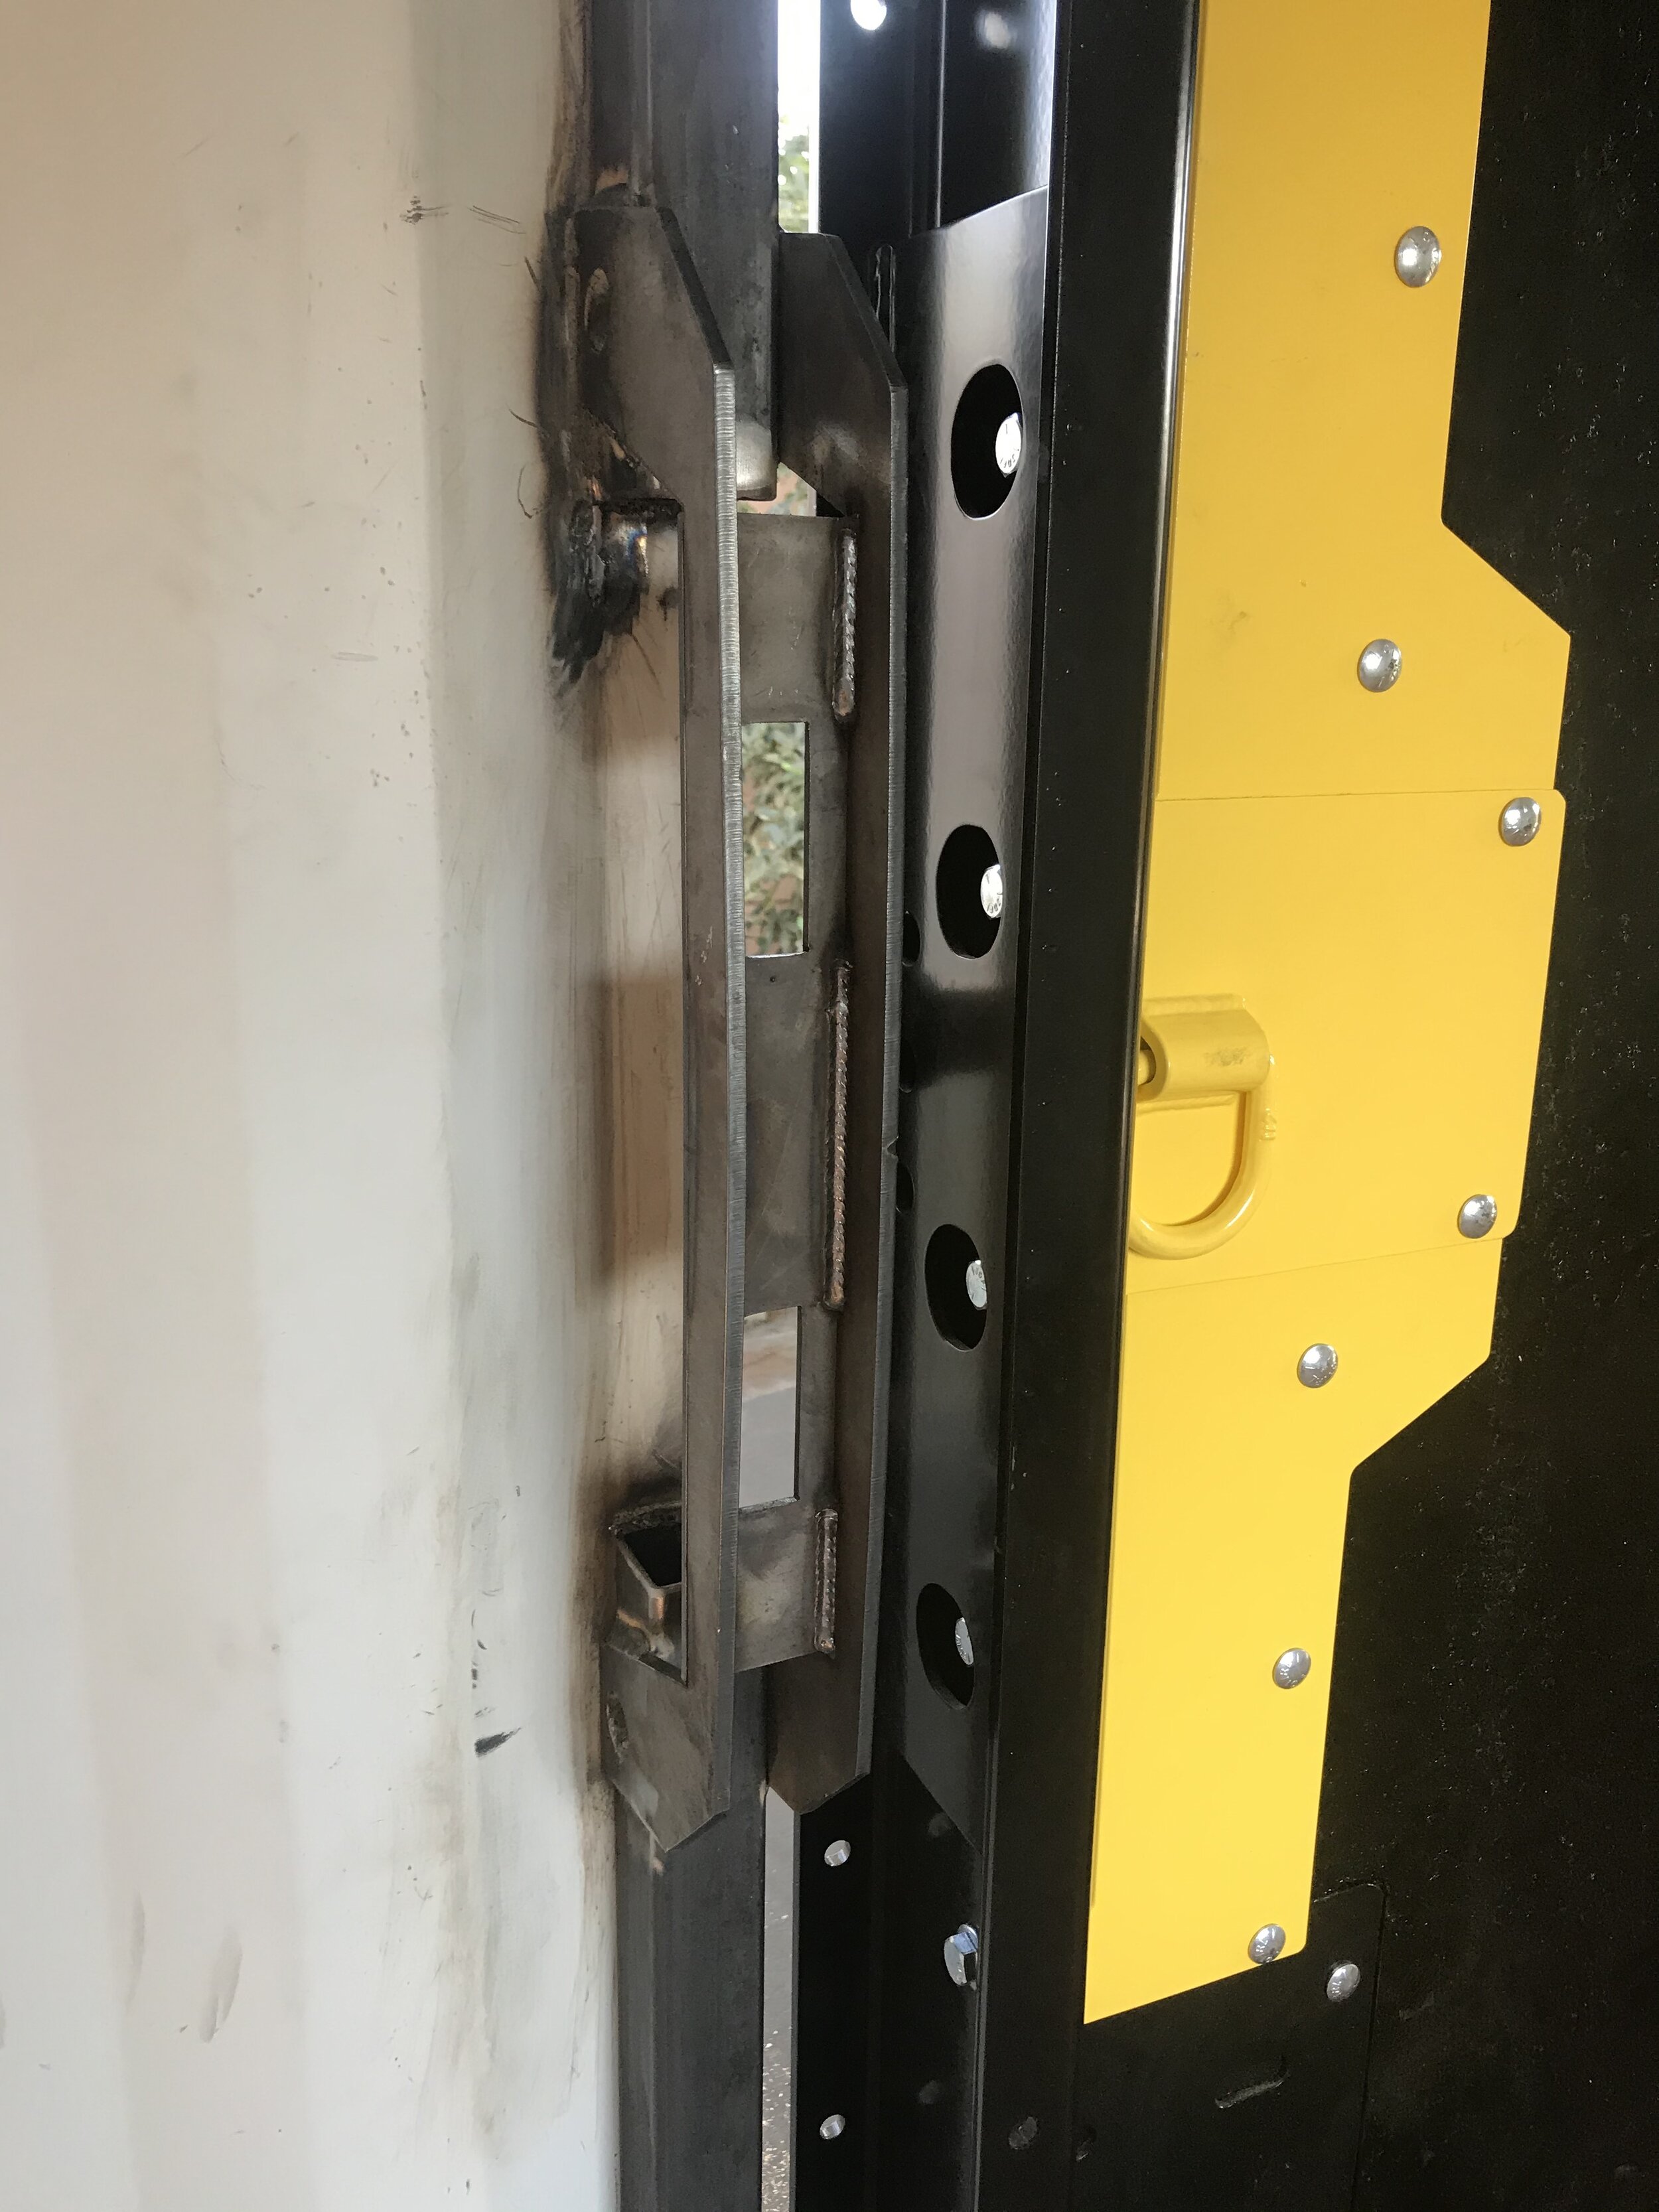
- Frame the interior with square tubing / Mount and Weld to interior walls
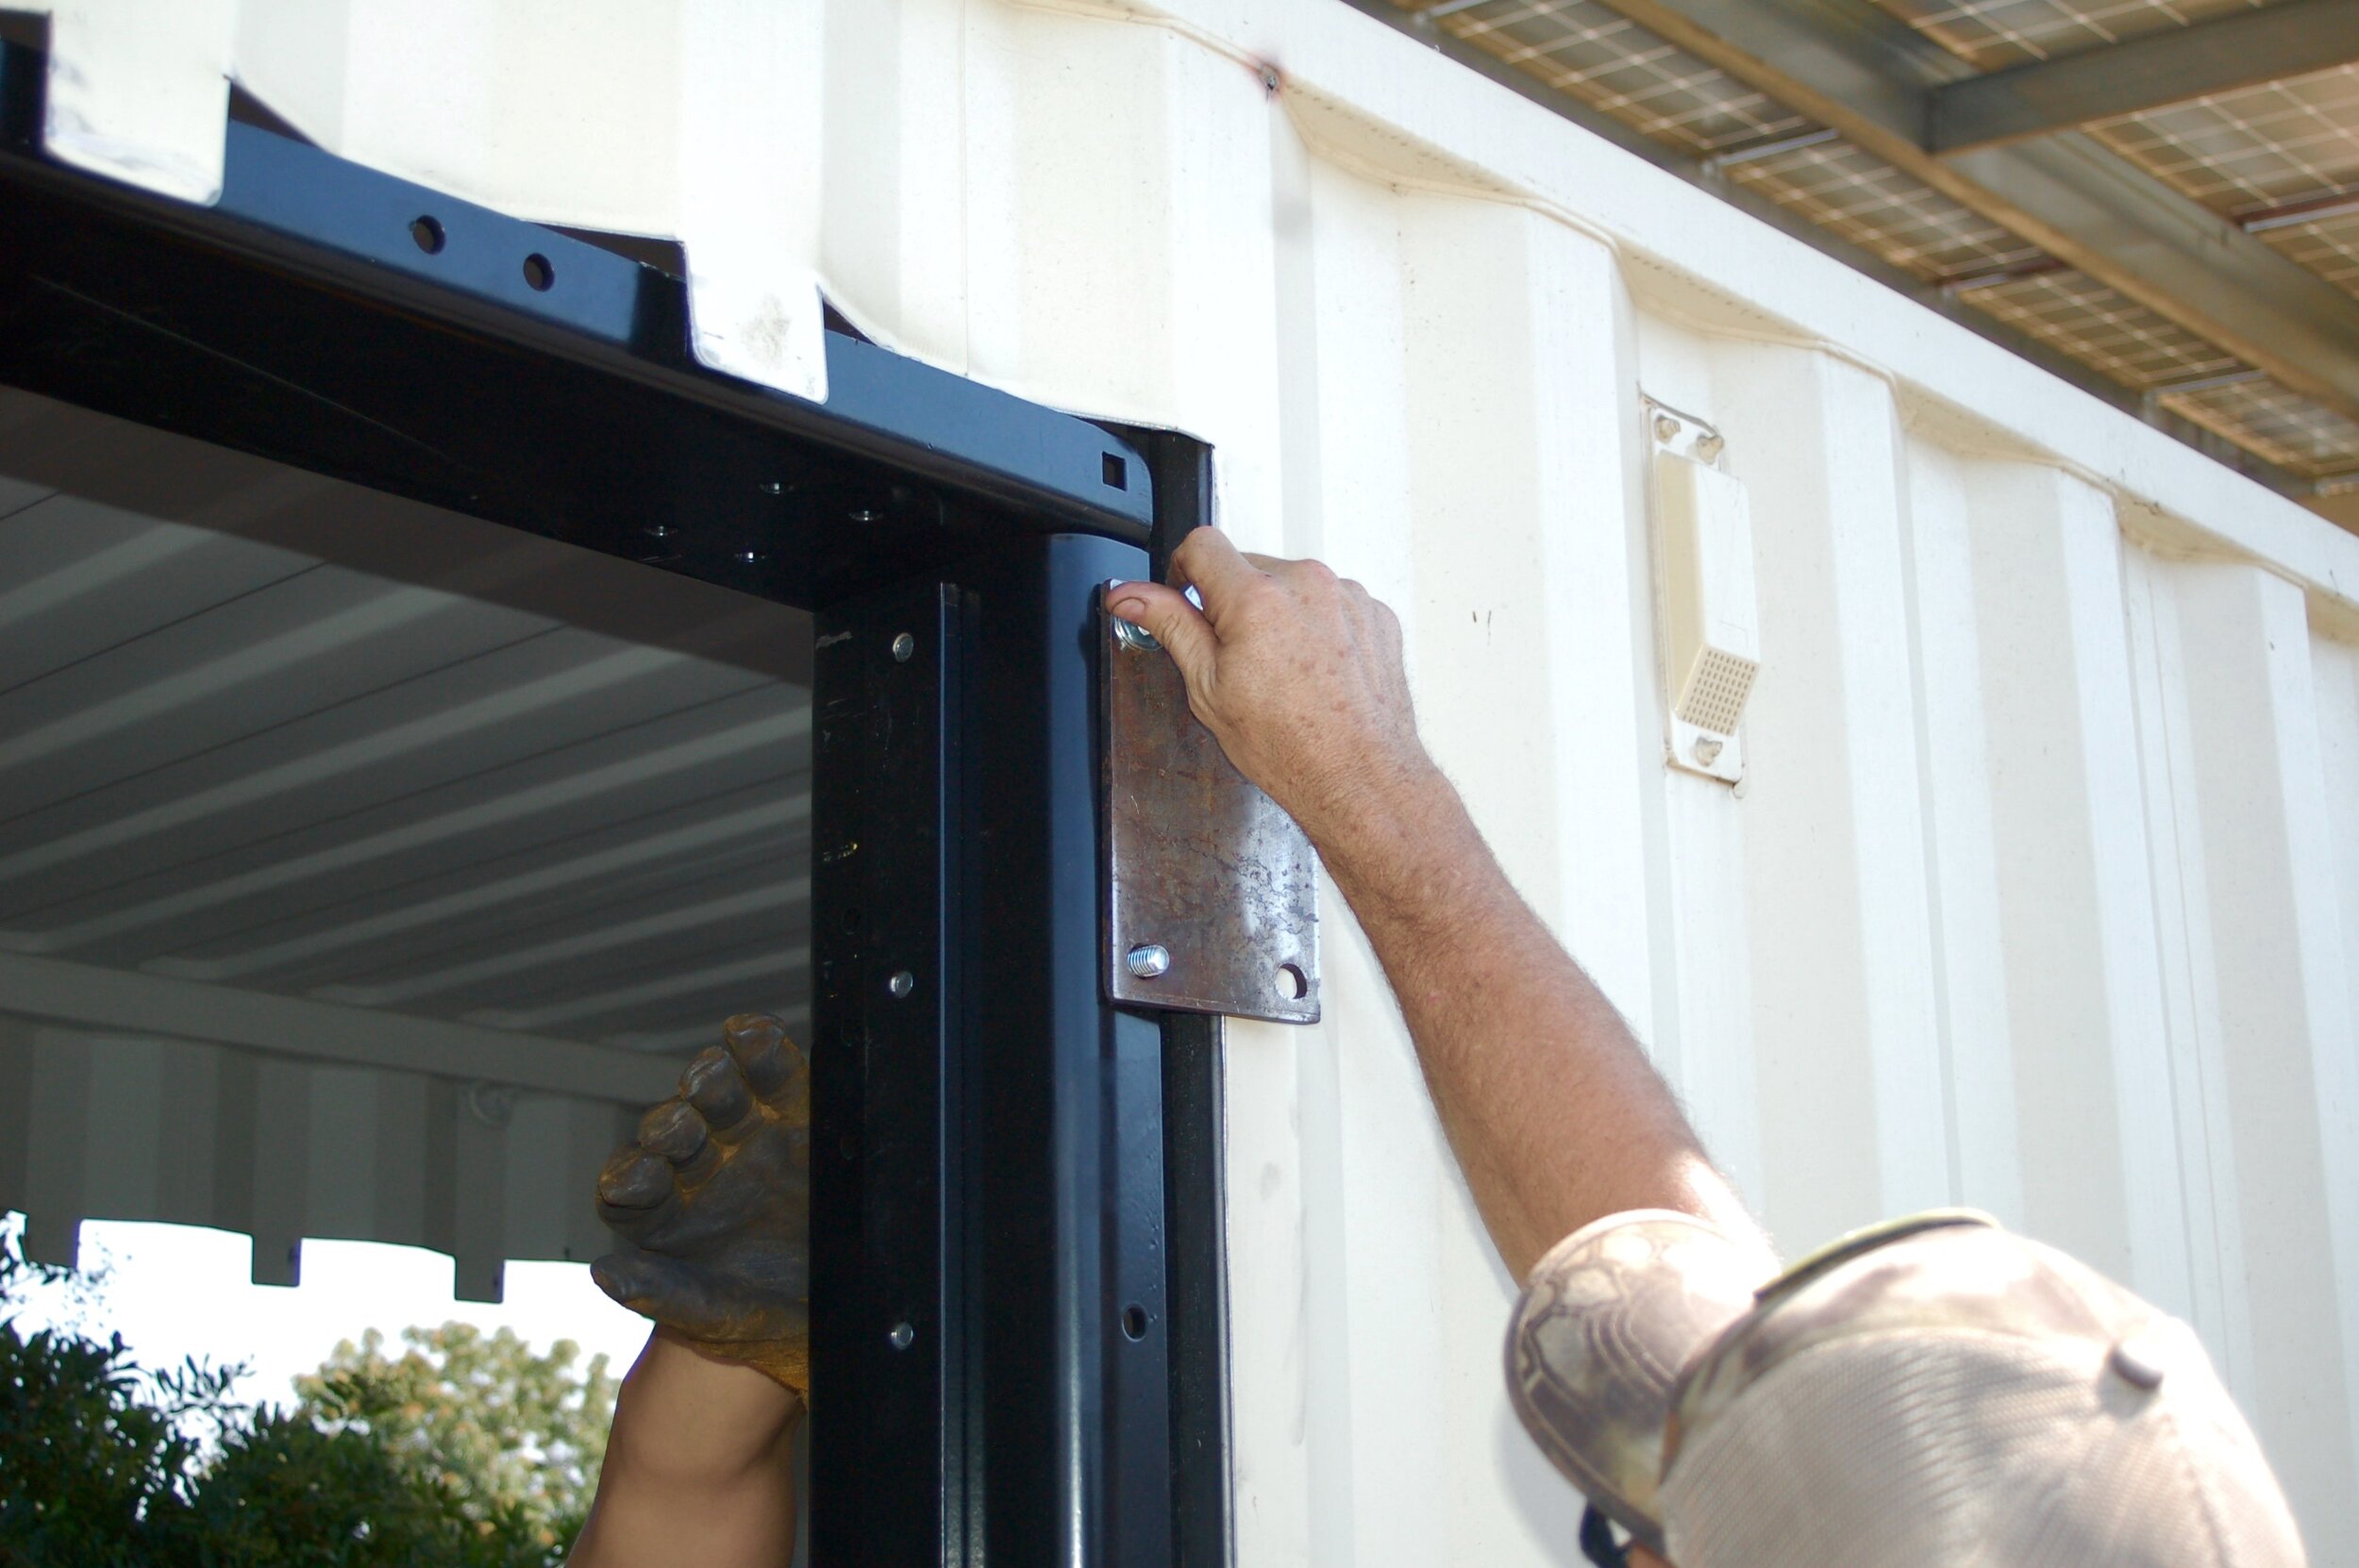
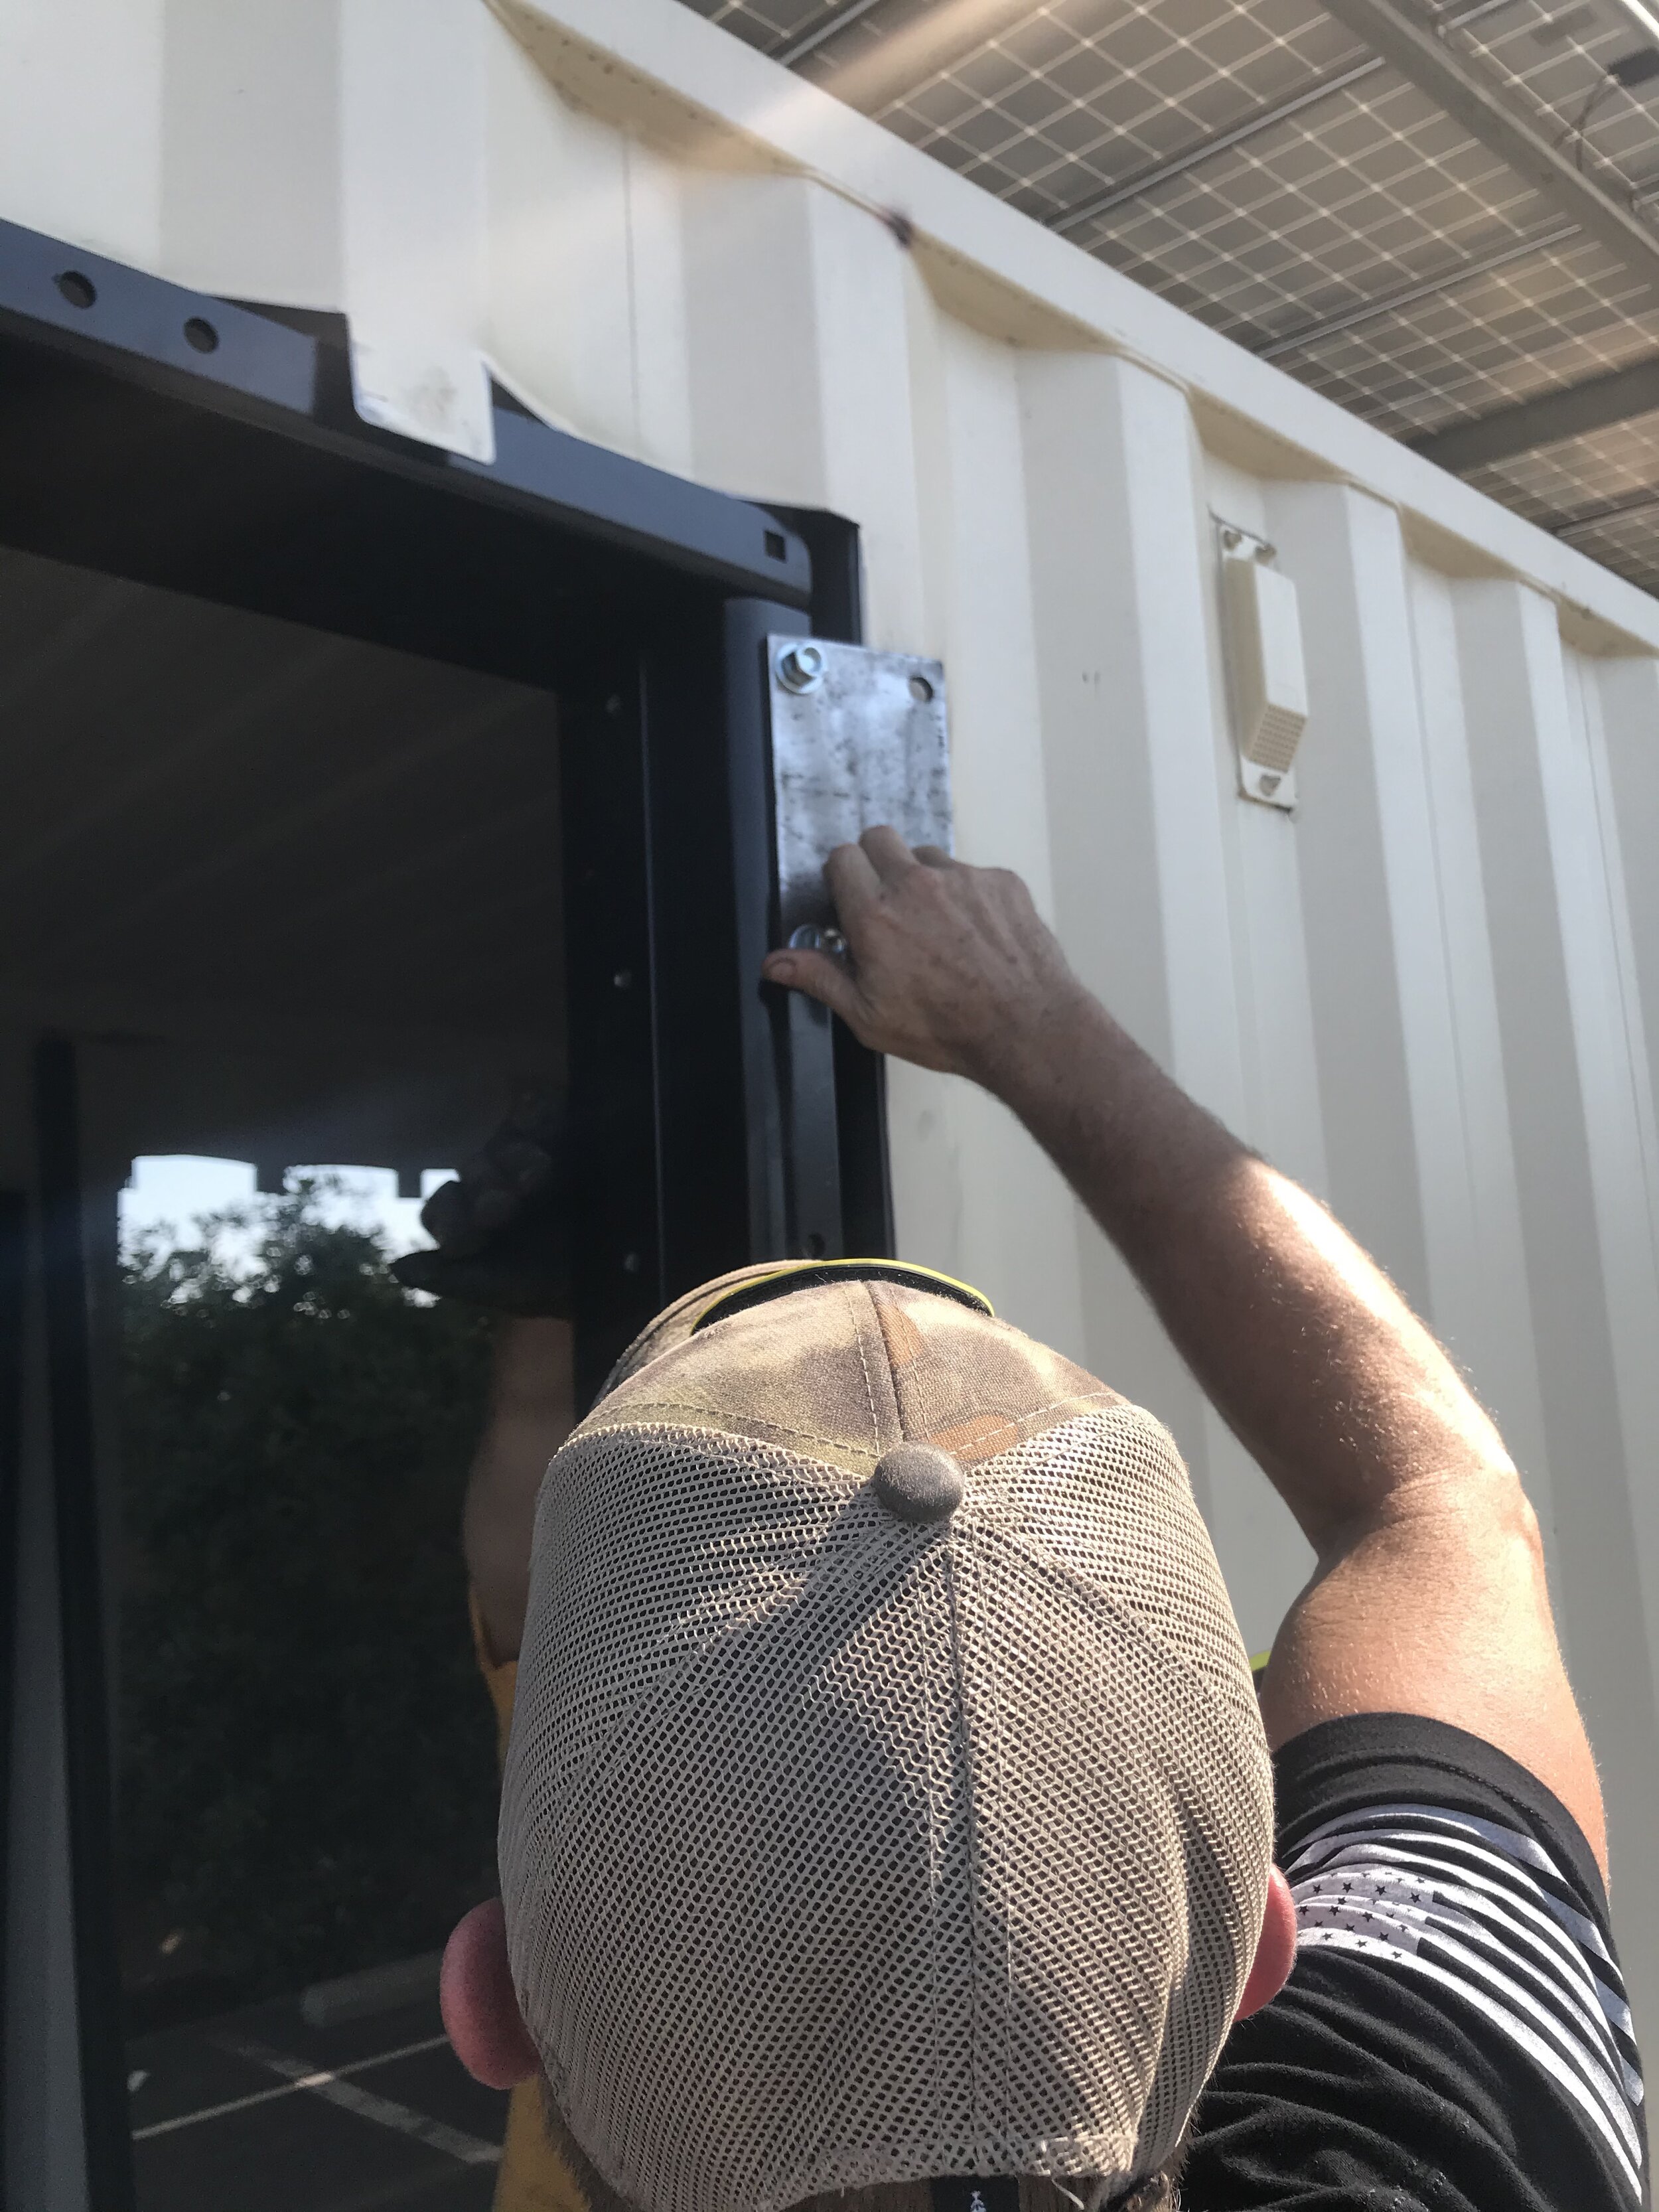
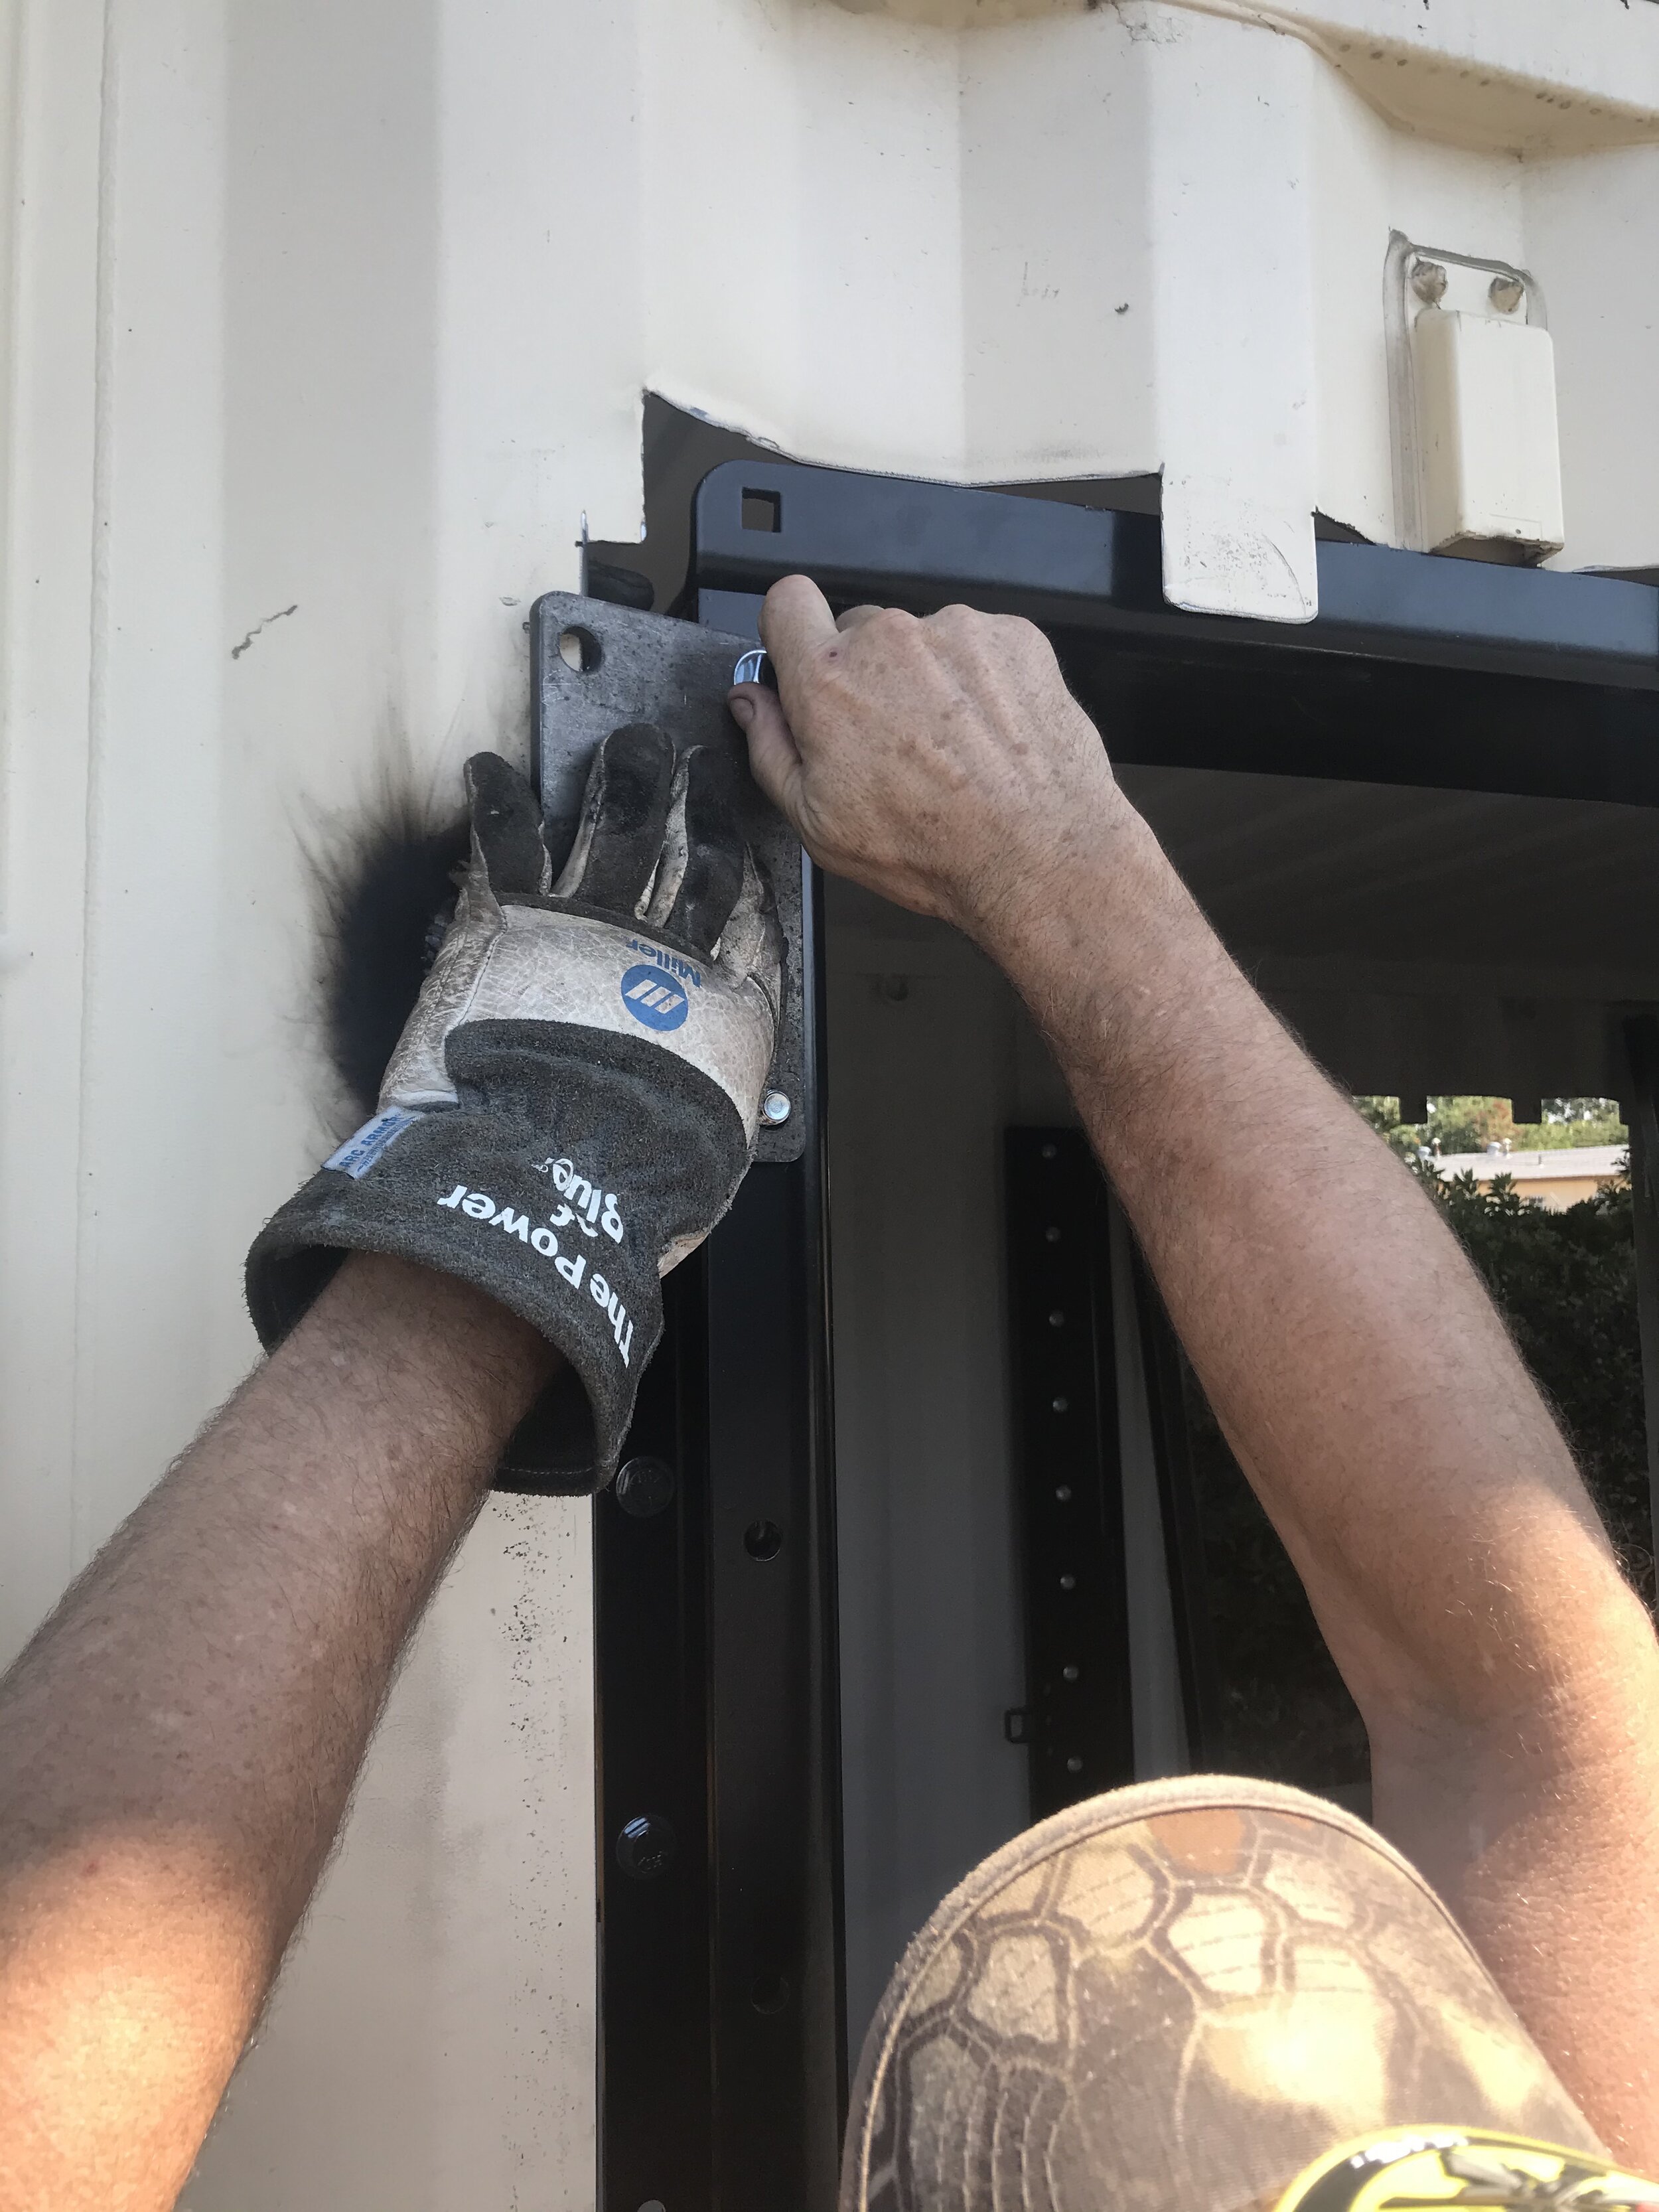
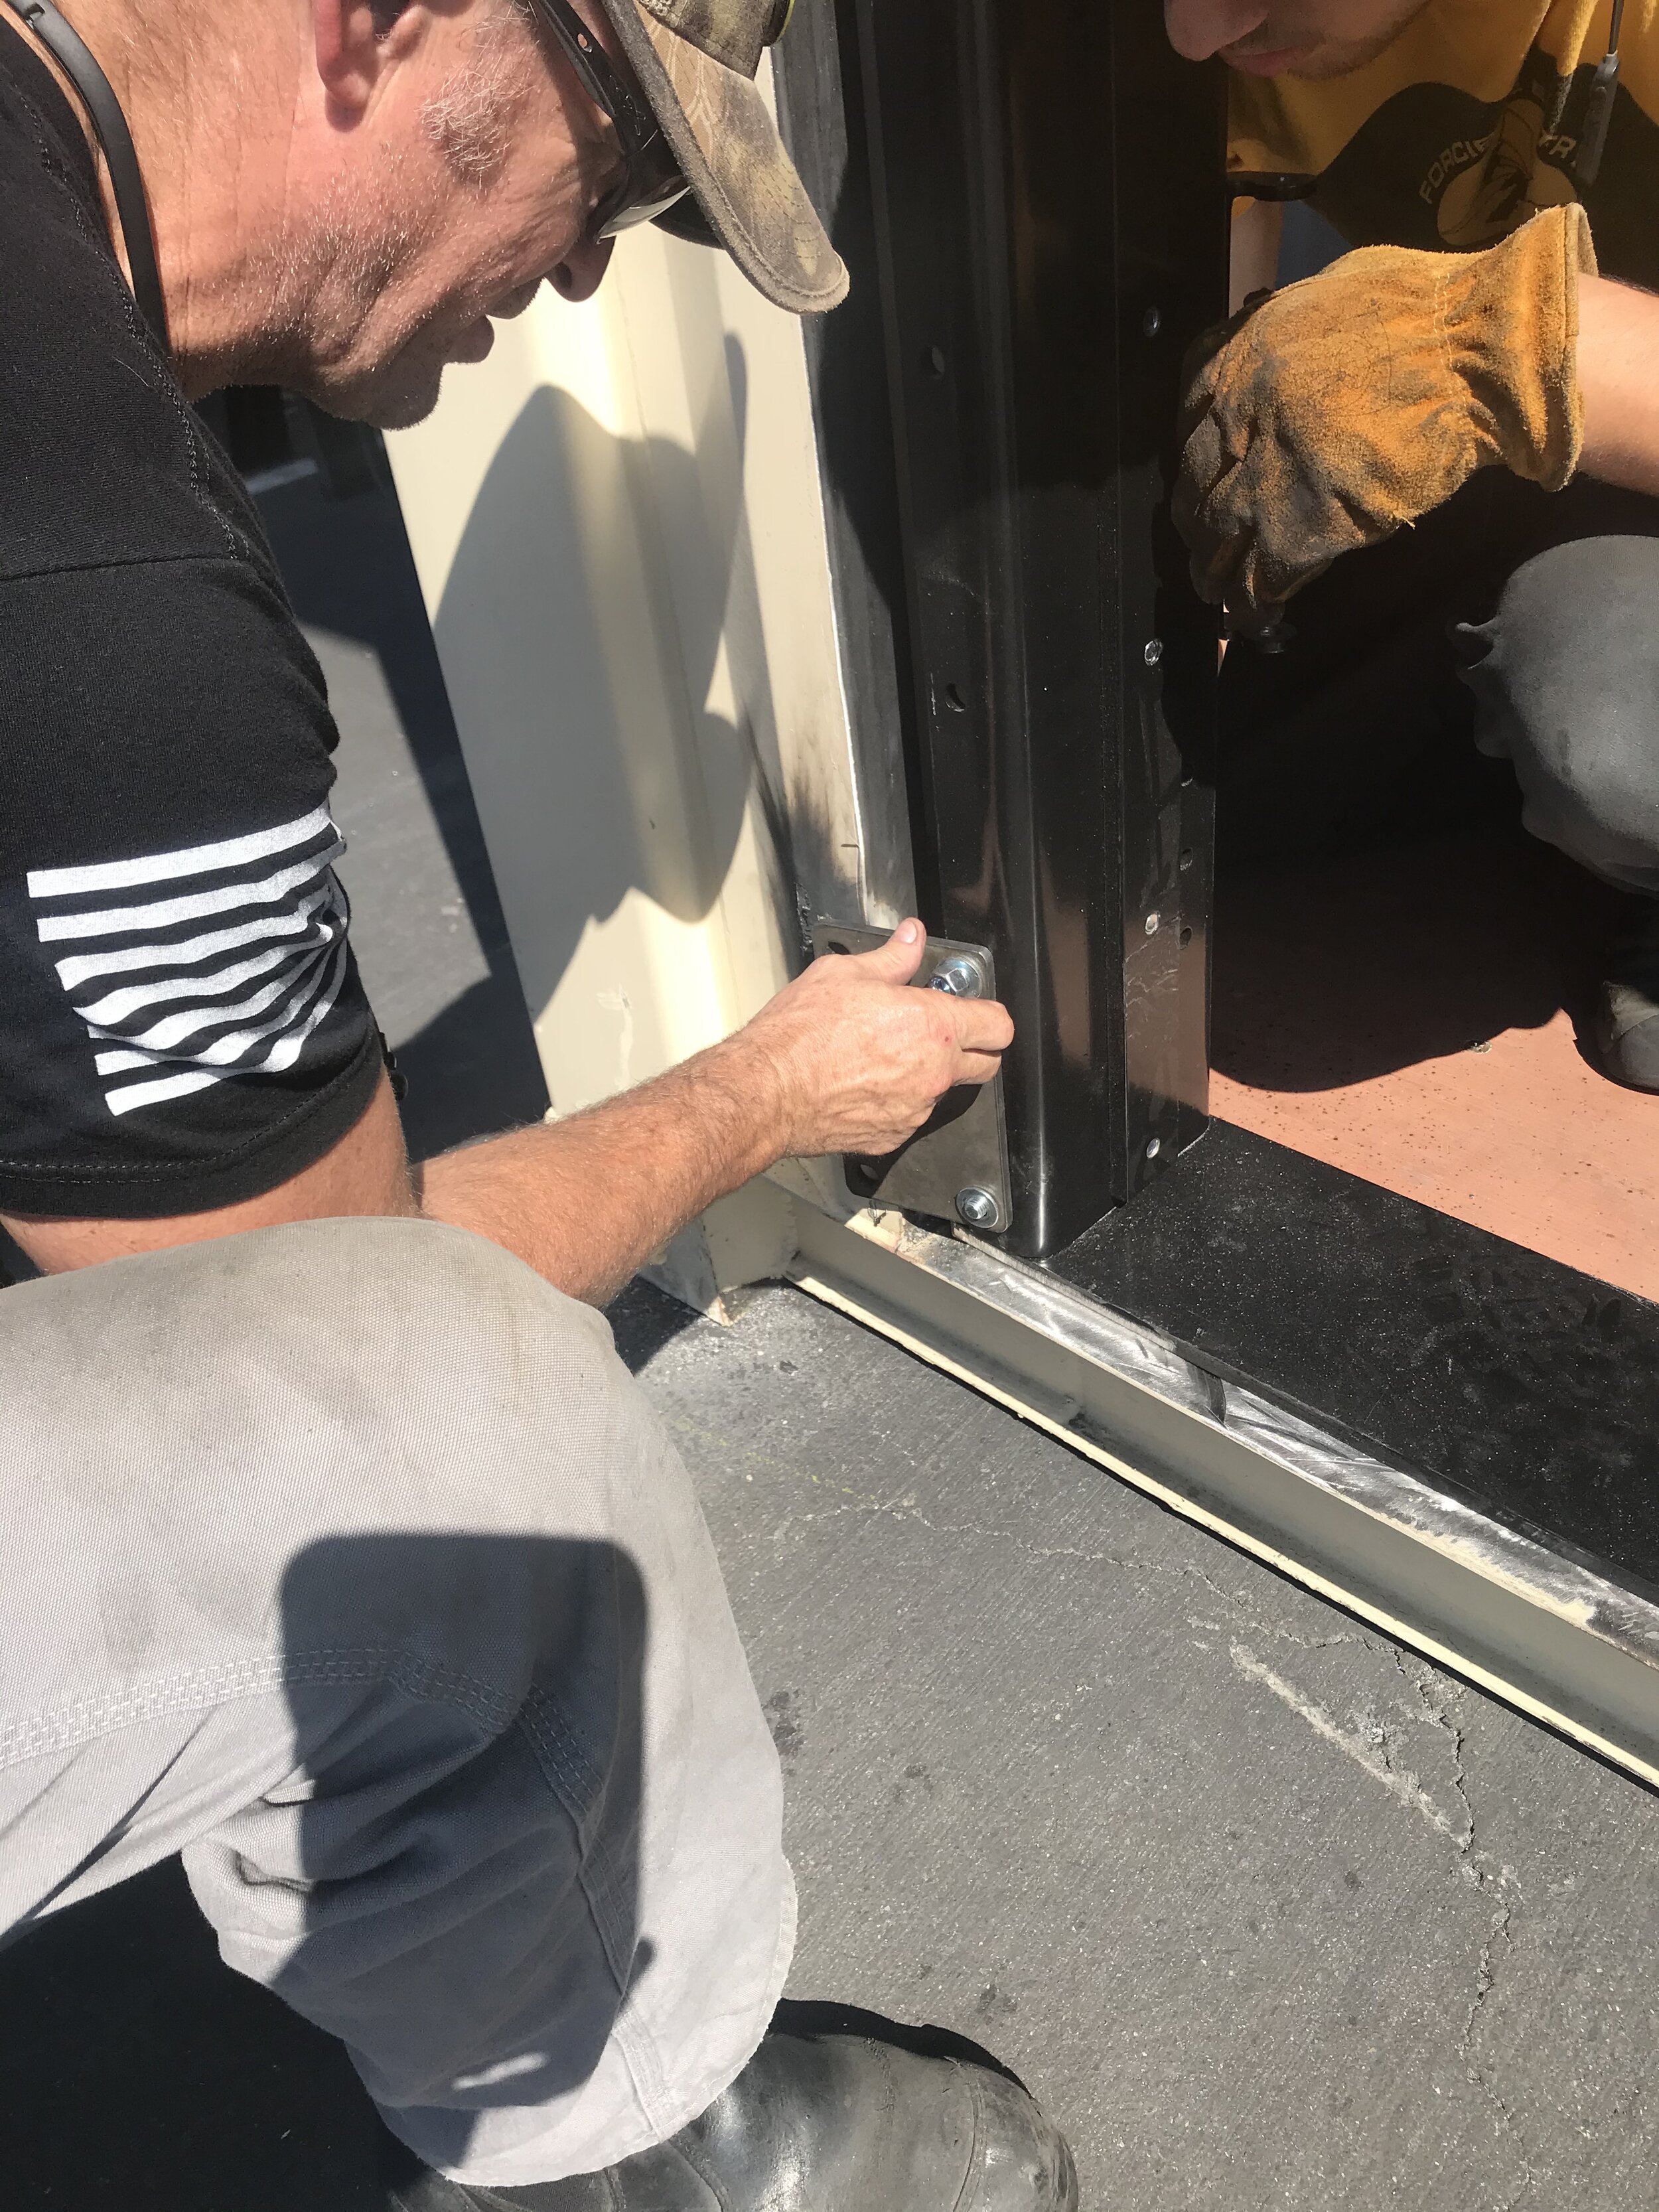
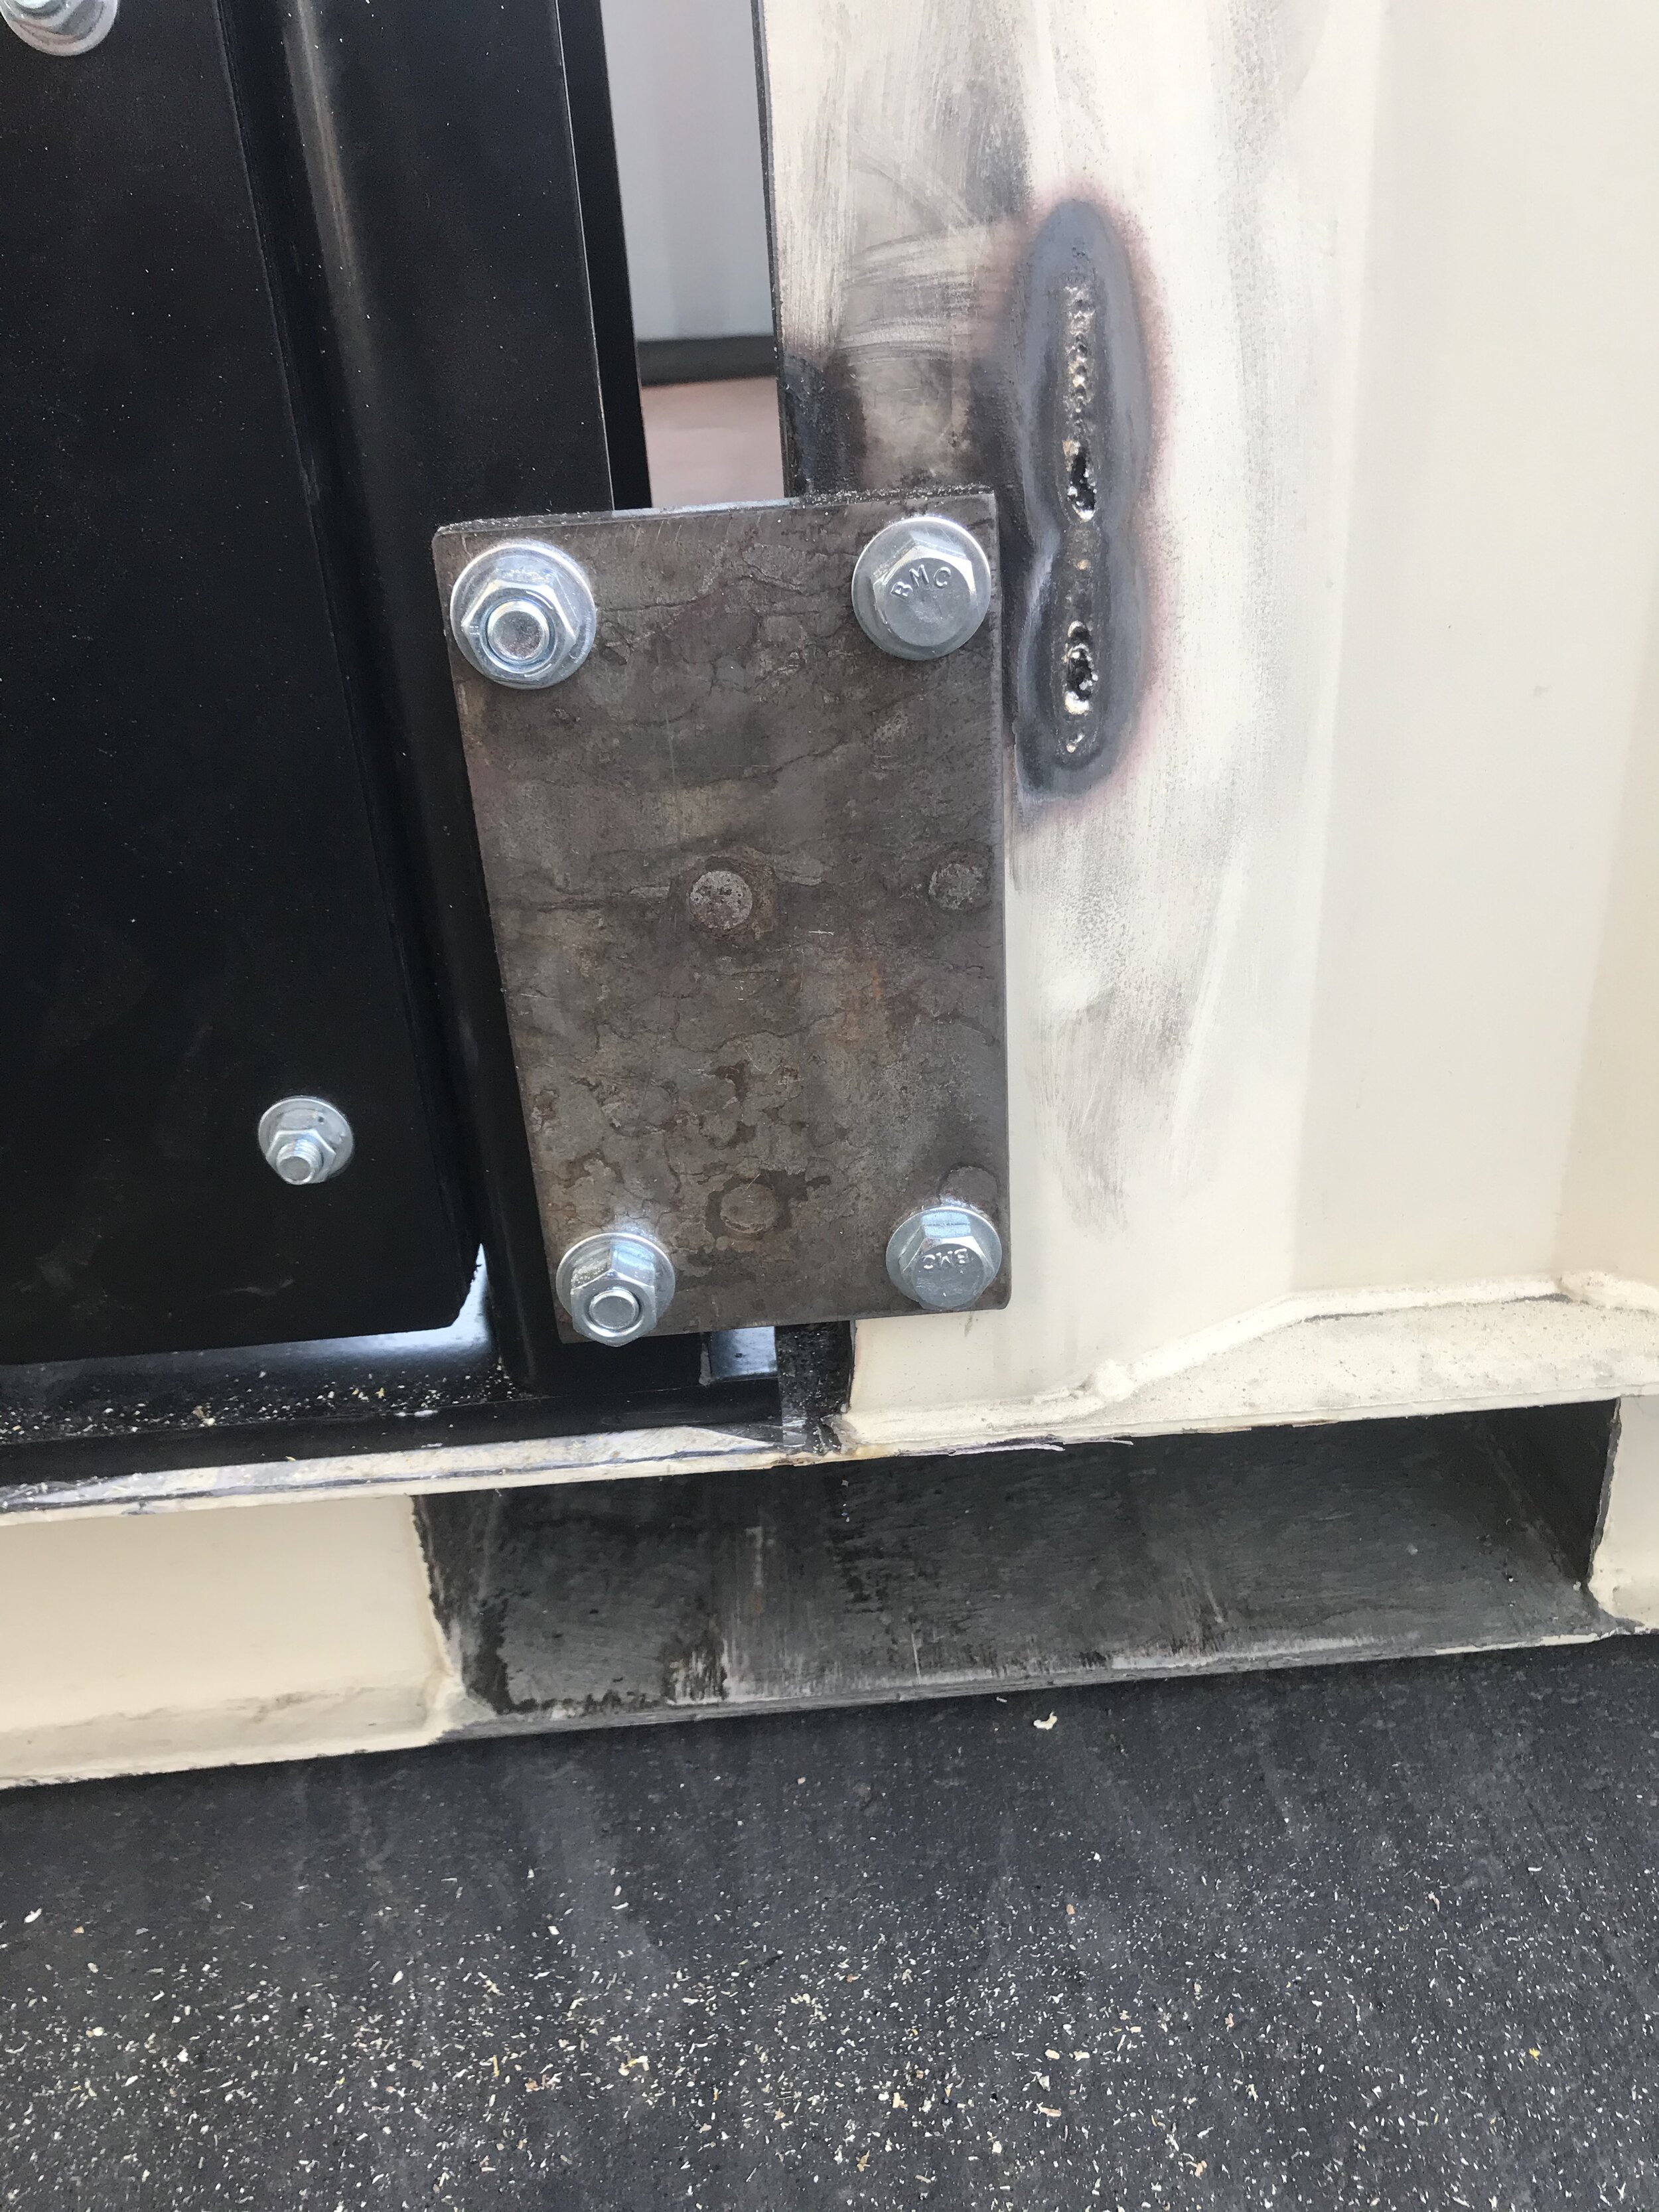
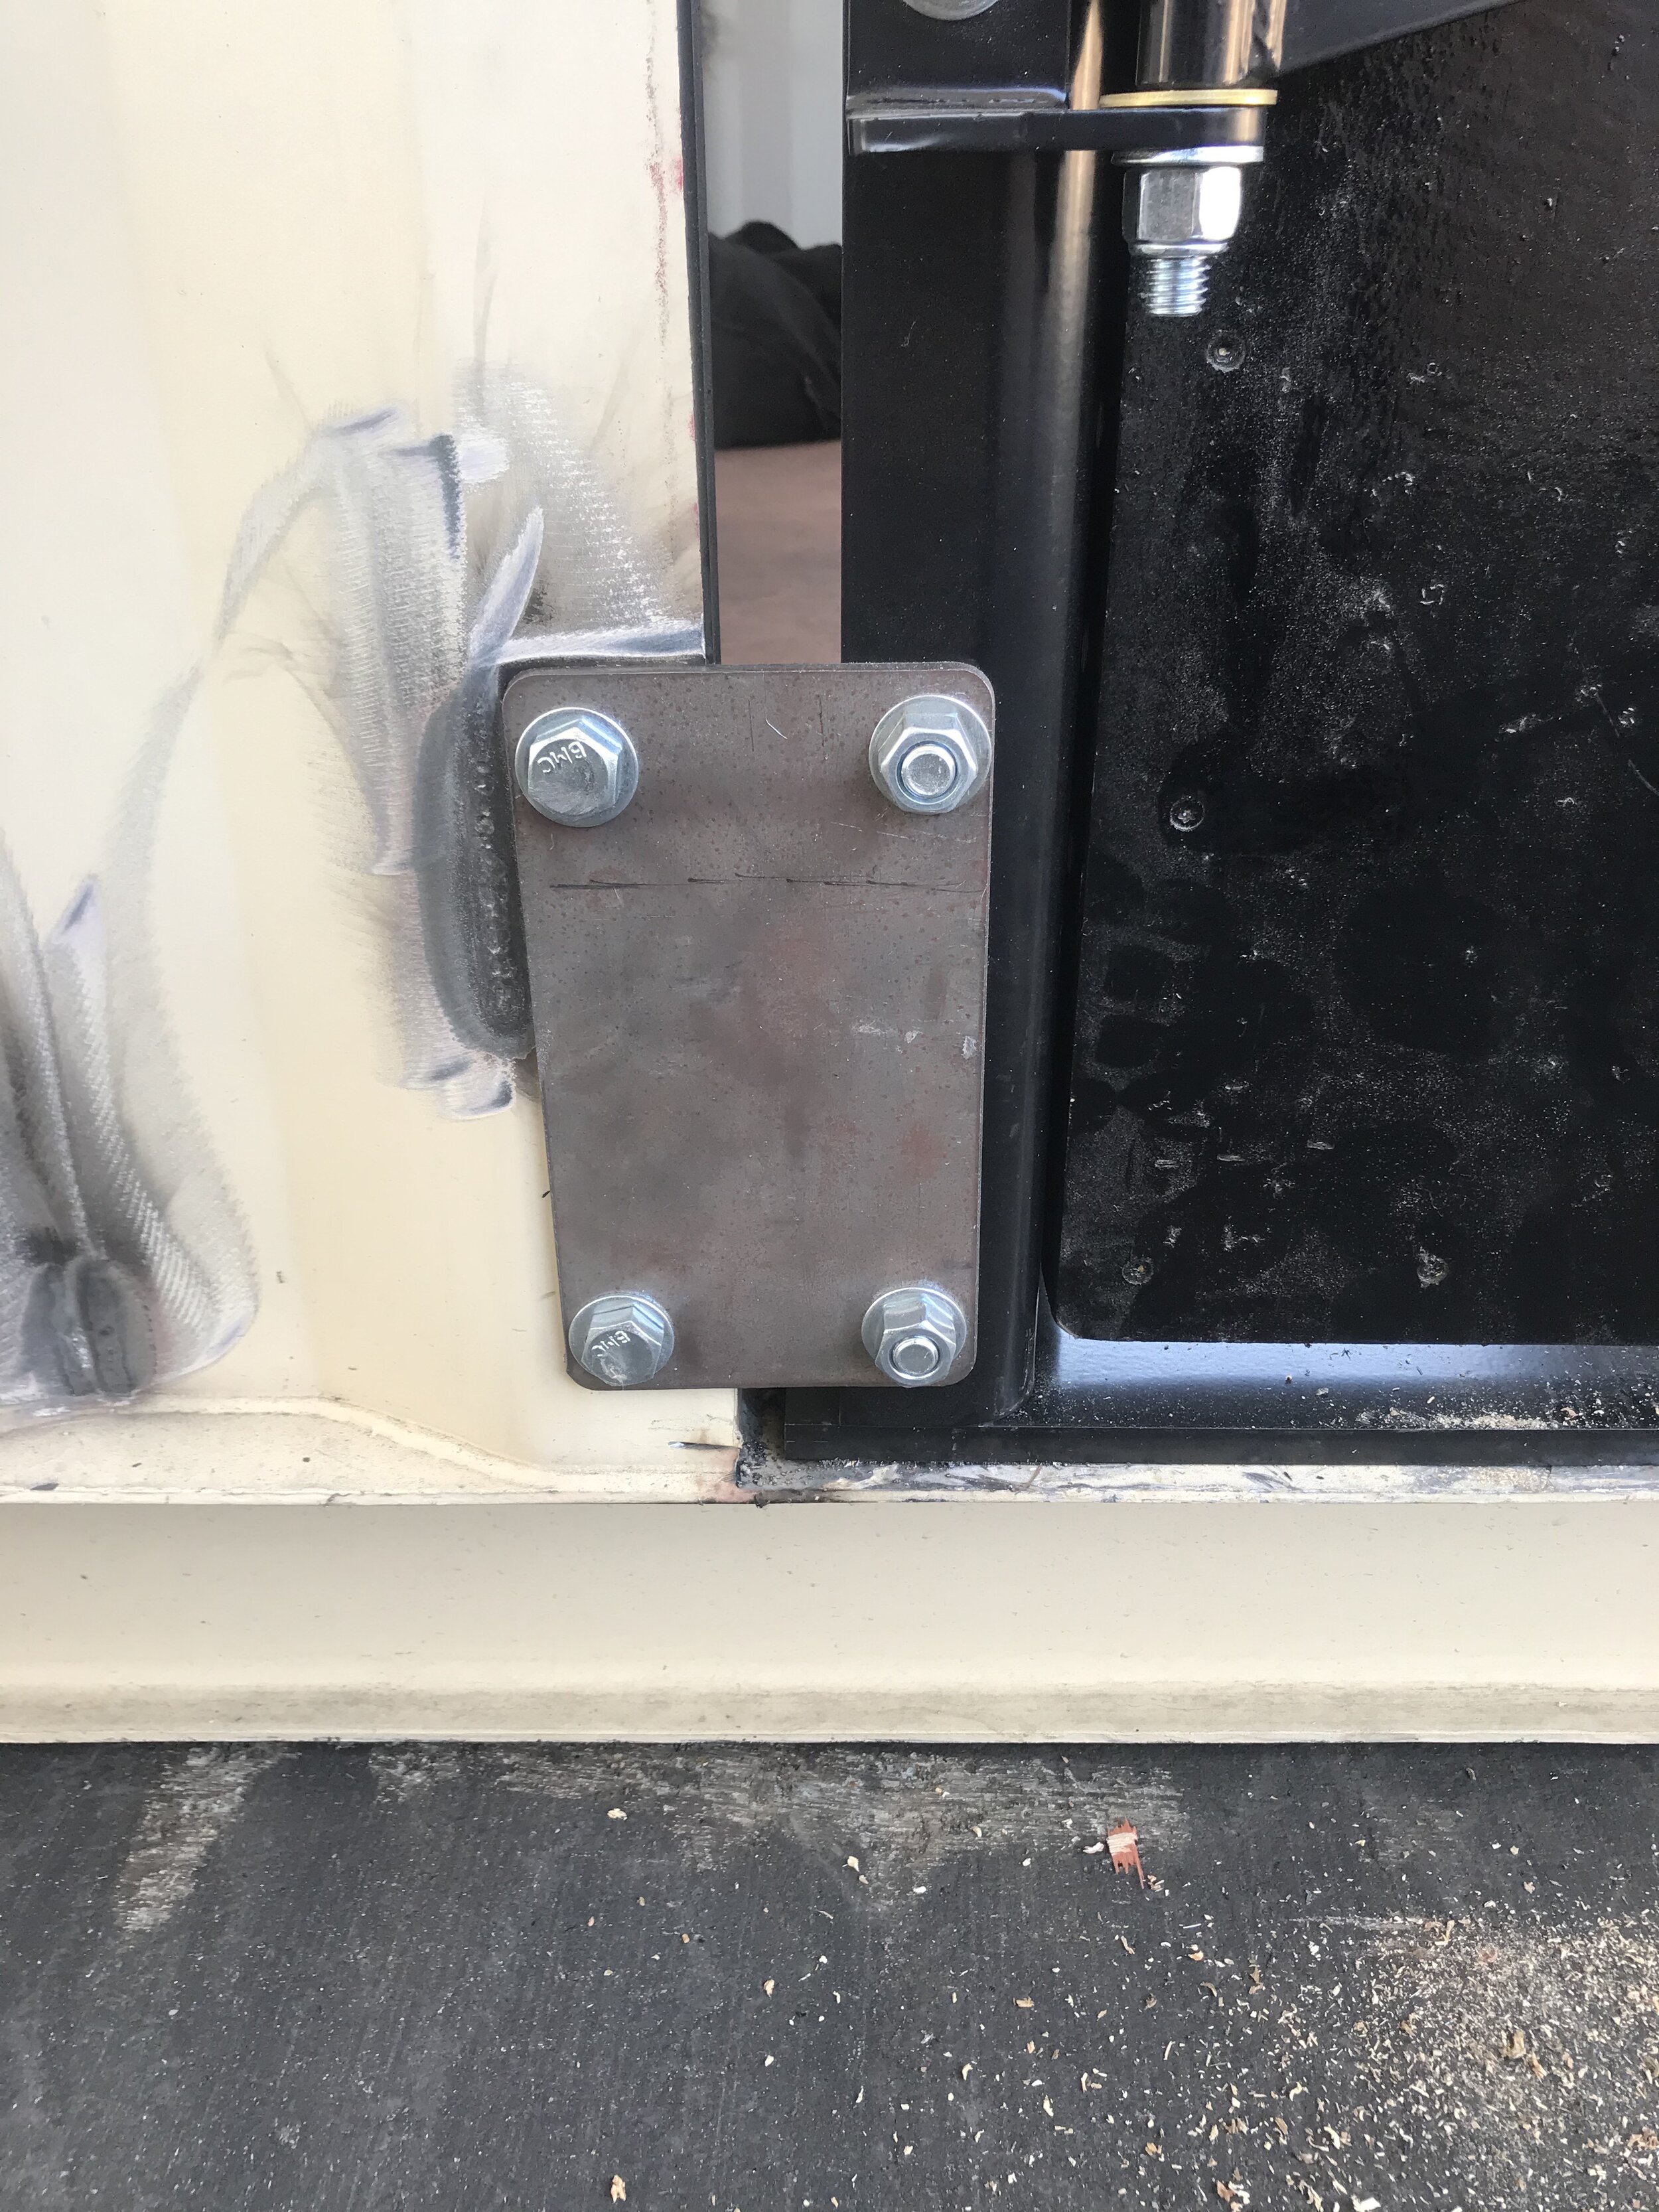
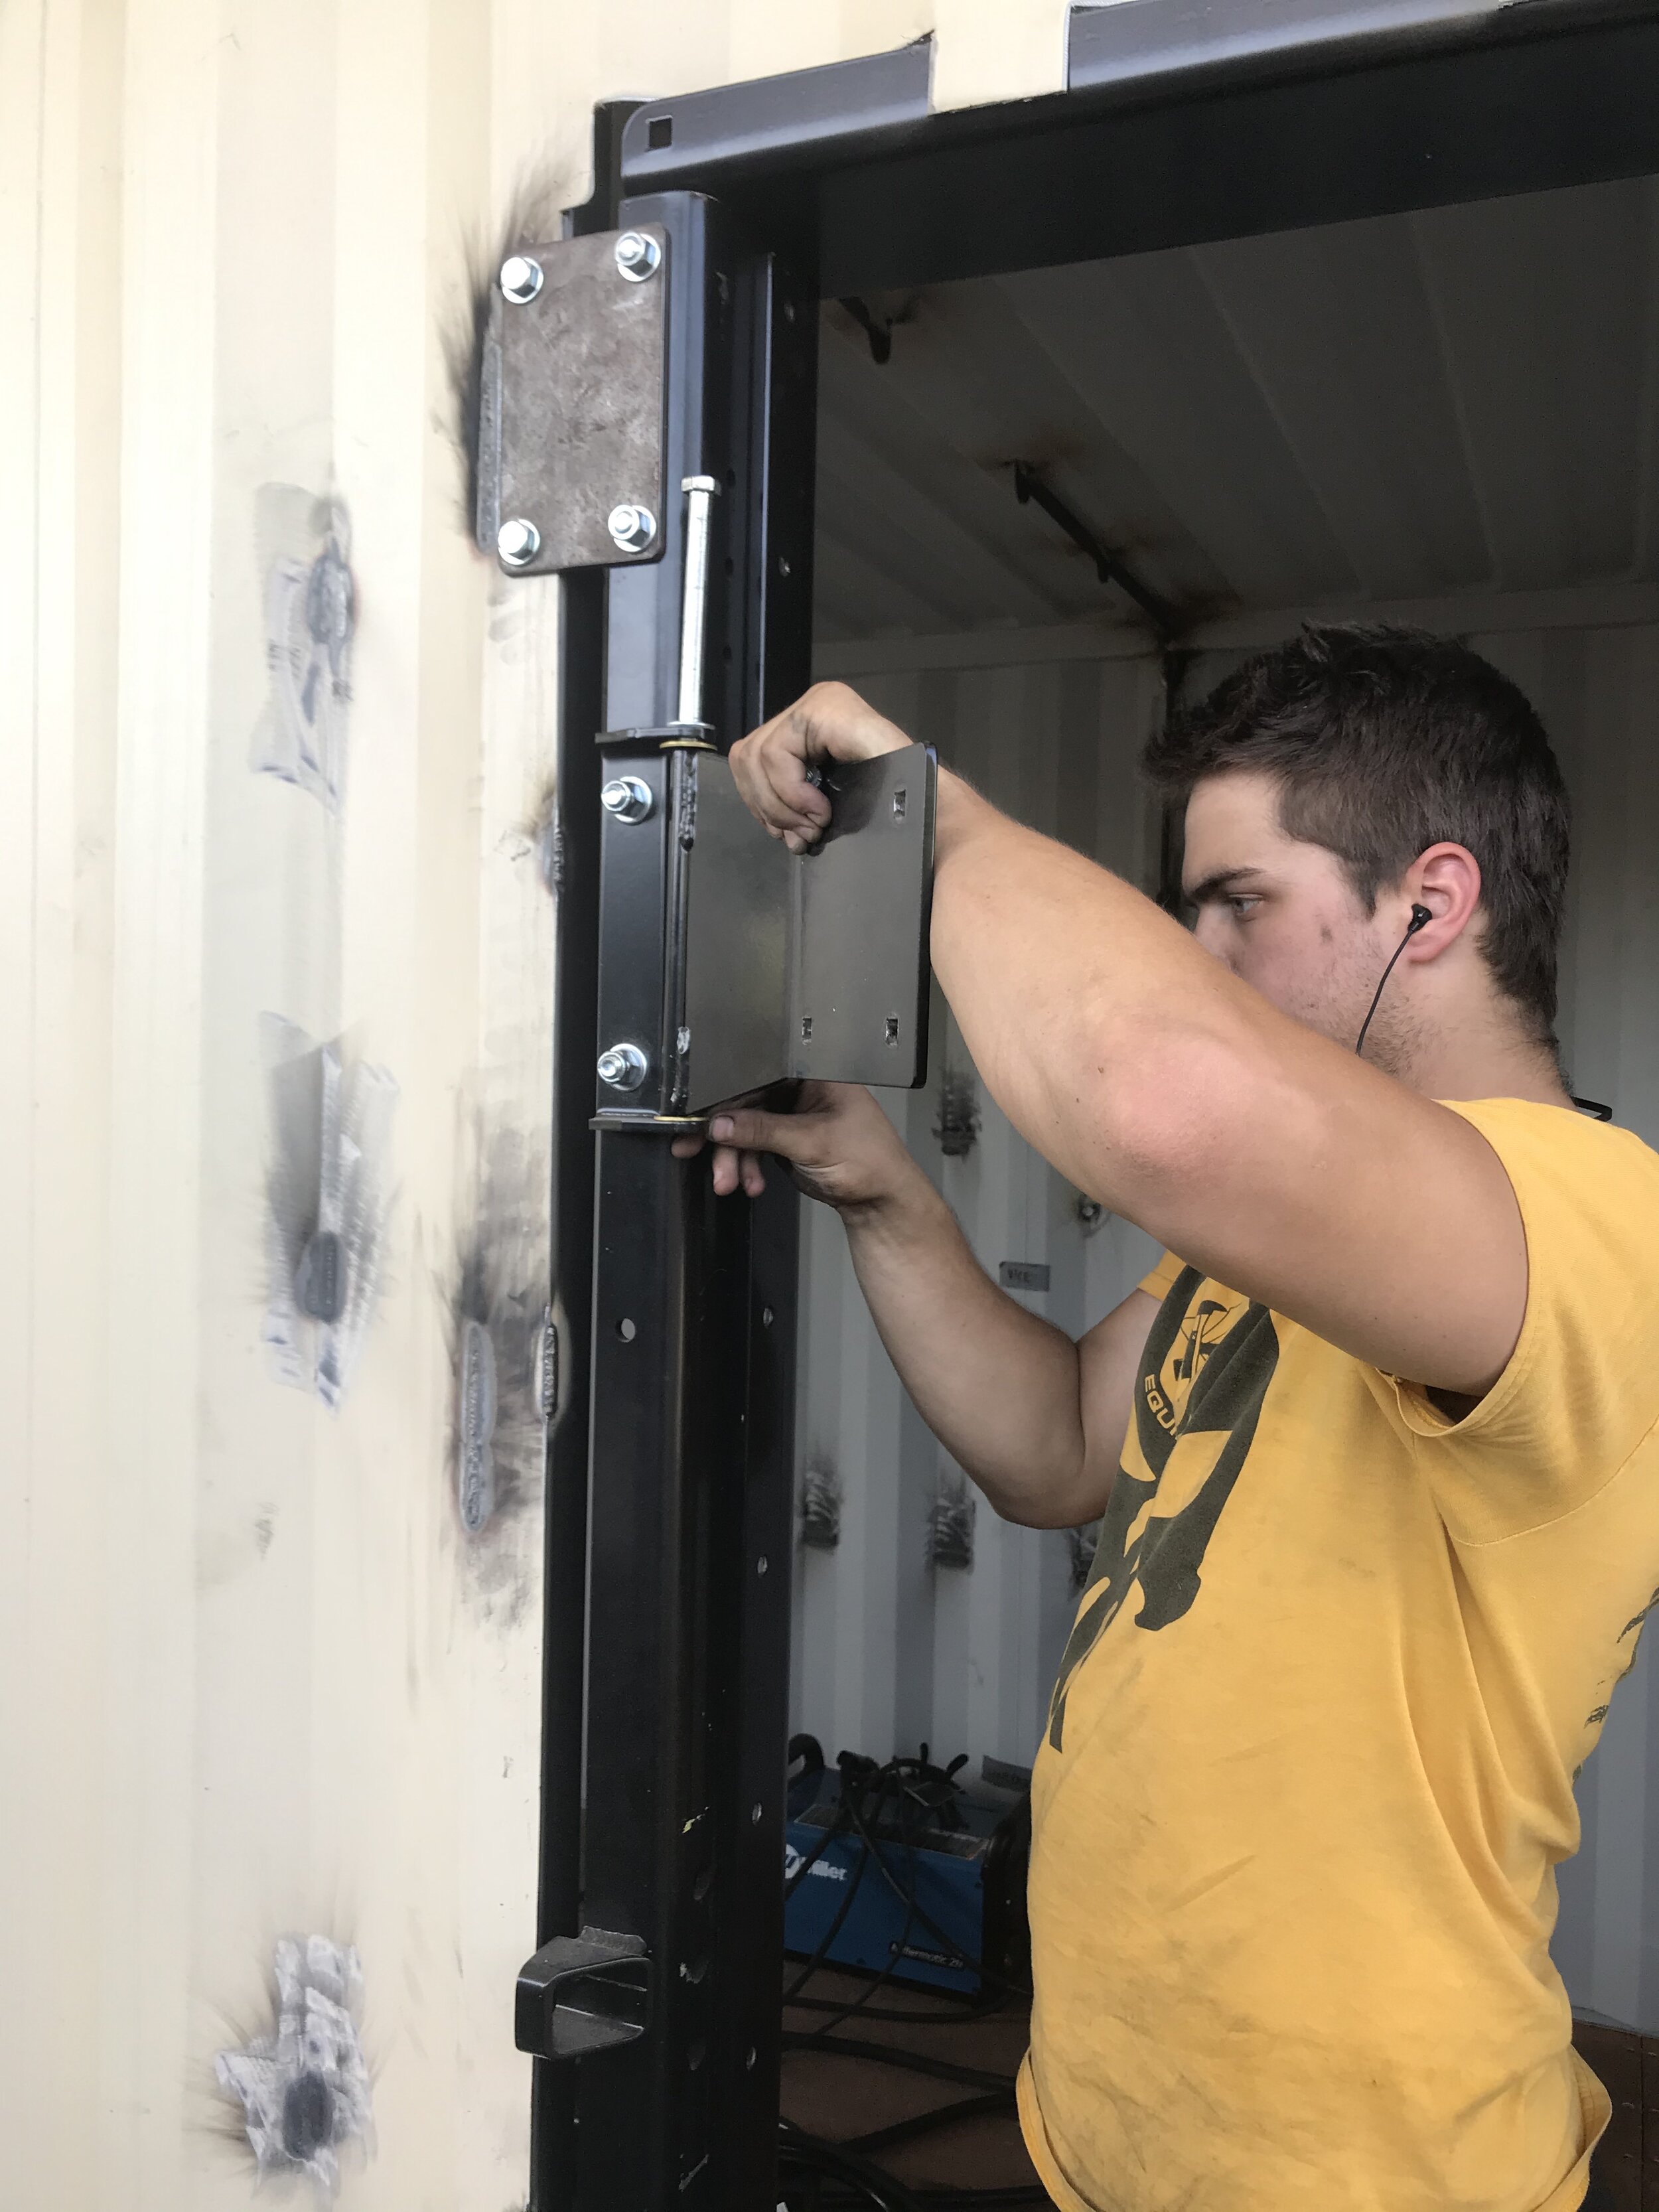
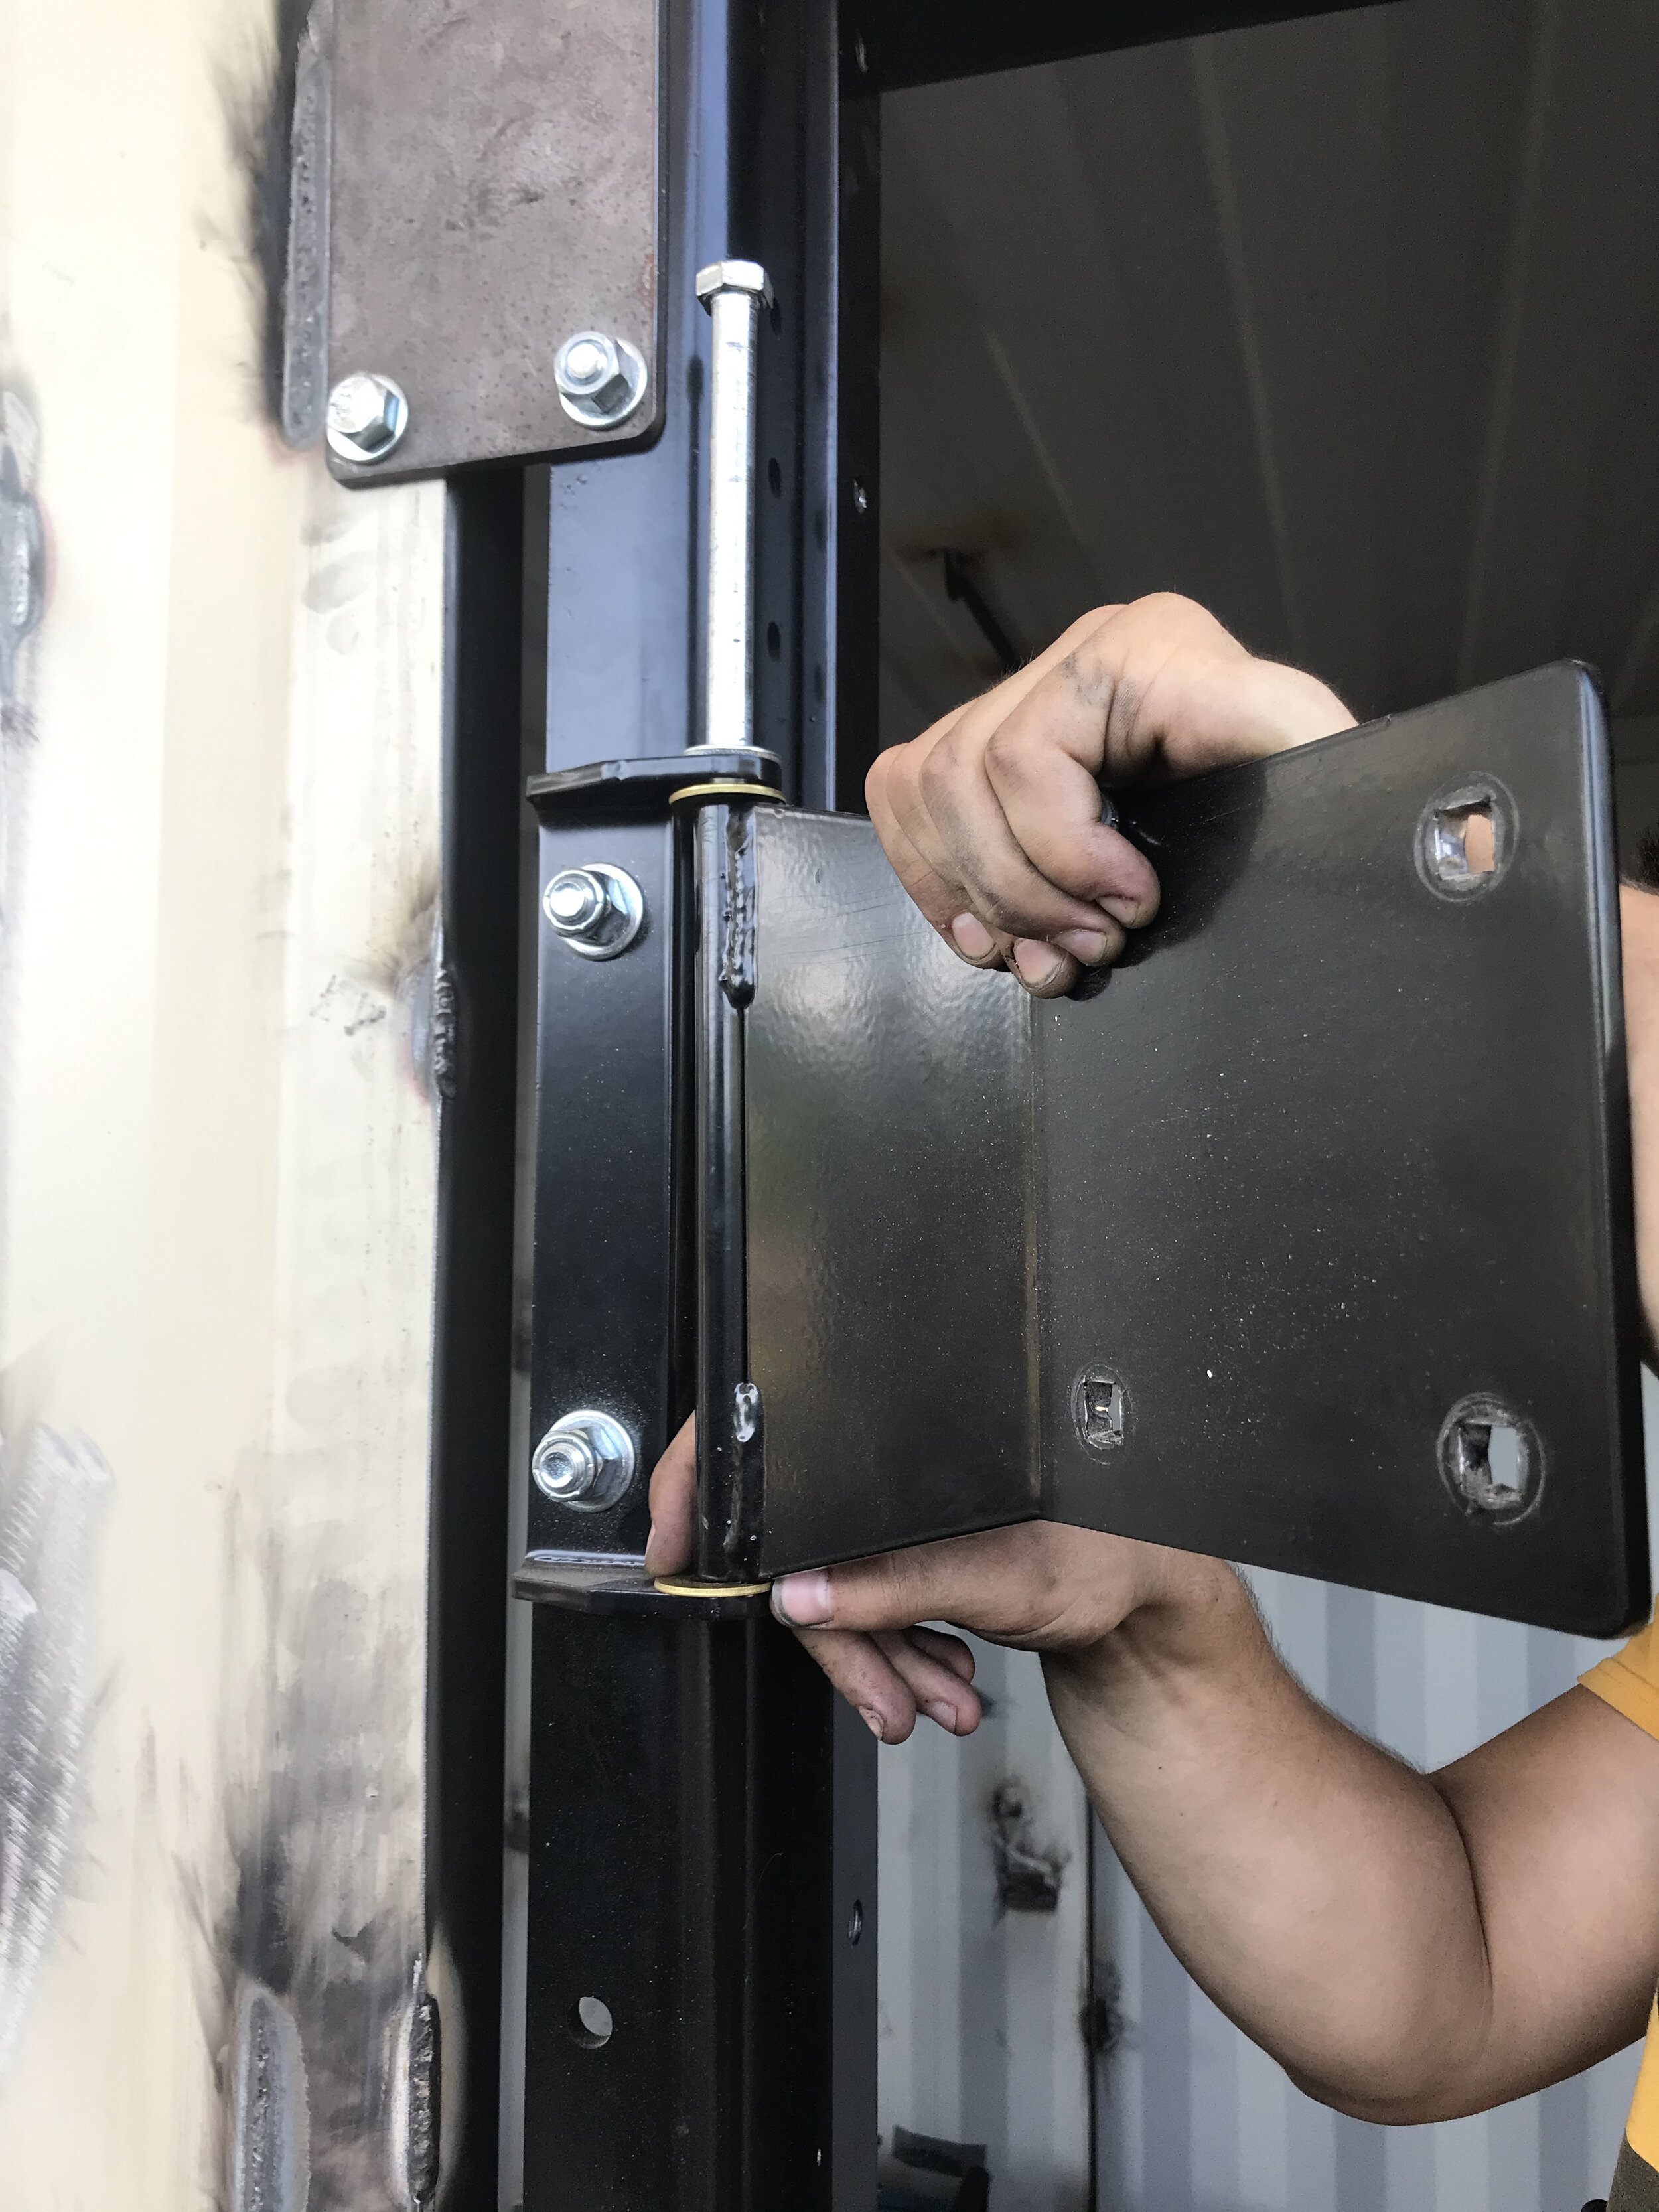
- Install Catalyst Force Entry Door Direct Mount Door Frame
- Bolt in the Door frame to the interior frame, hang the doors, and test.


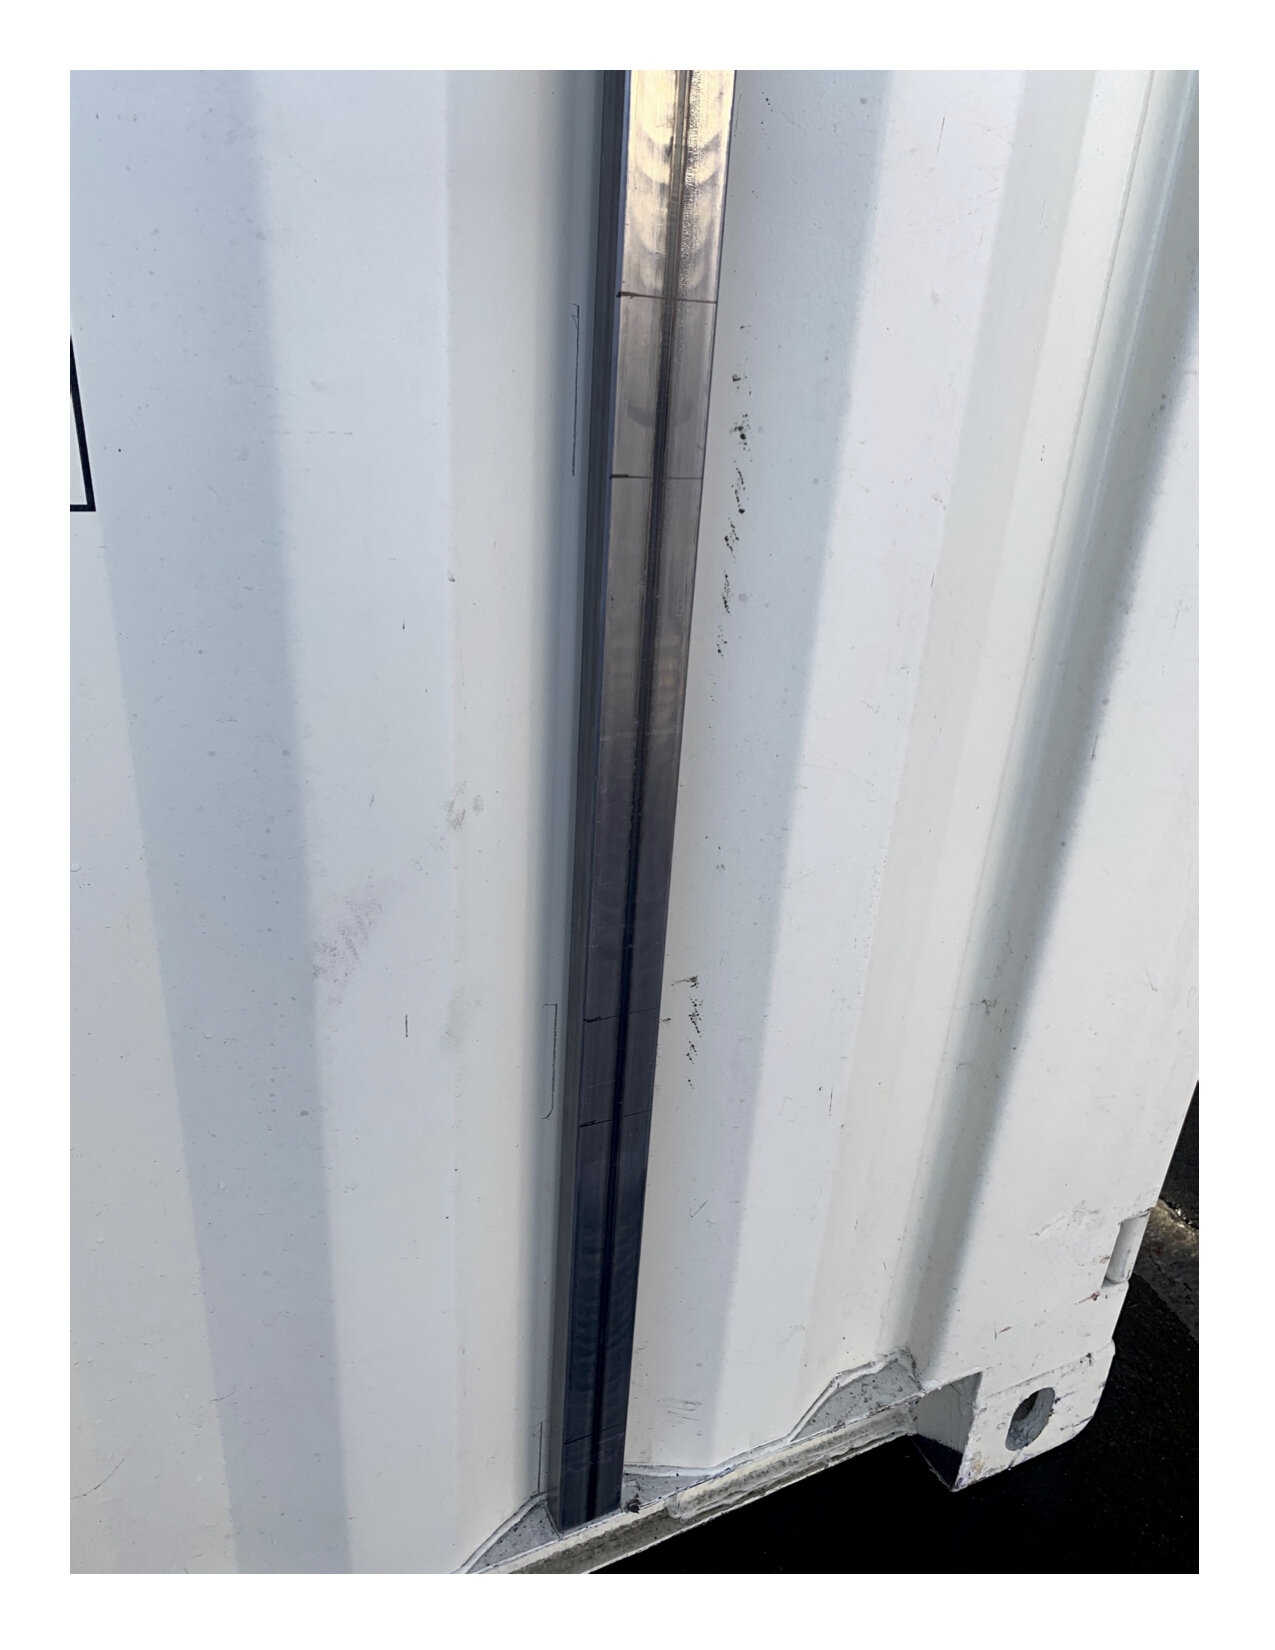
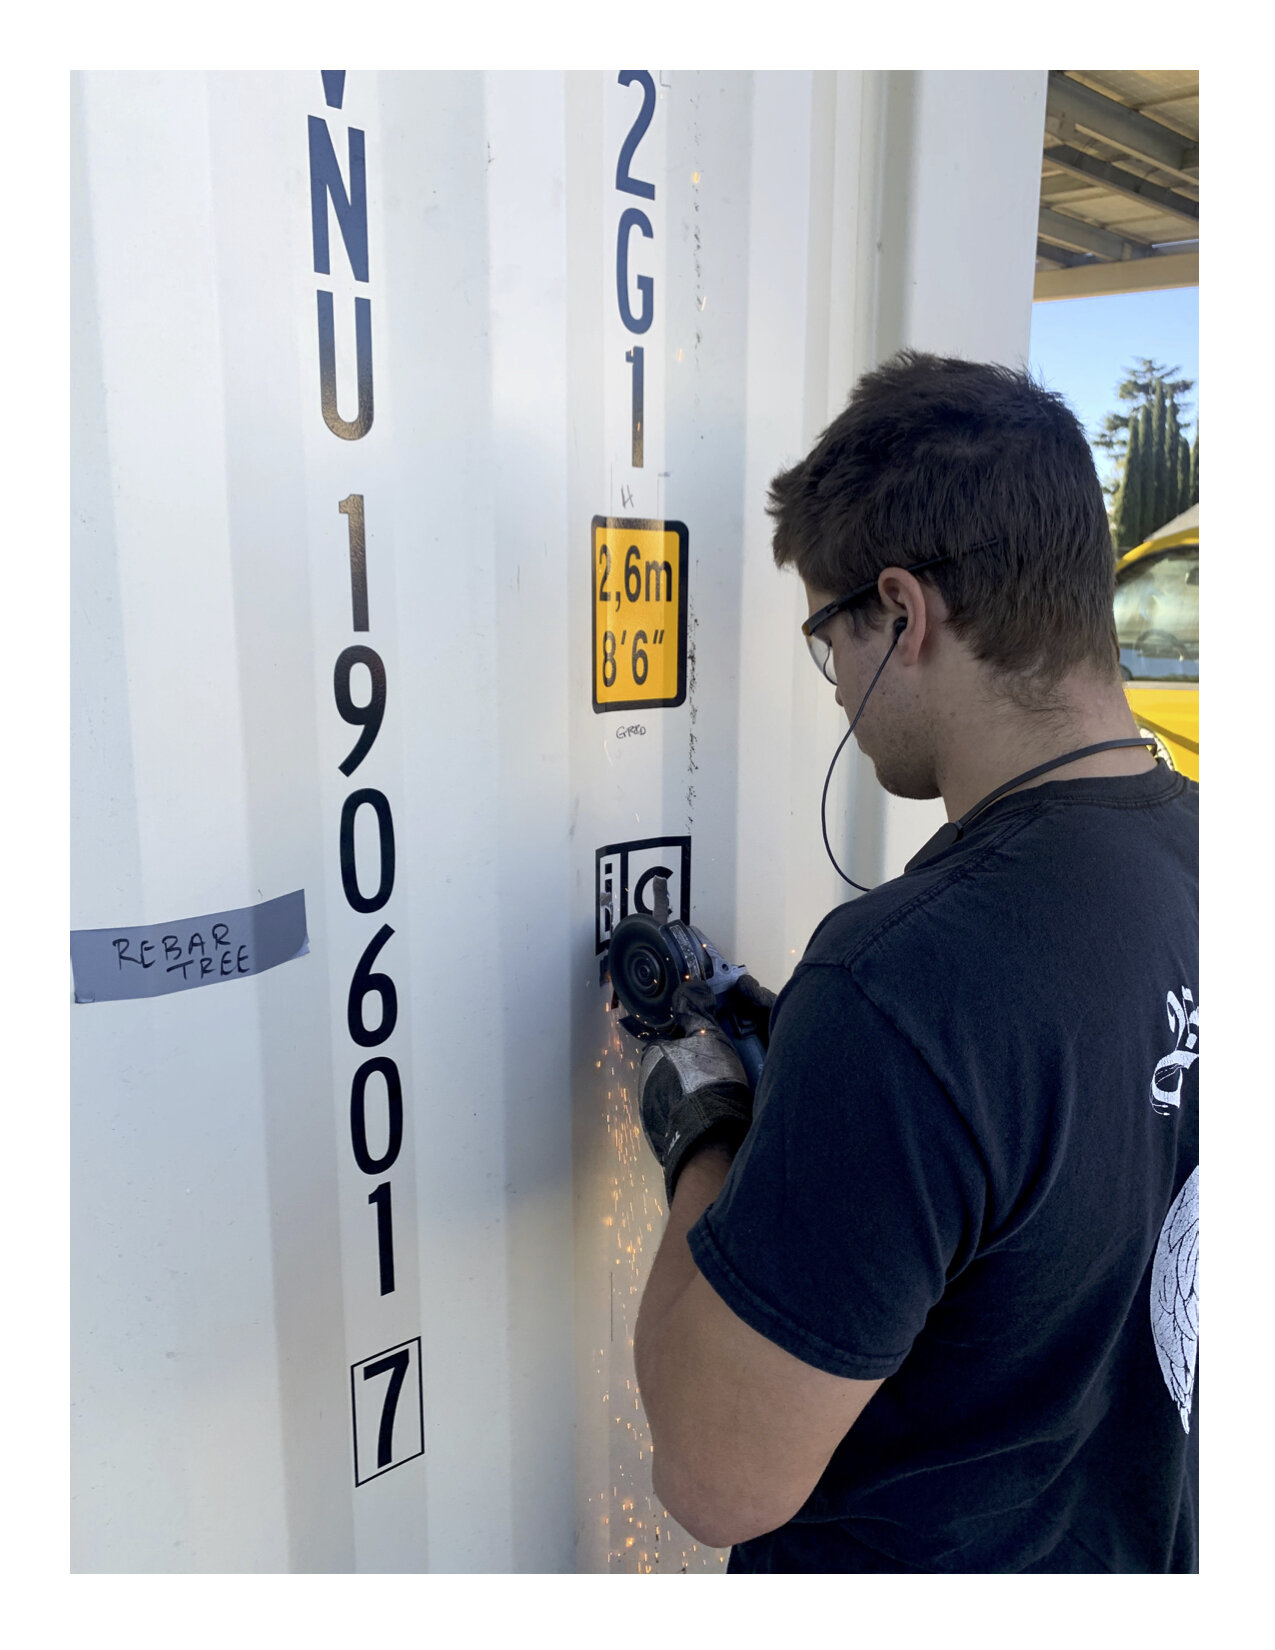
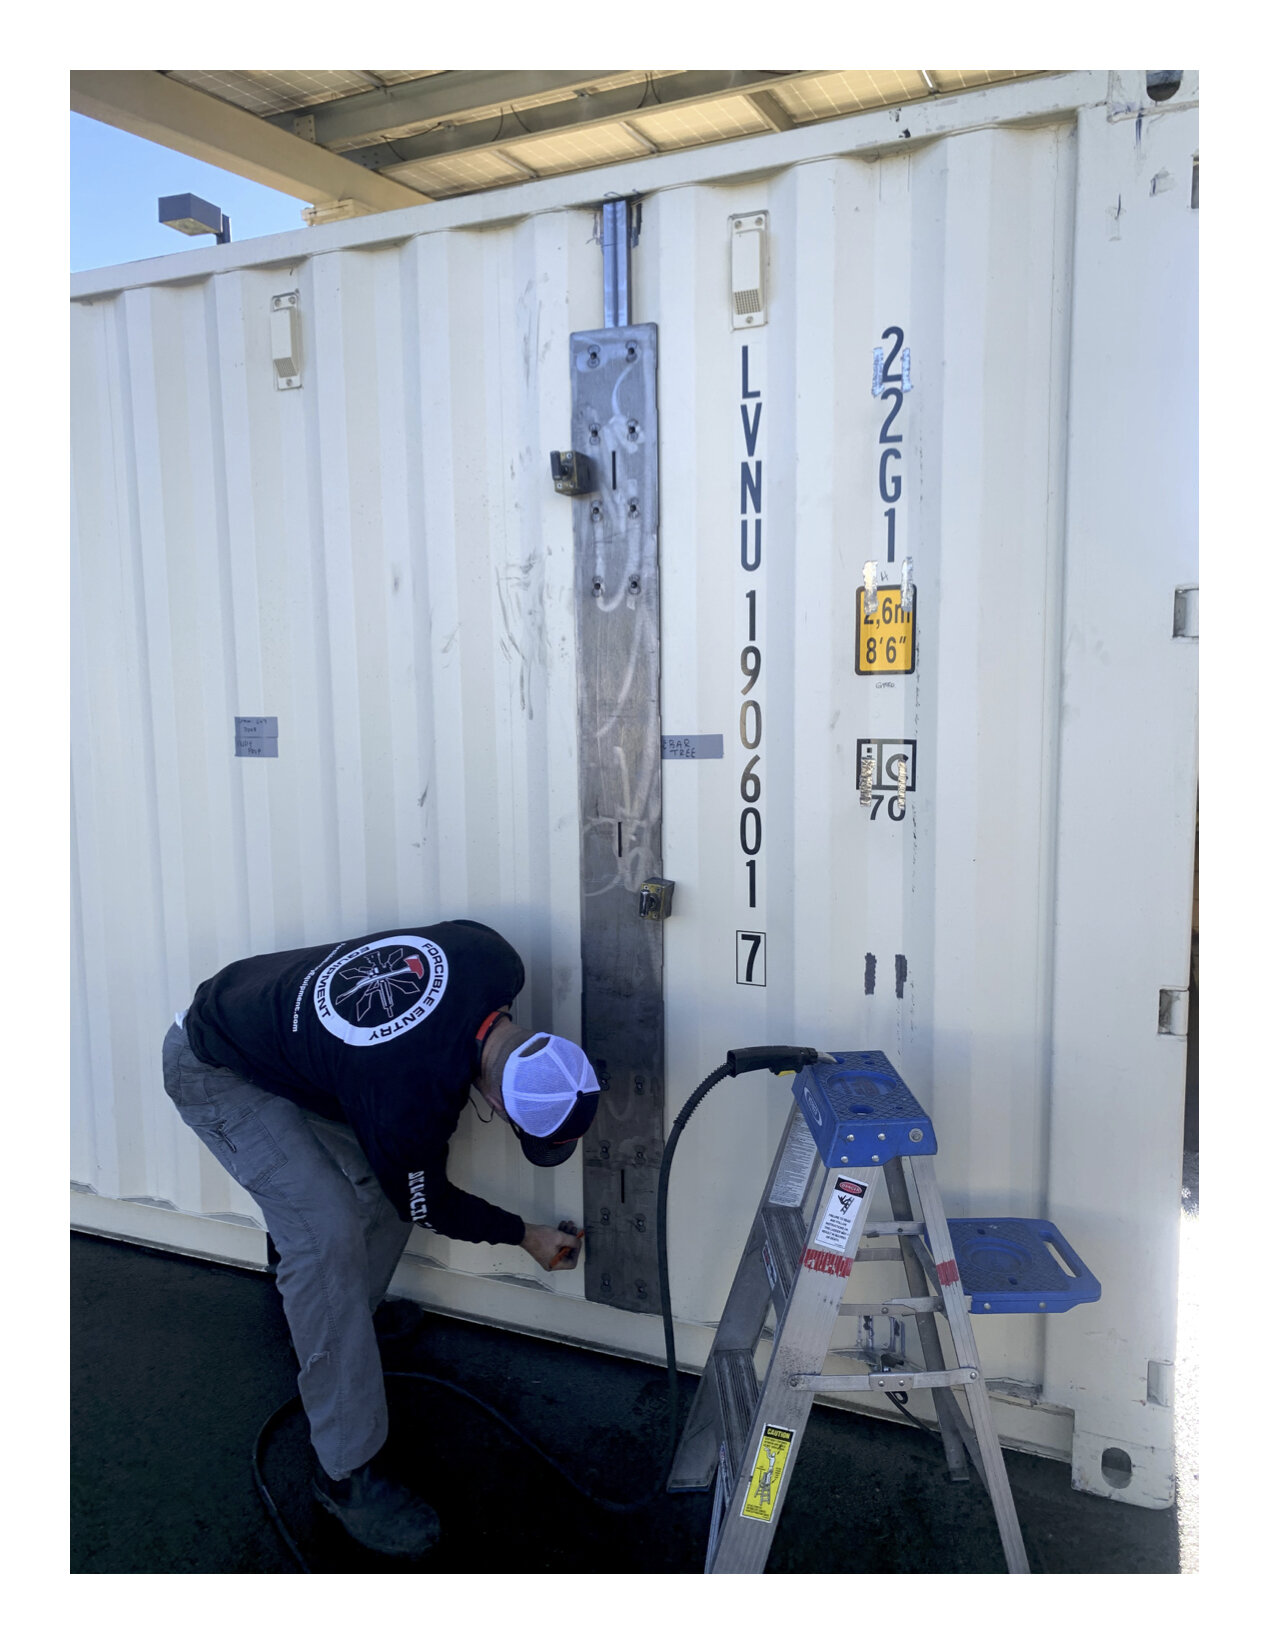
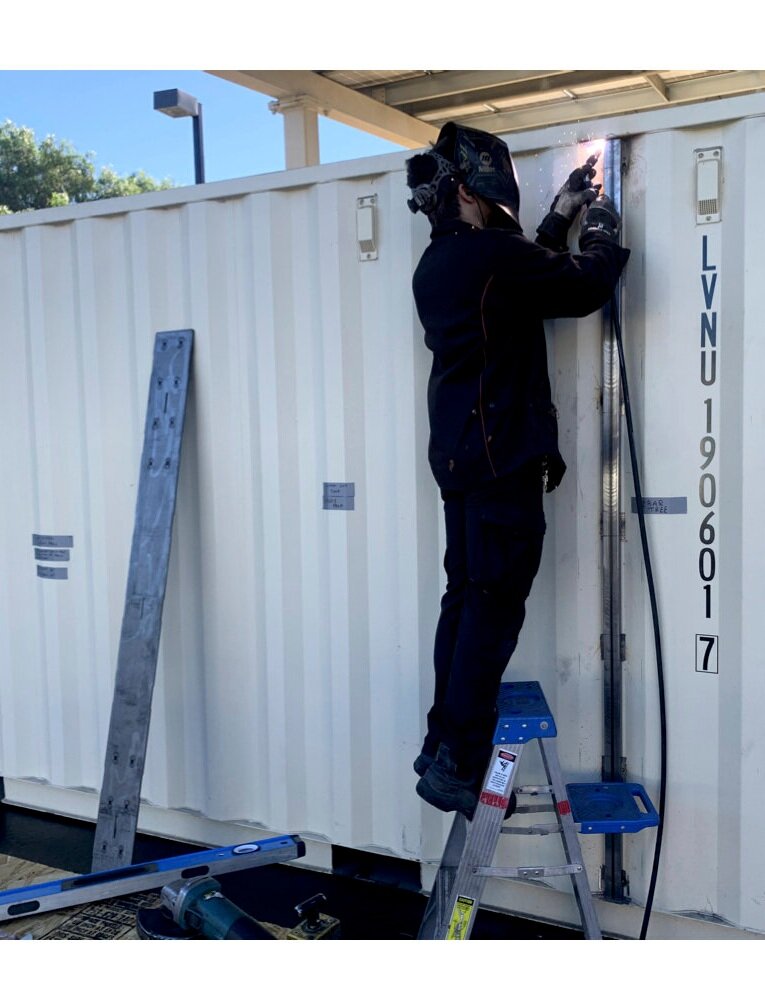
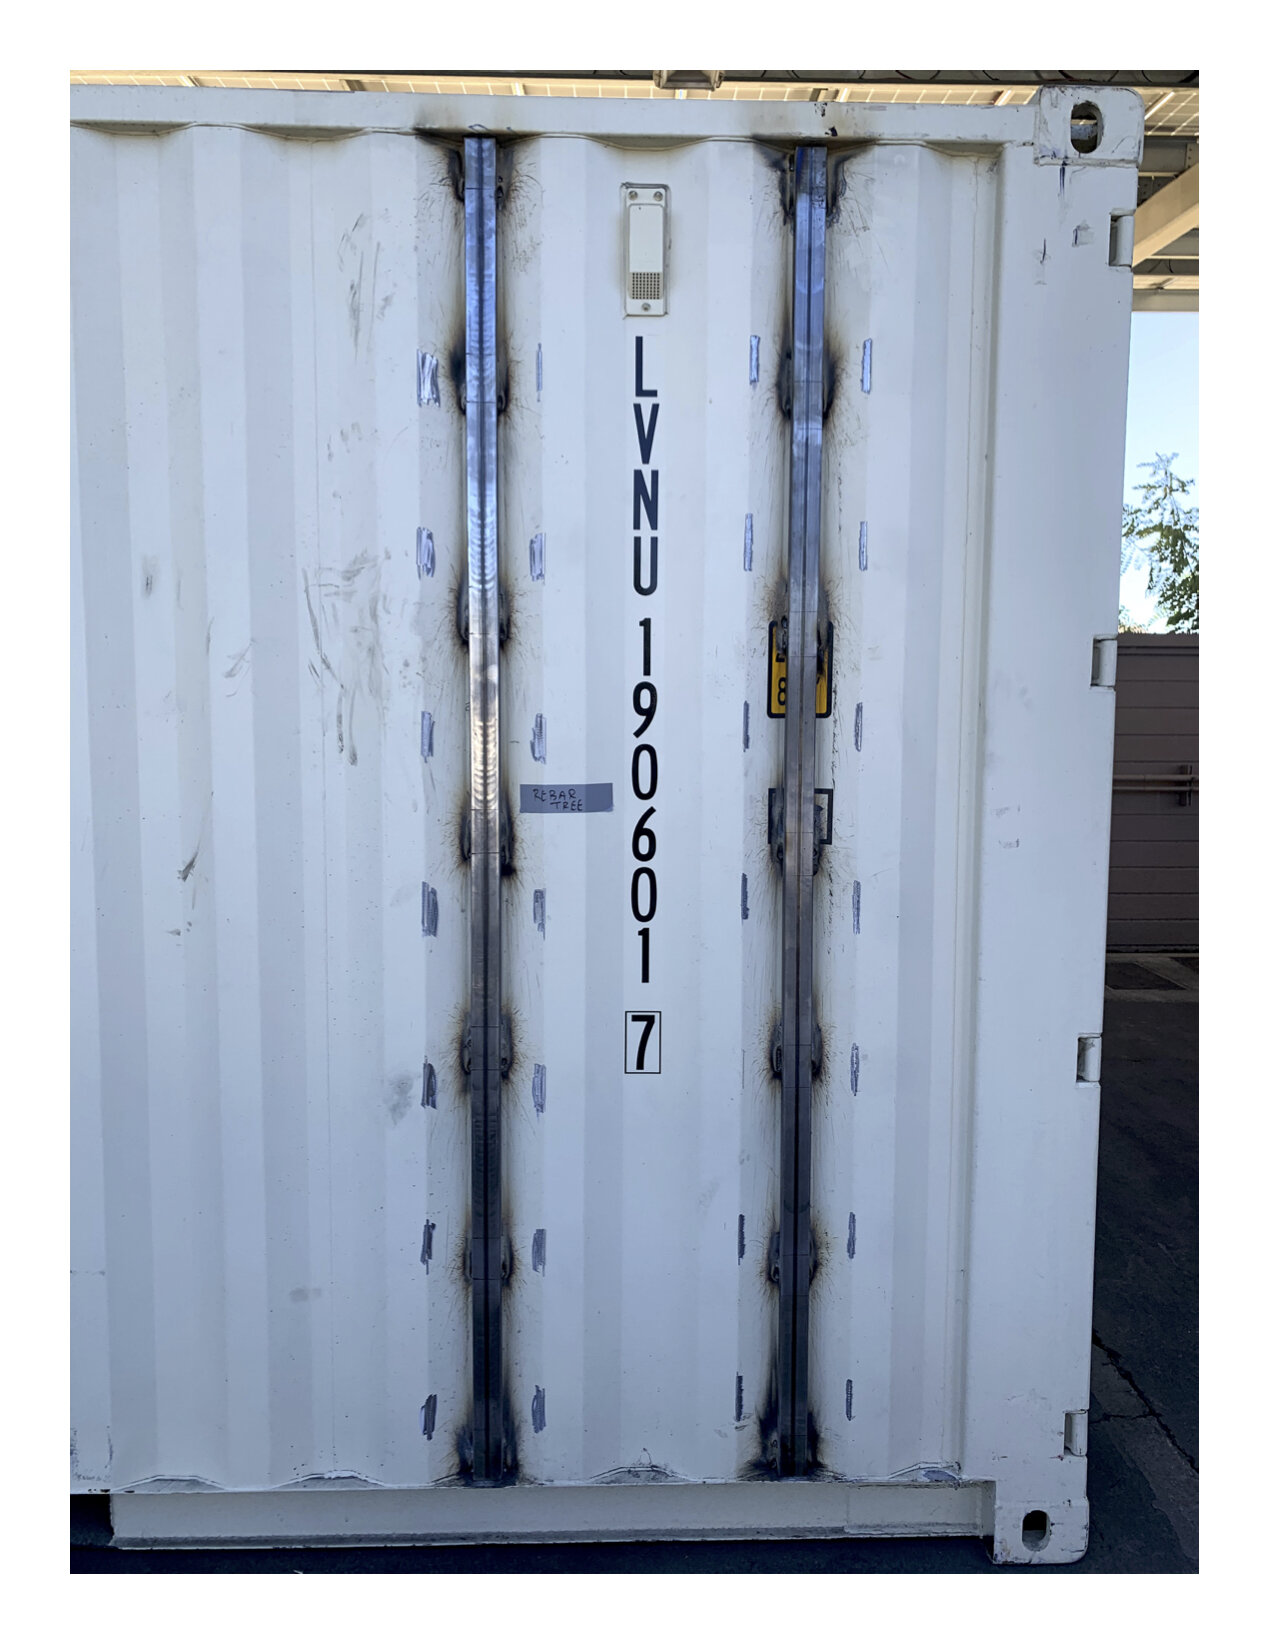
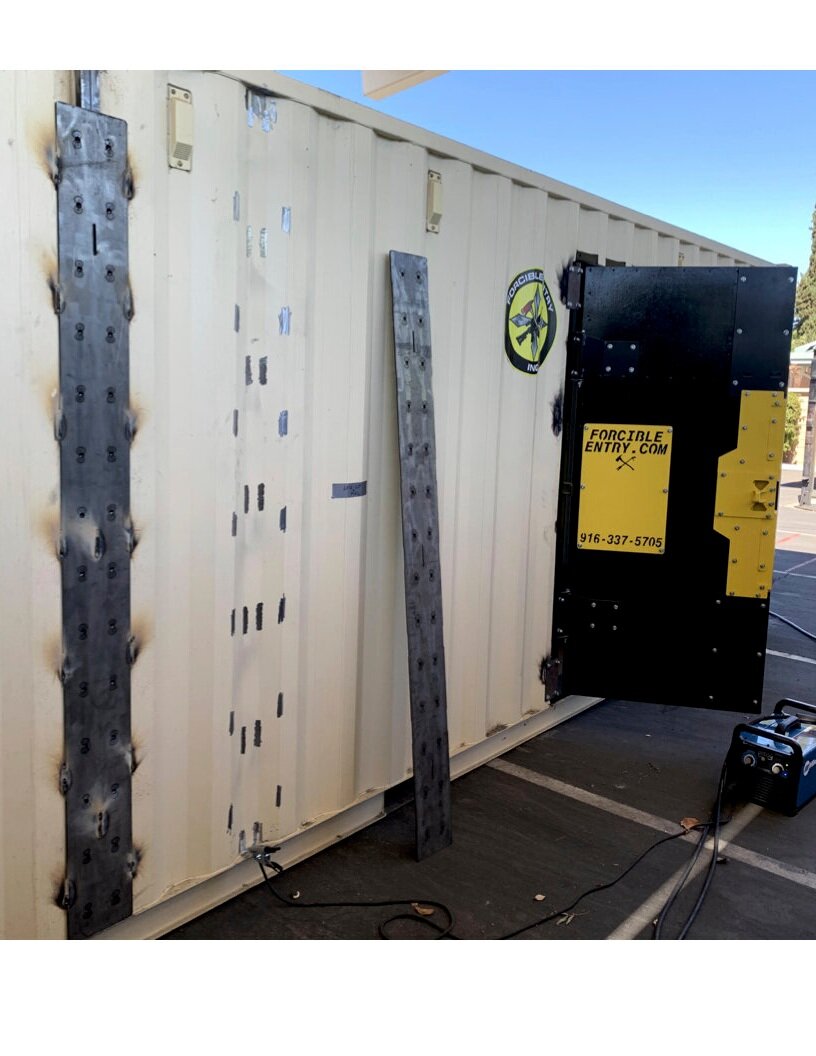
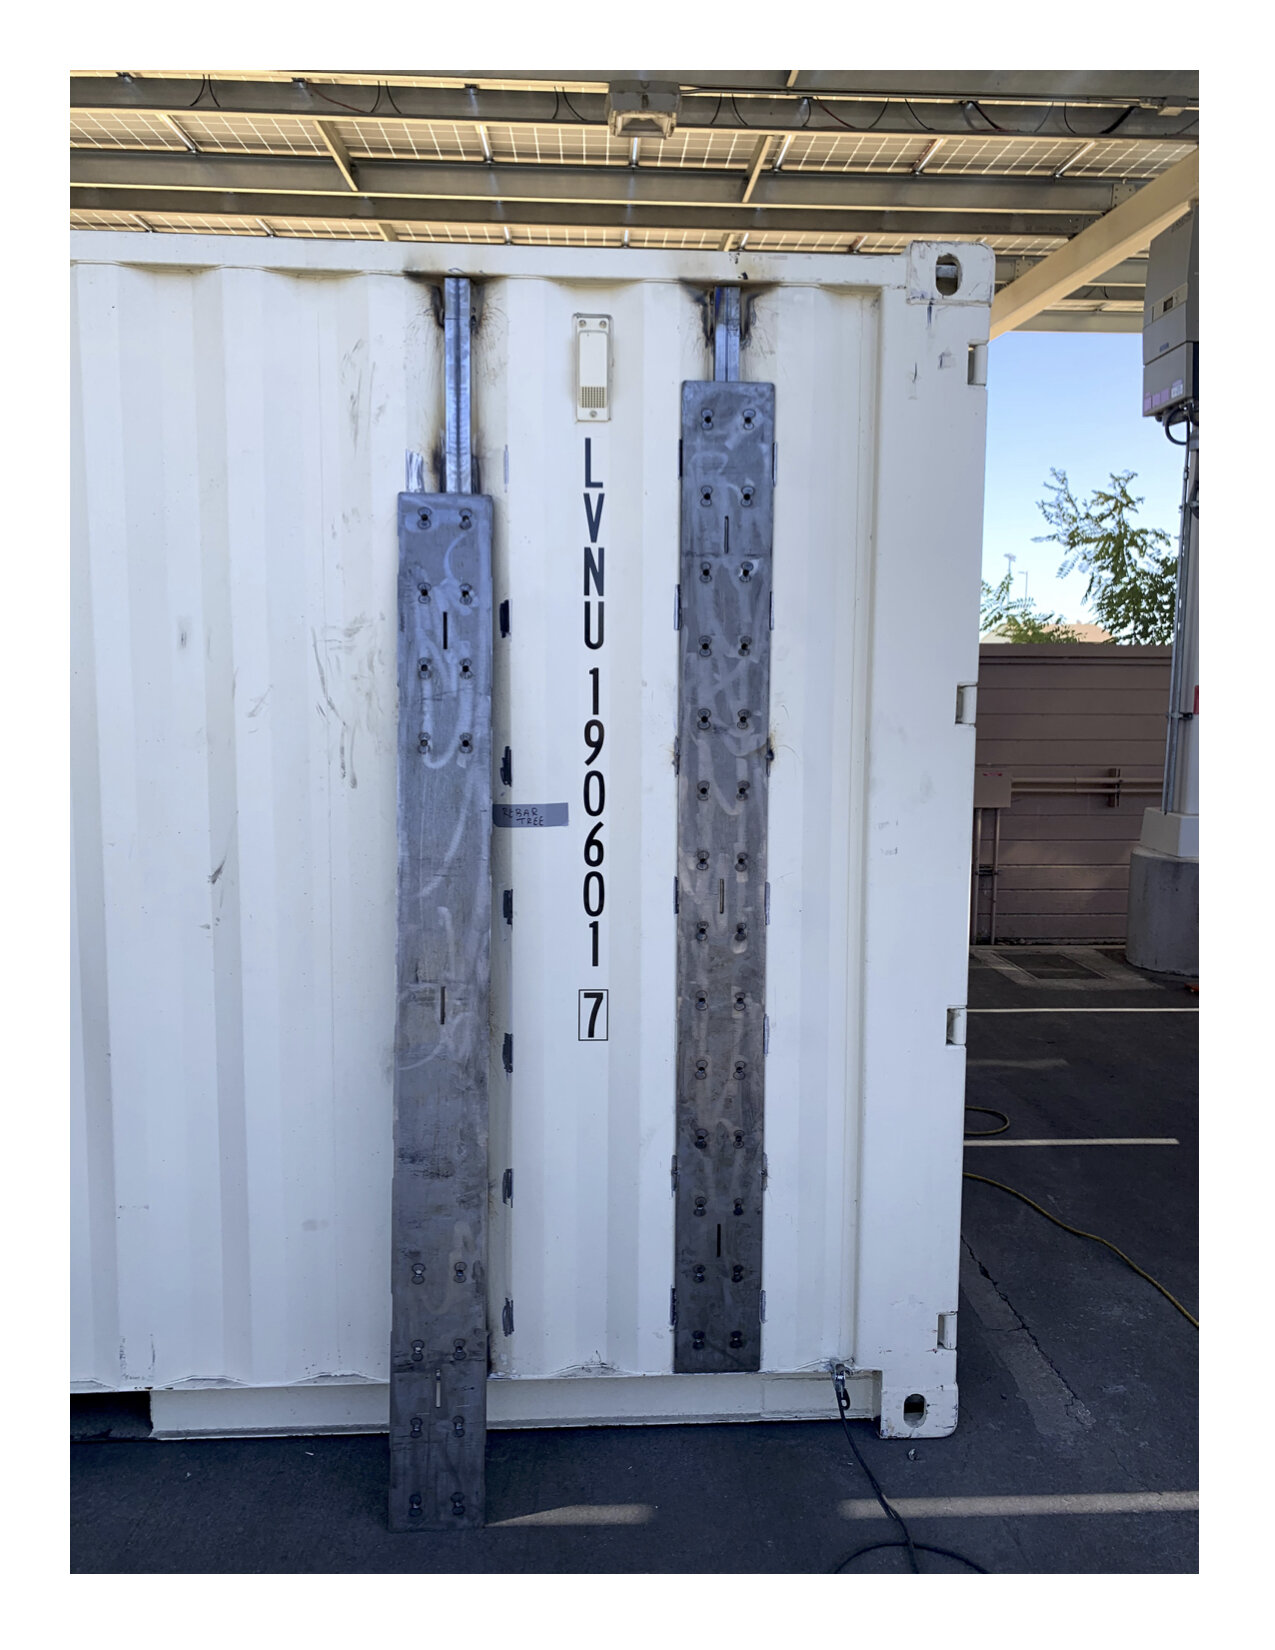
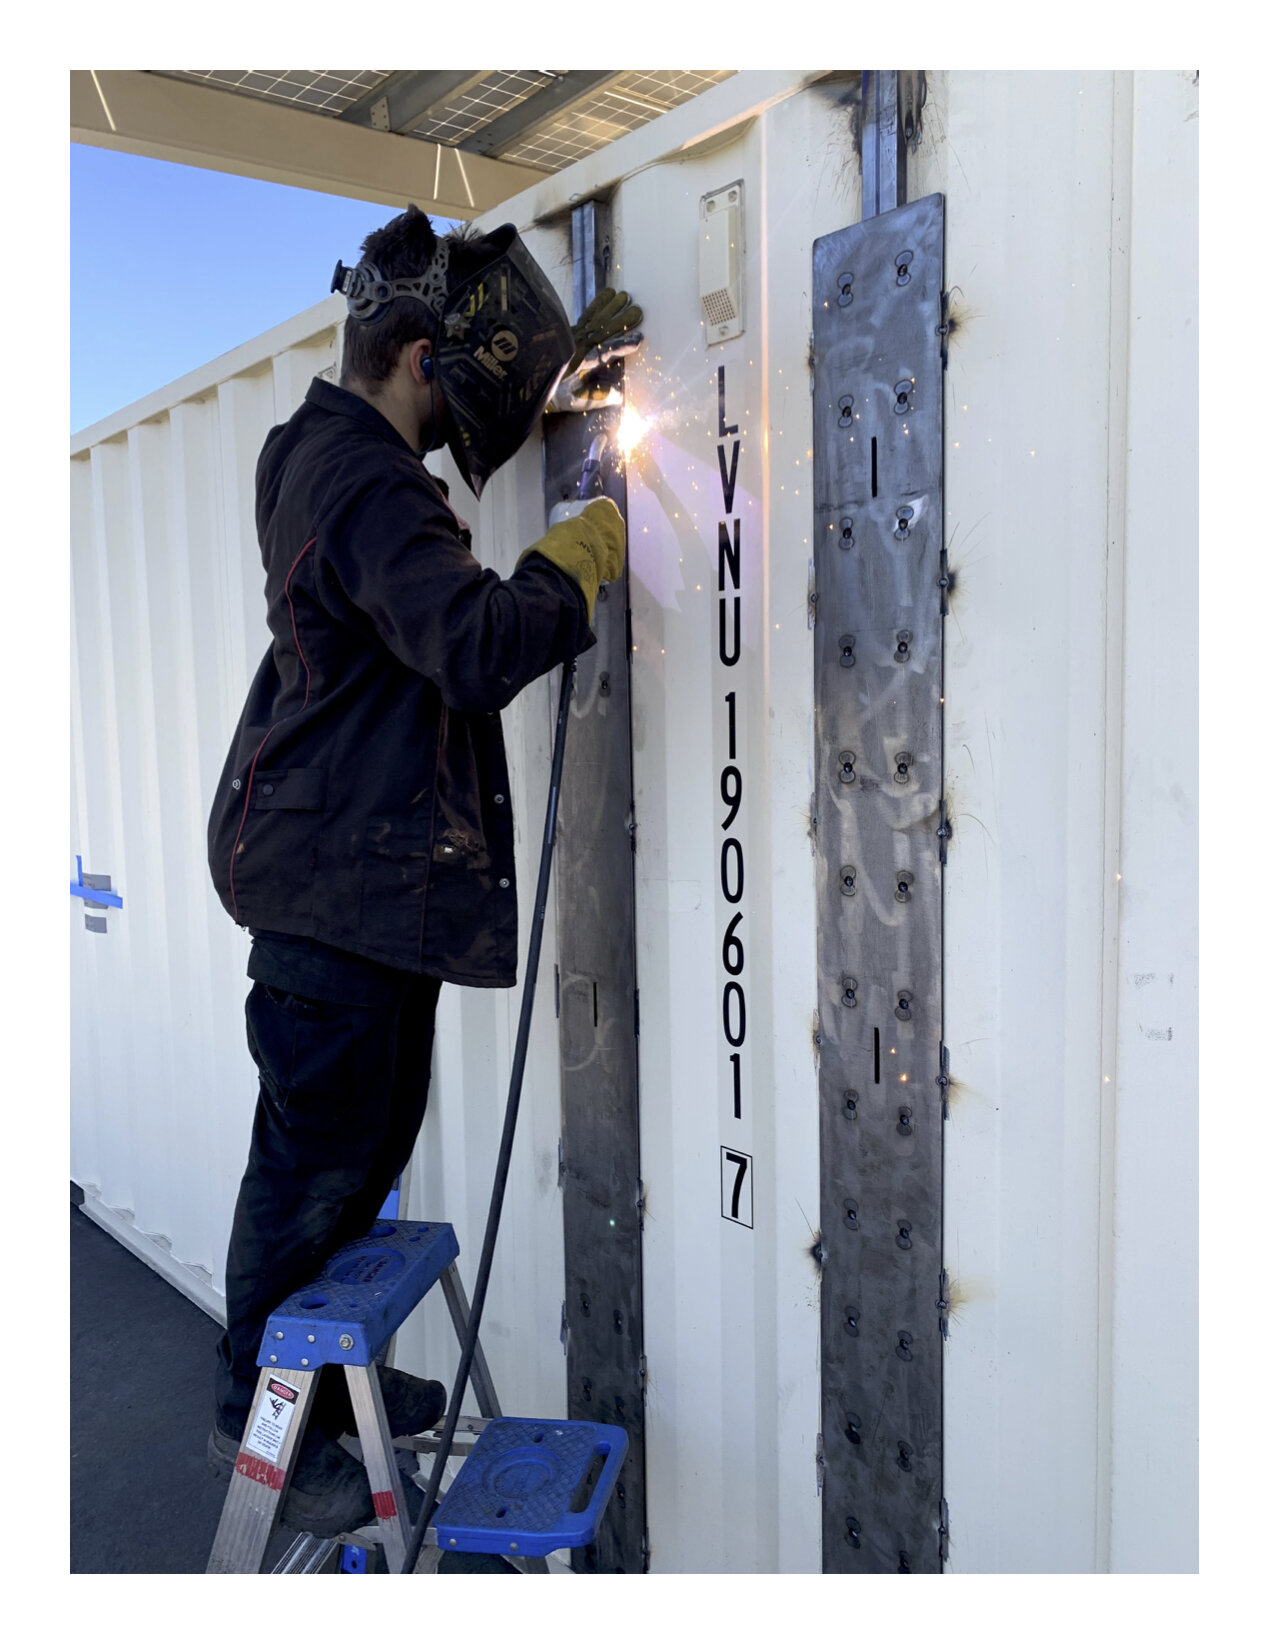
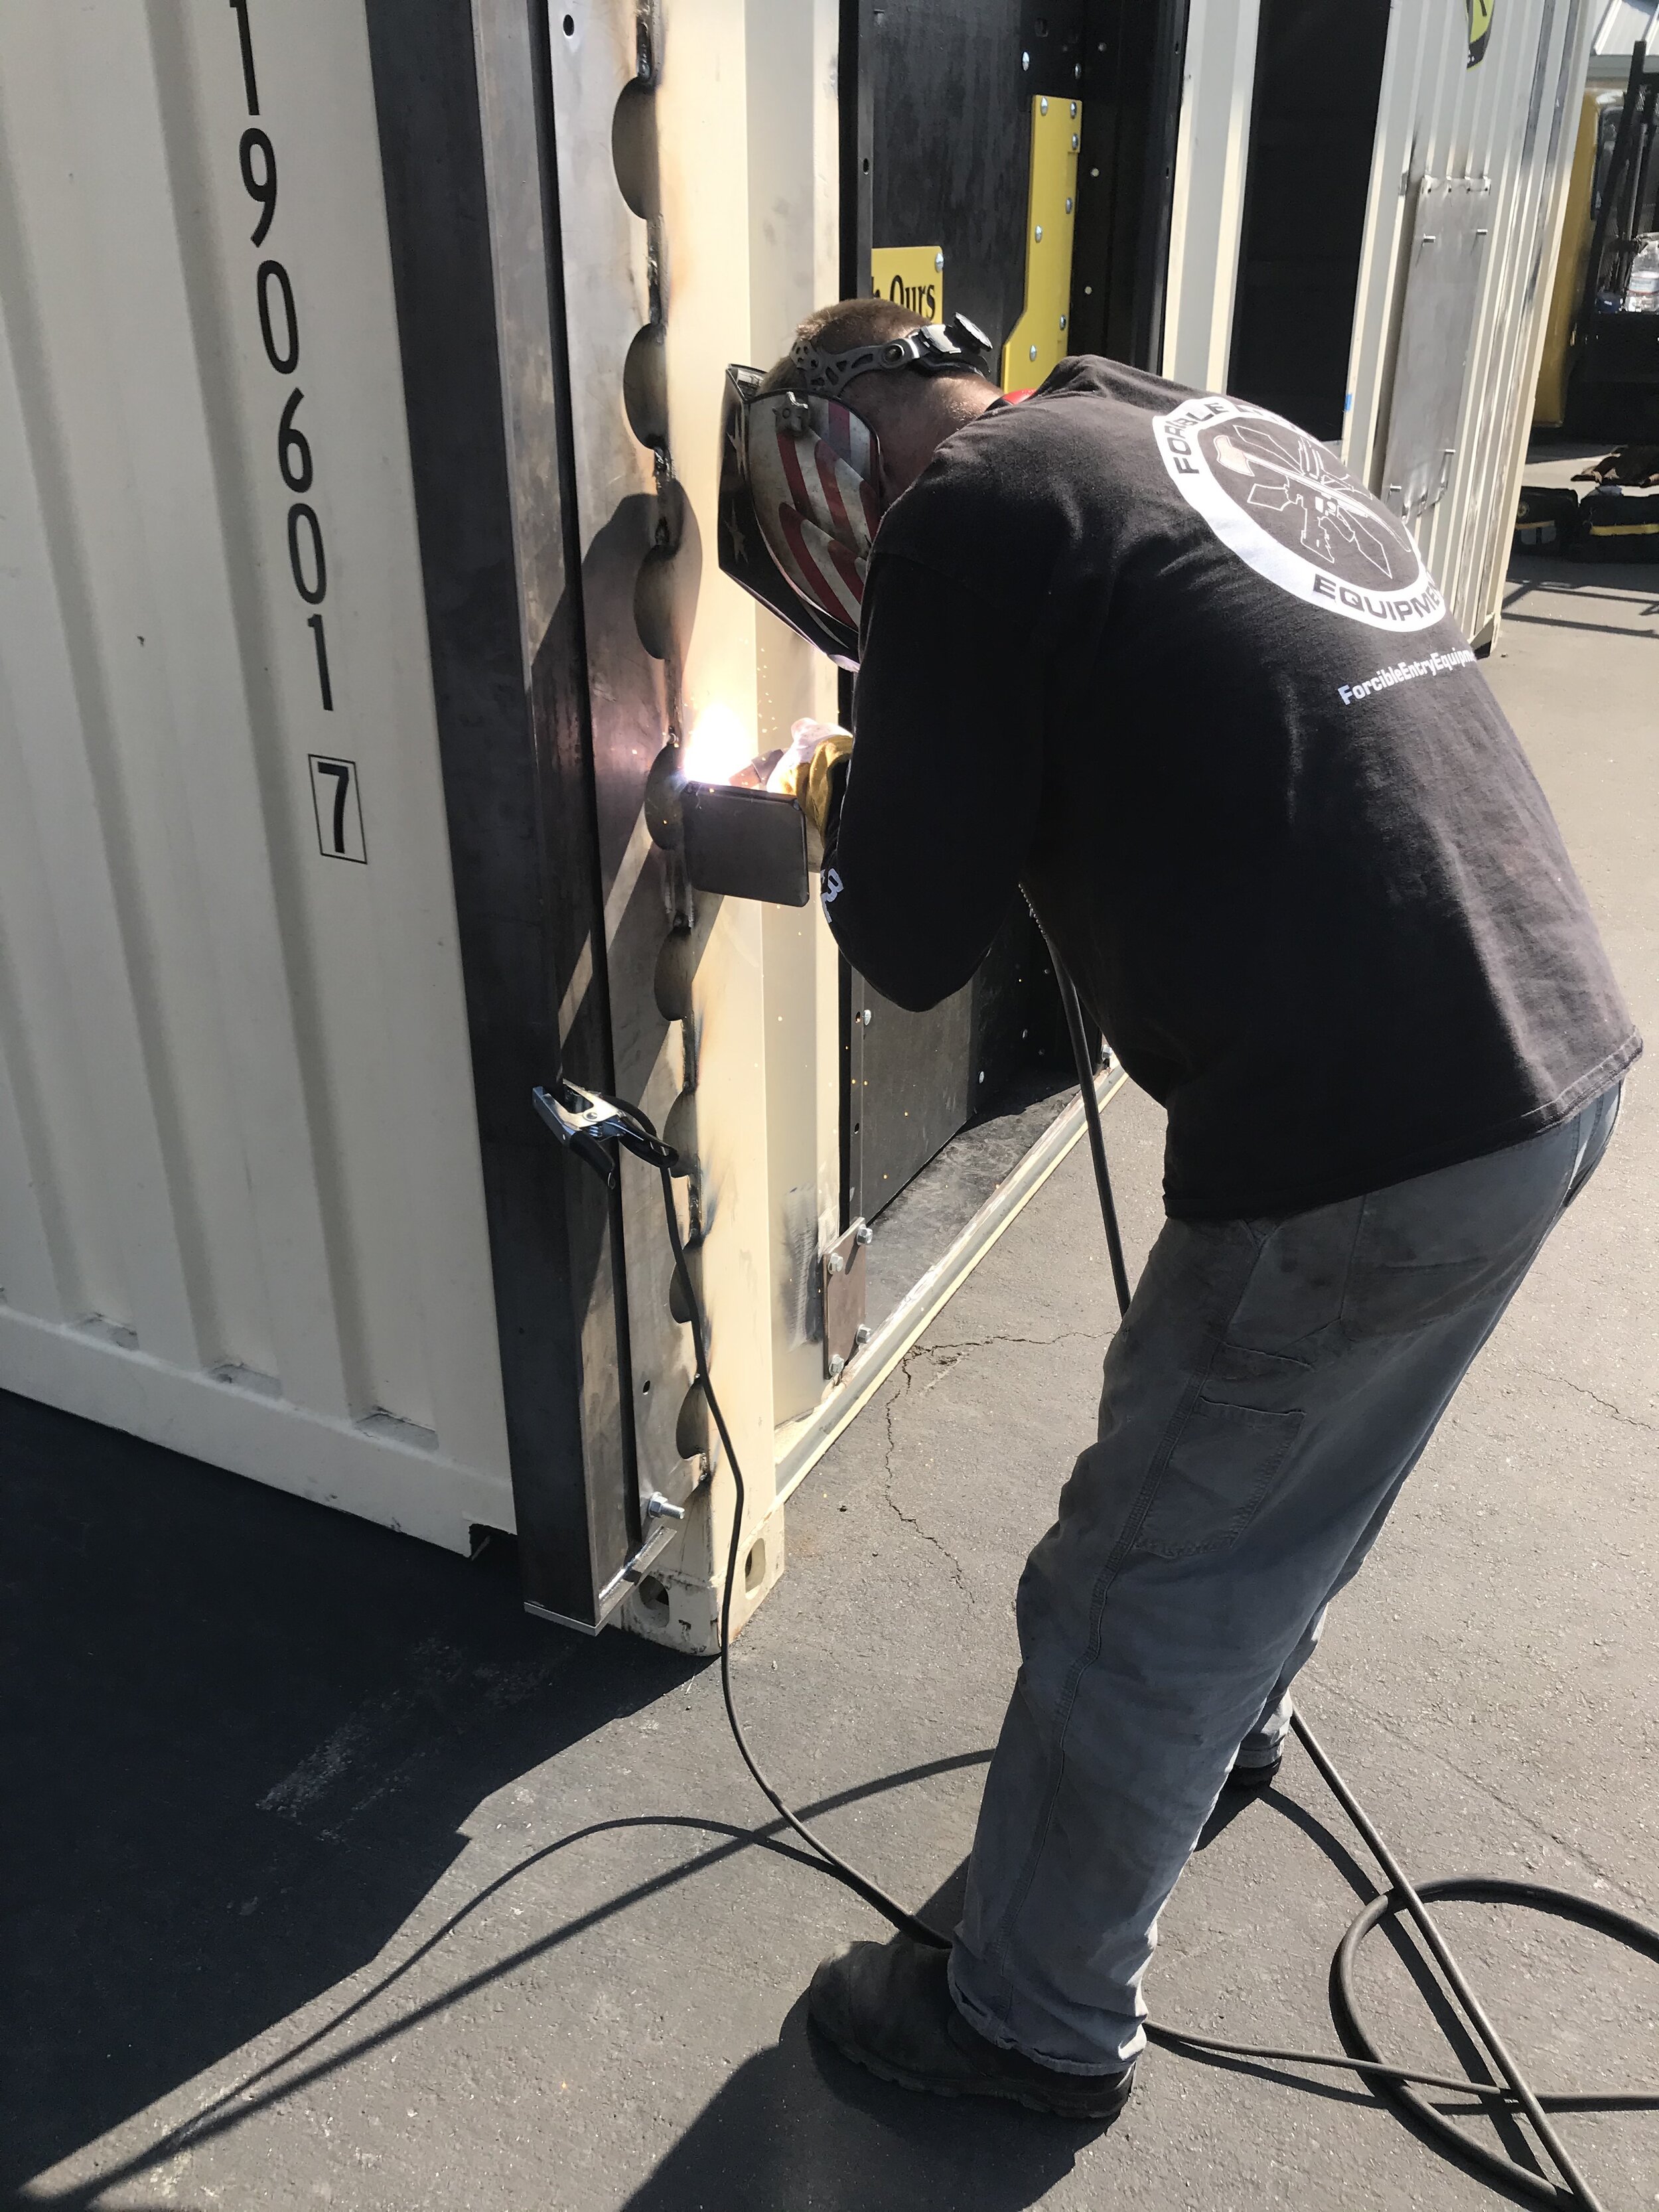
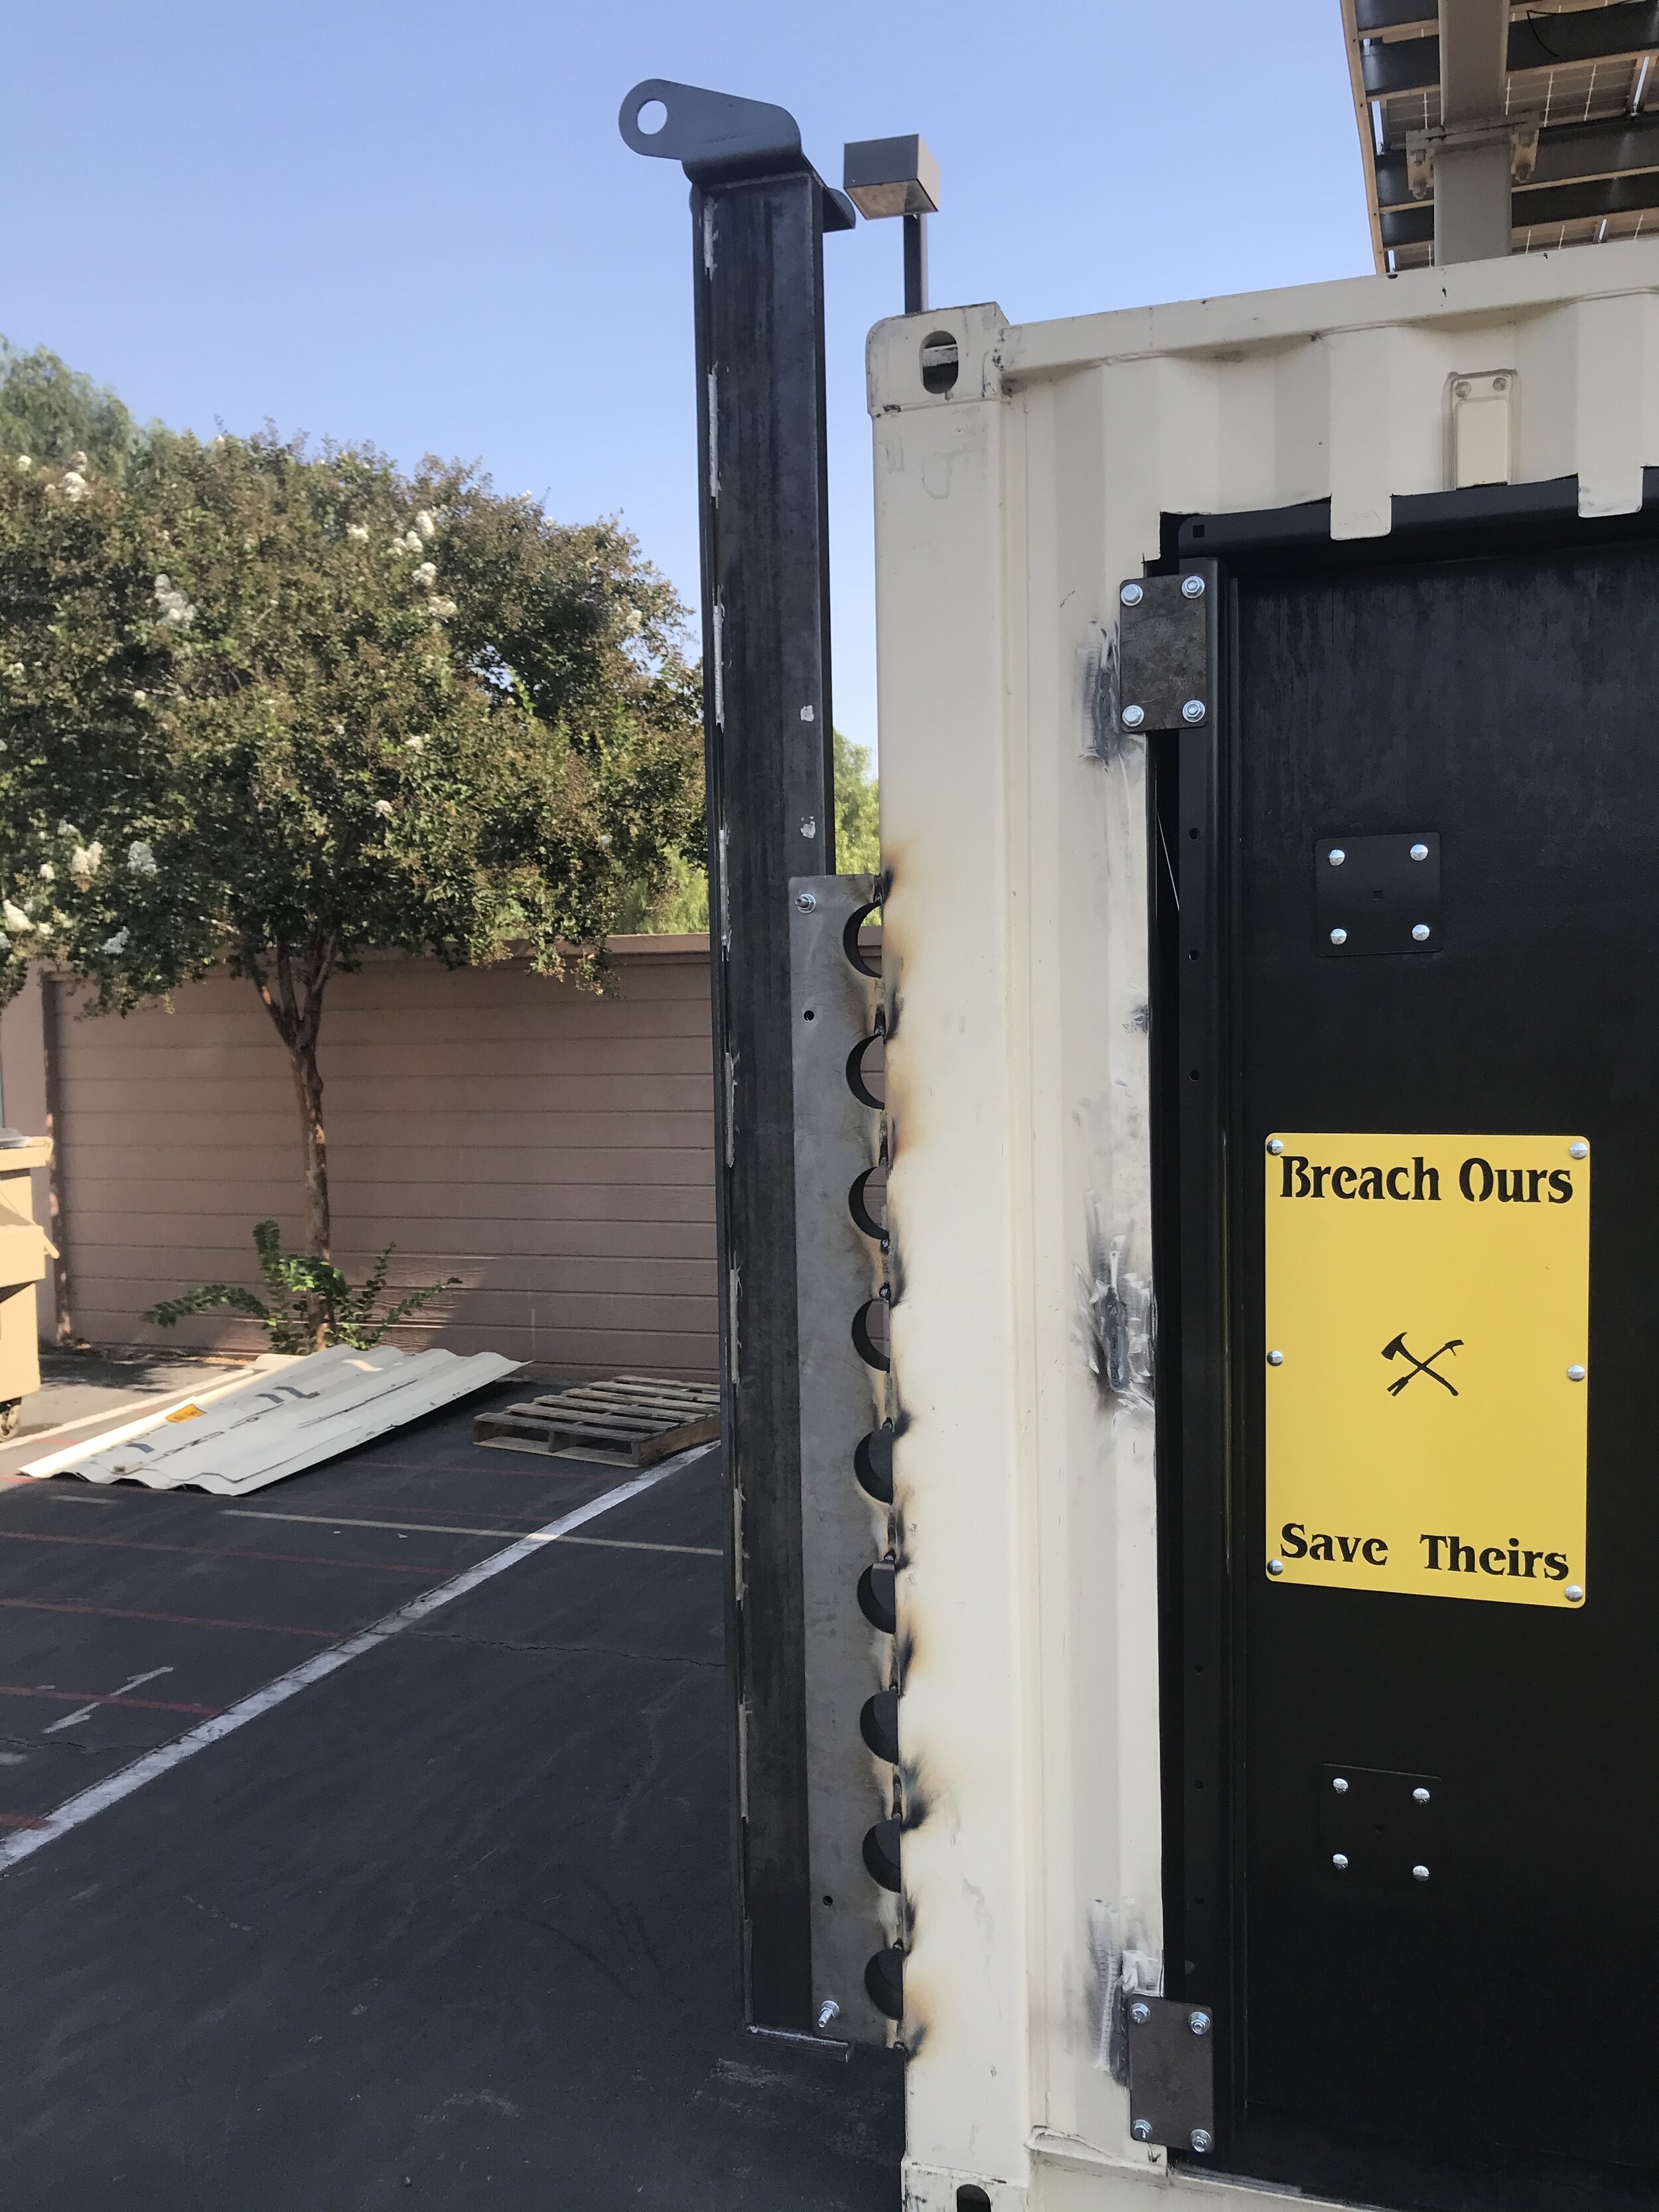
Phase 2: Install the Grid System
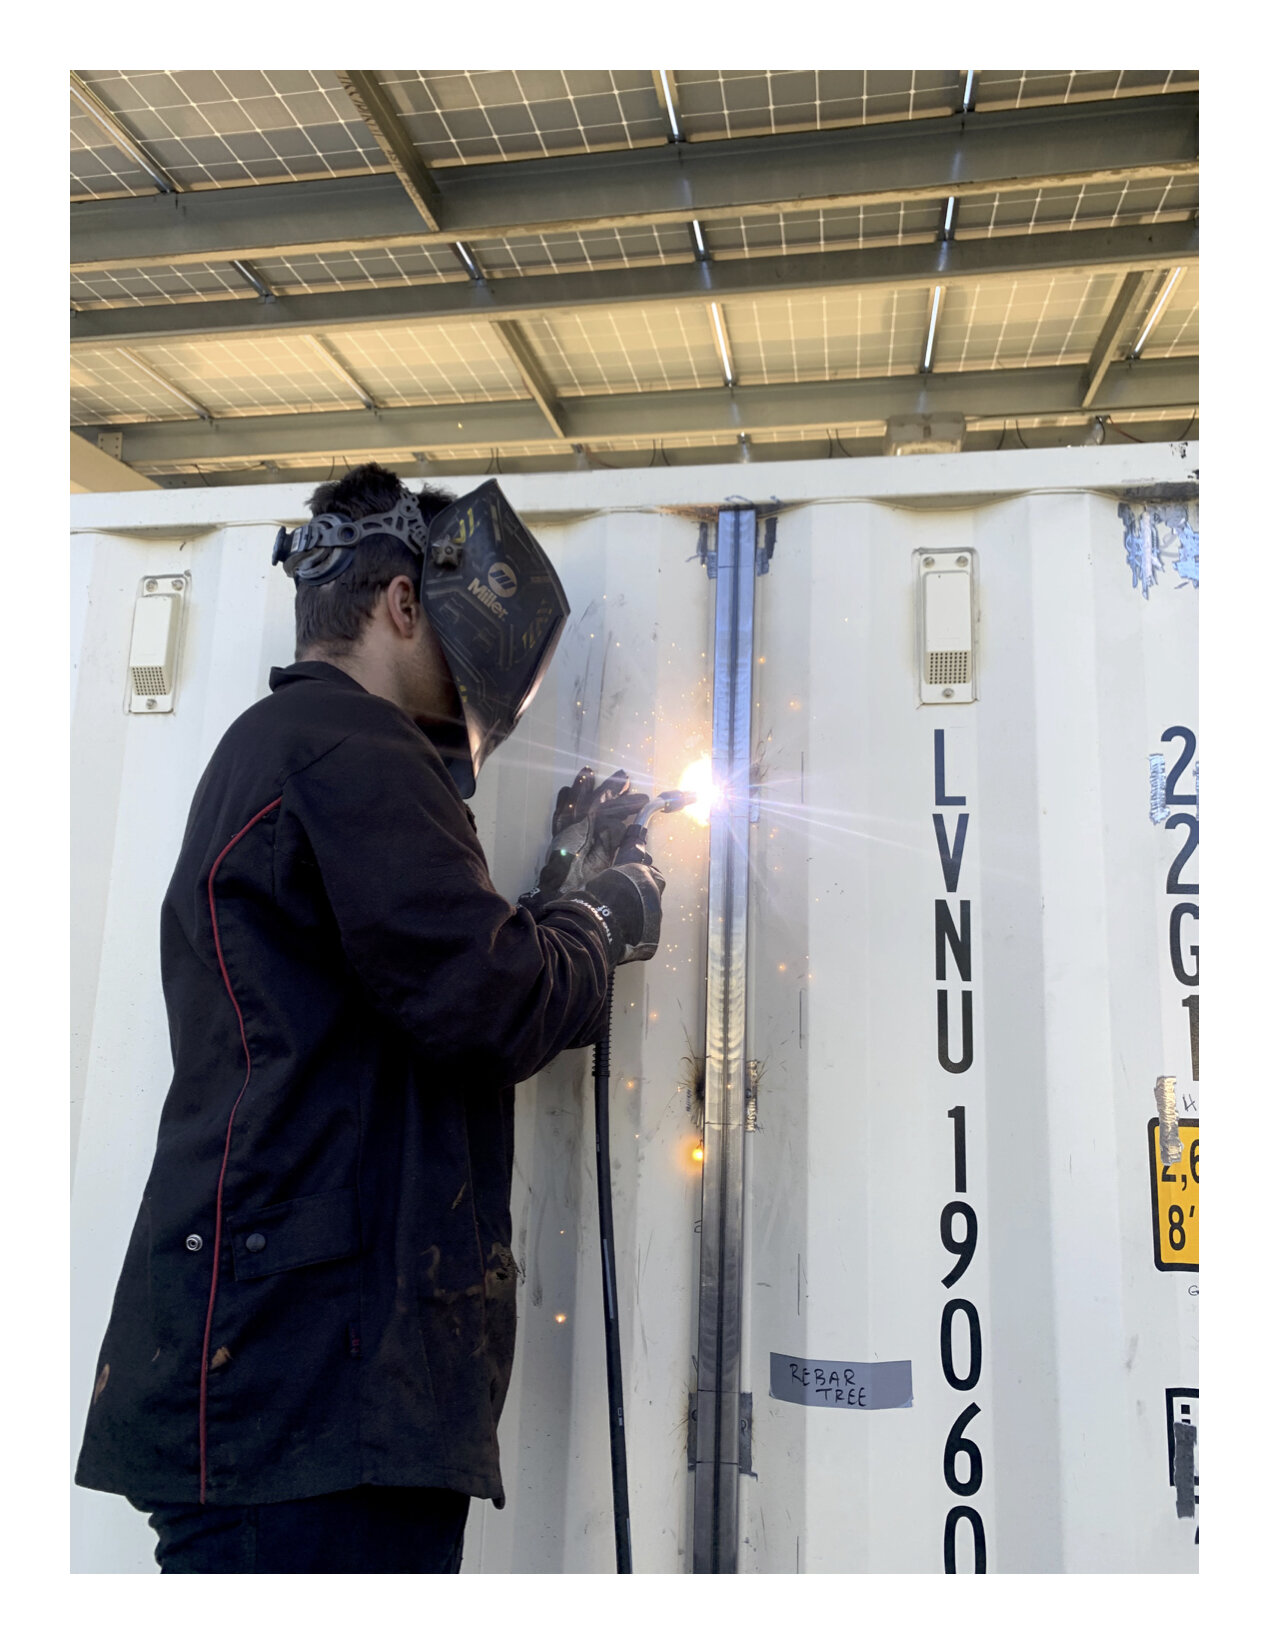
Grid System: Welded for Bolt-On Modularity
- We weld in our Bolt-on Grid System into the outer walls of your Conex Box in the specific locations agreed upon.
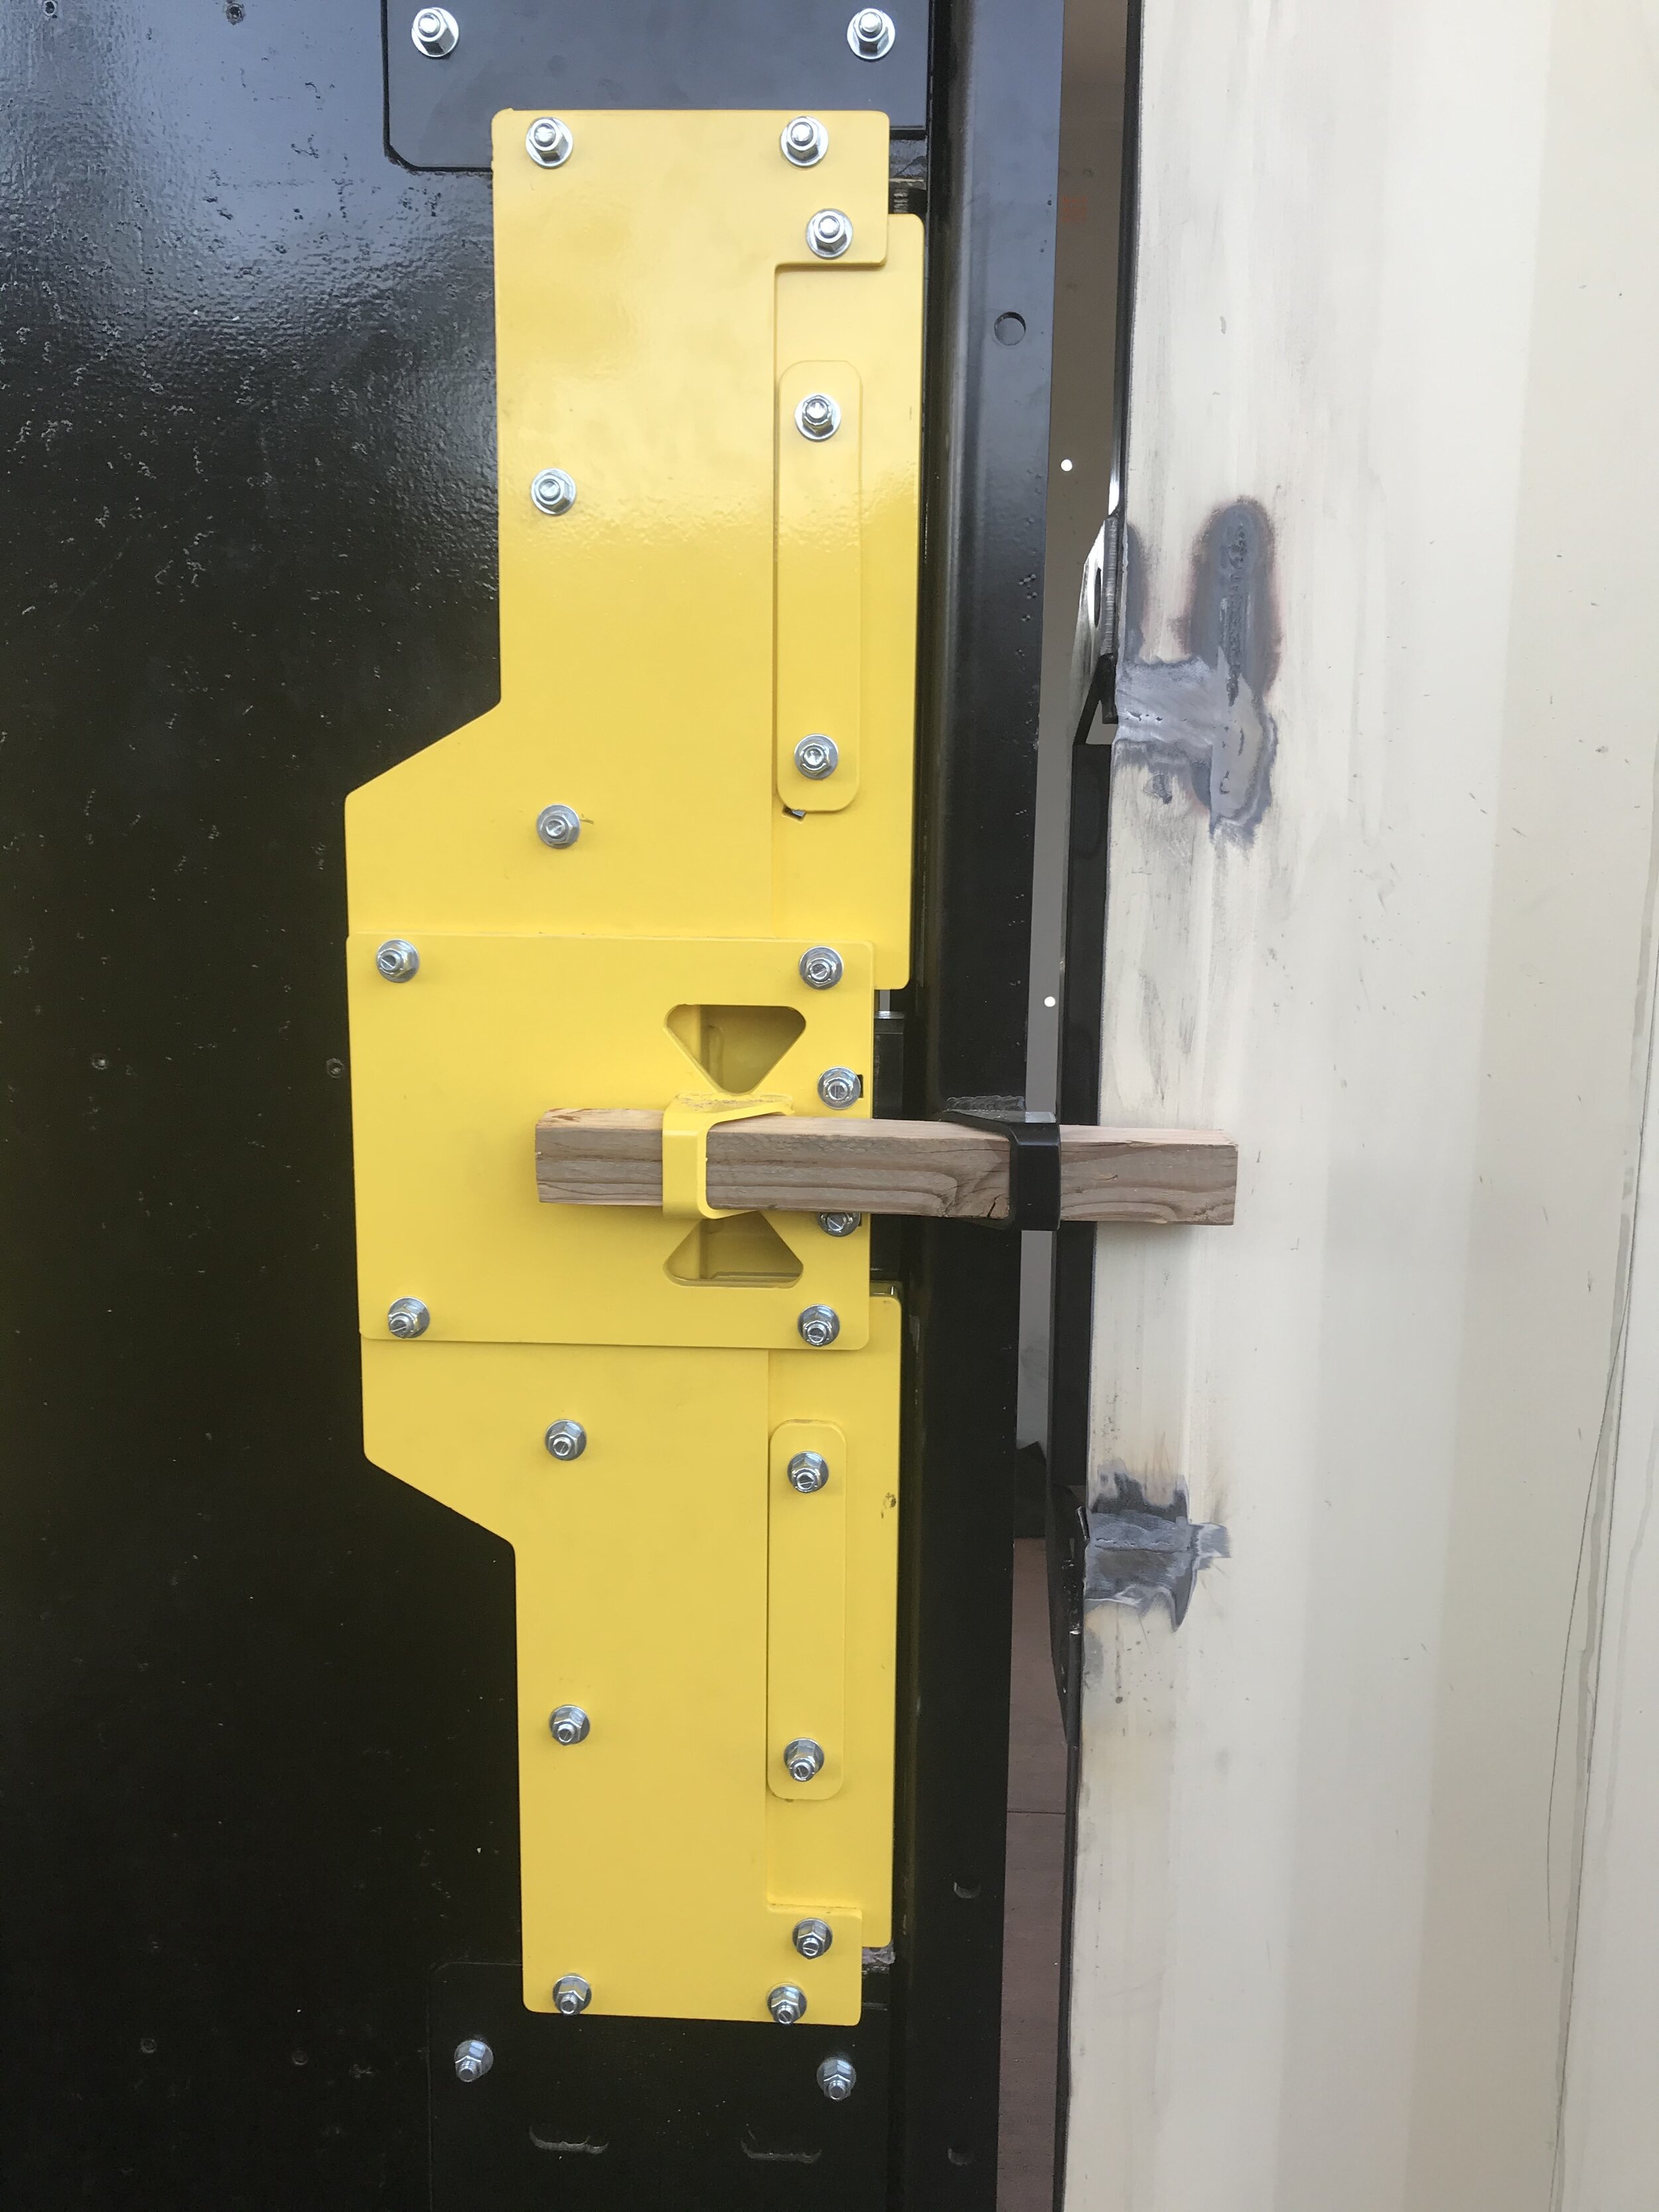
- This allows you to affix and detach all of our bolt-on Forcible Entry props seamlessly and easily based on your training cycles.
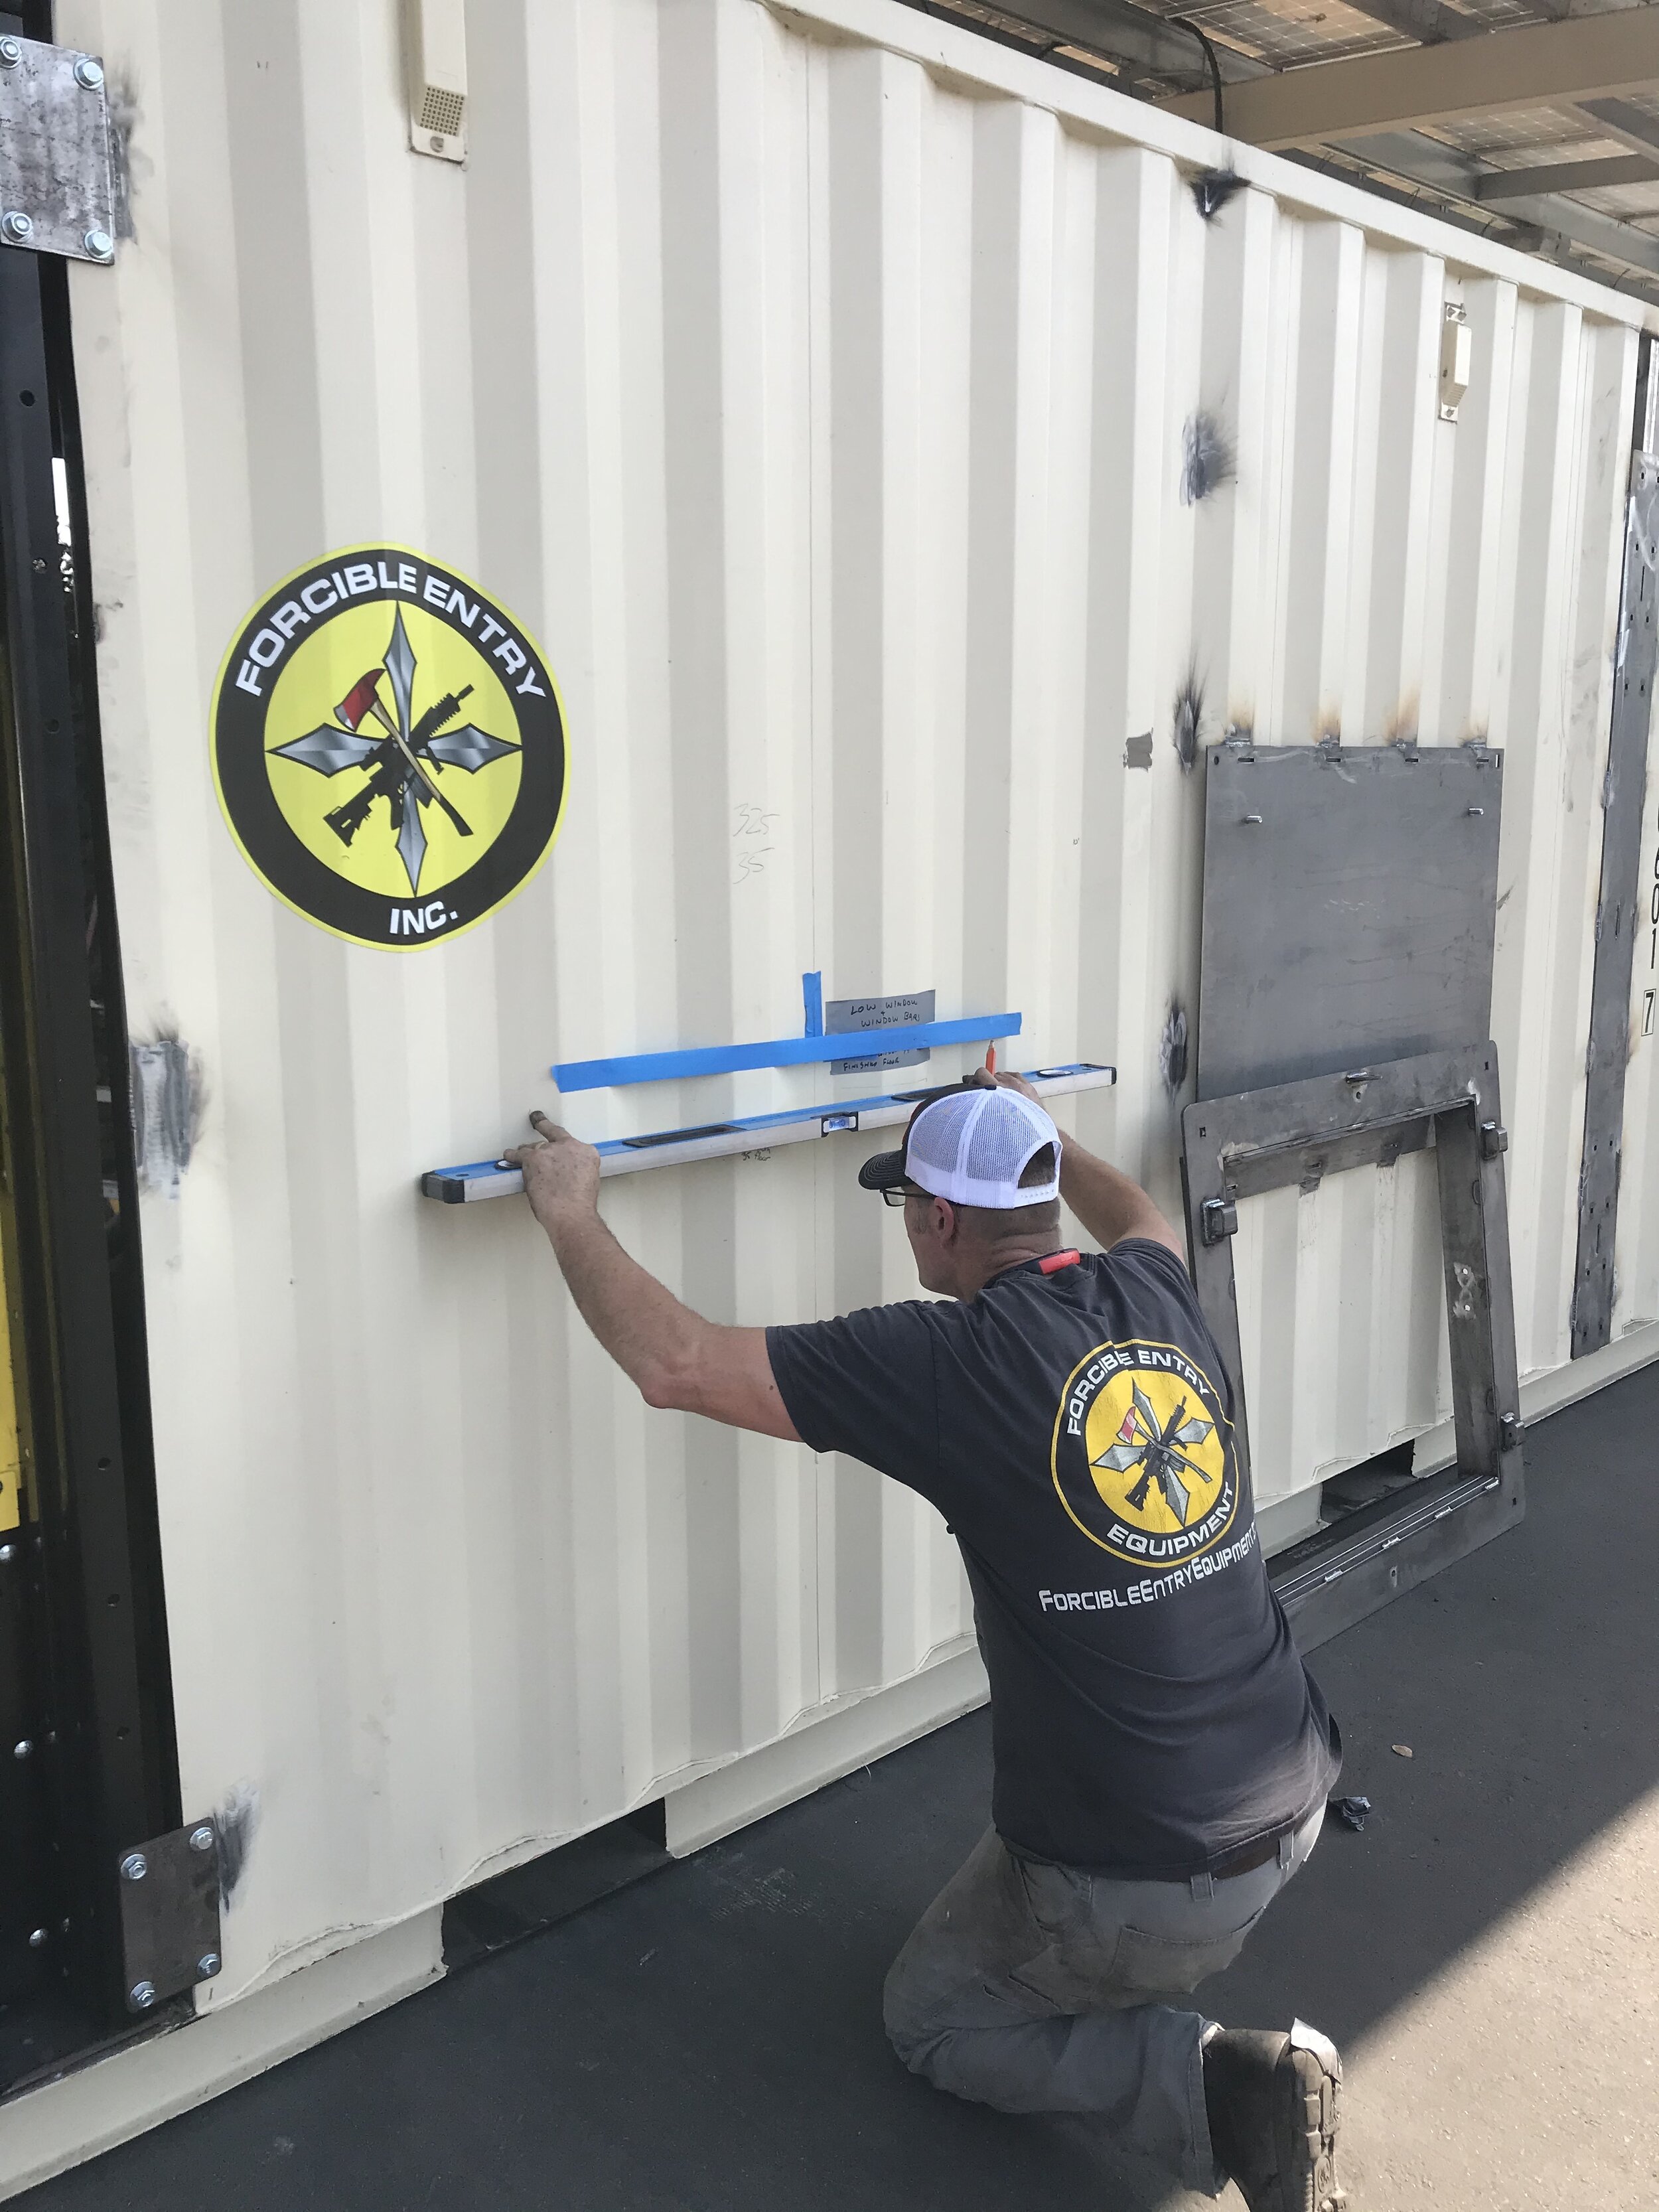
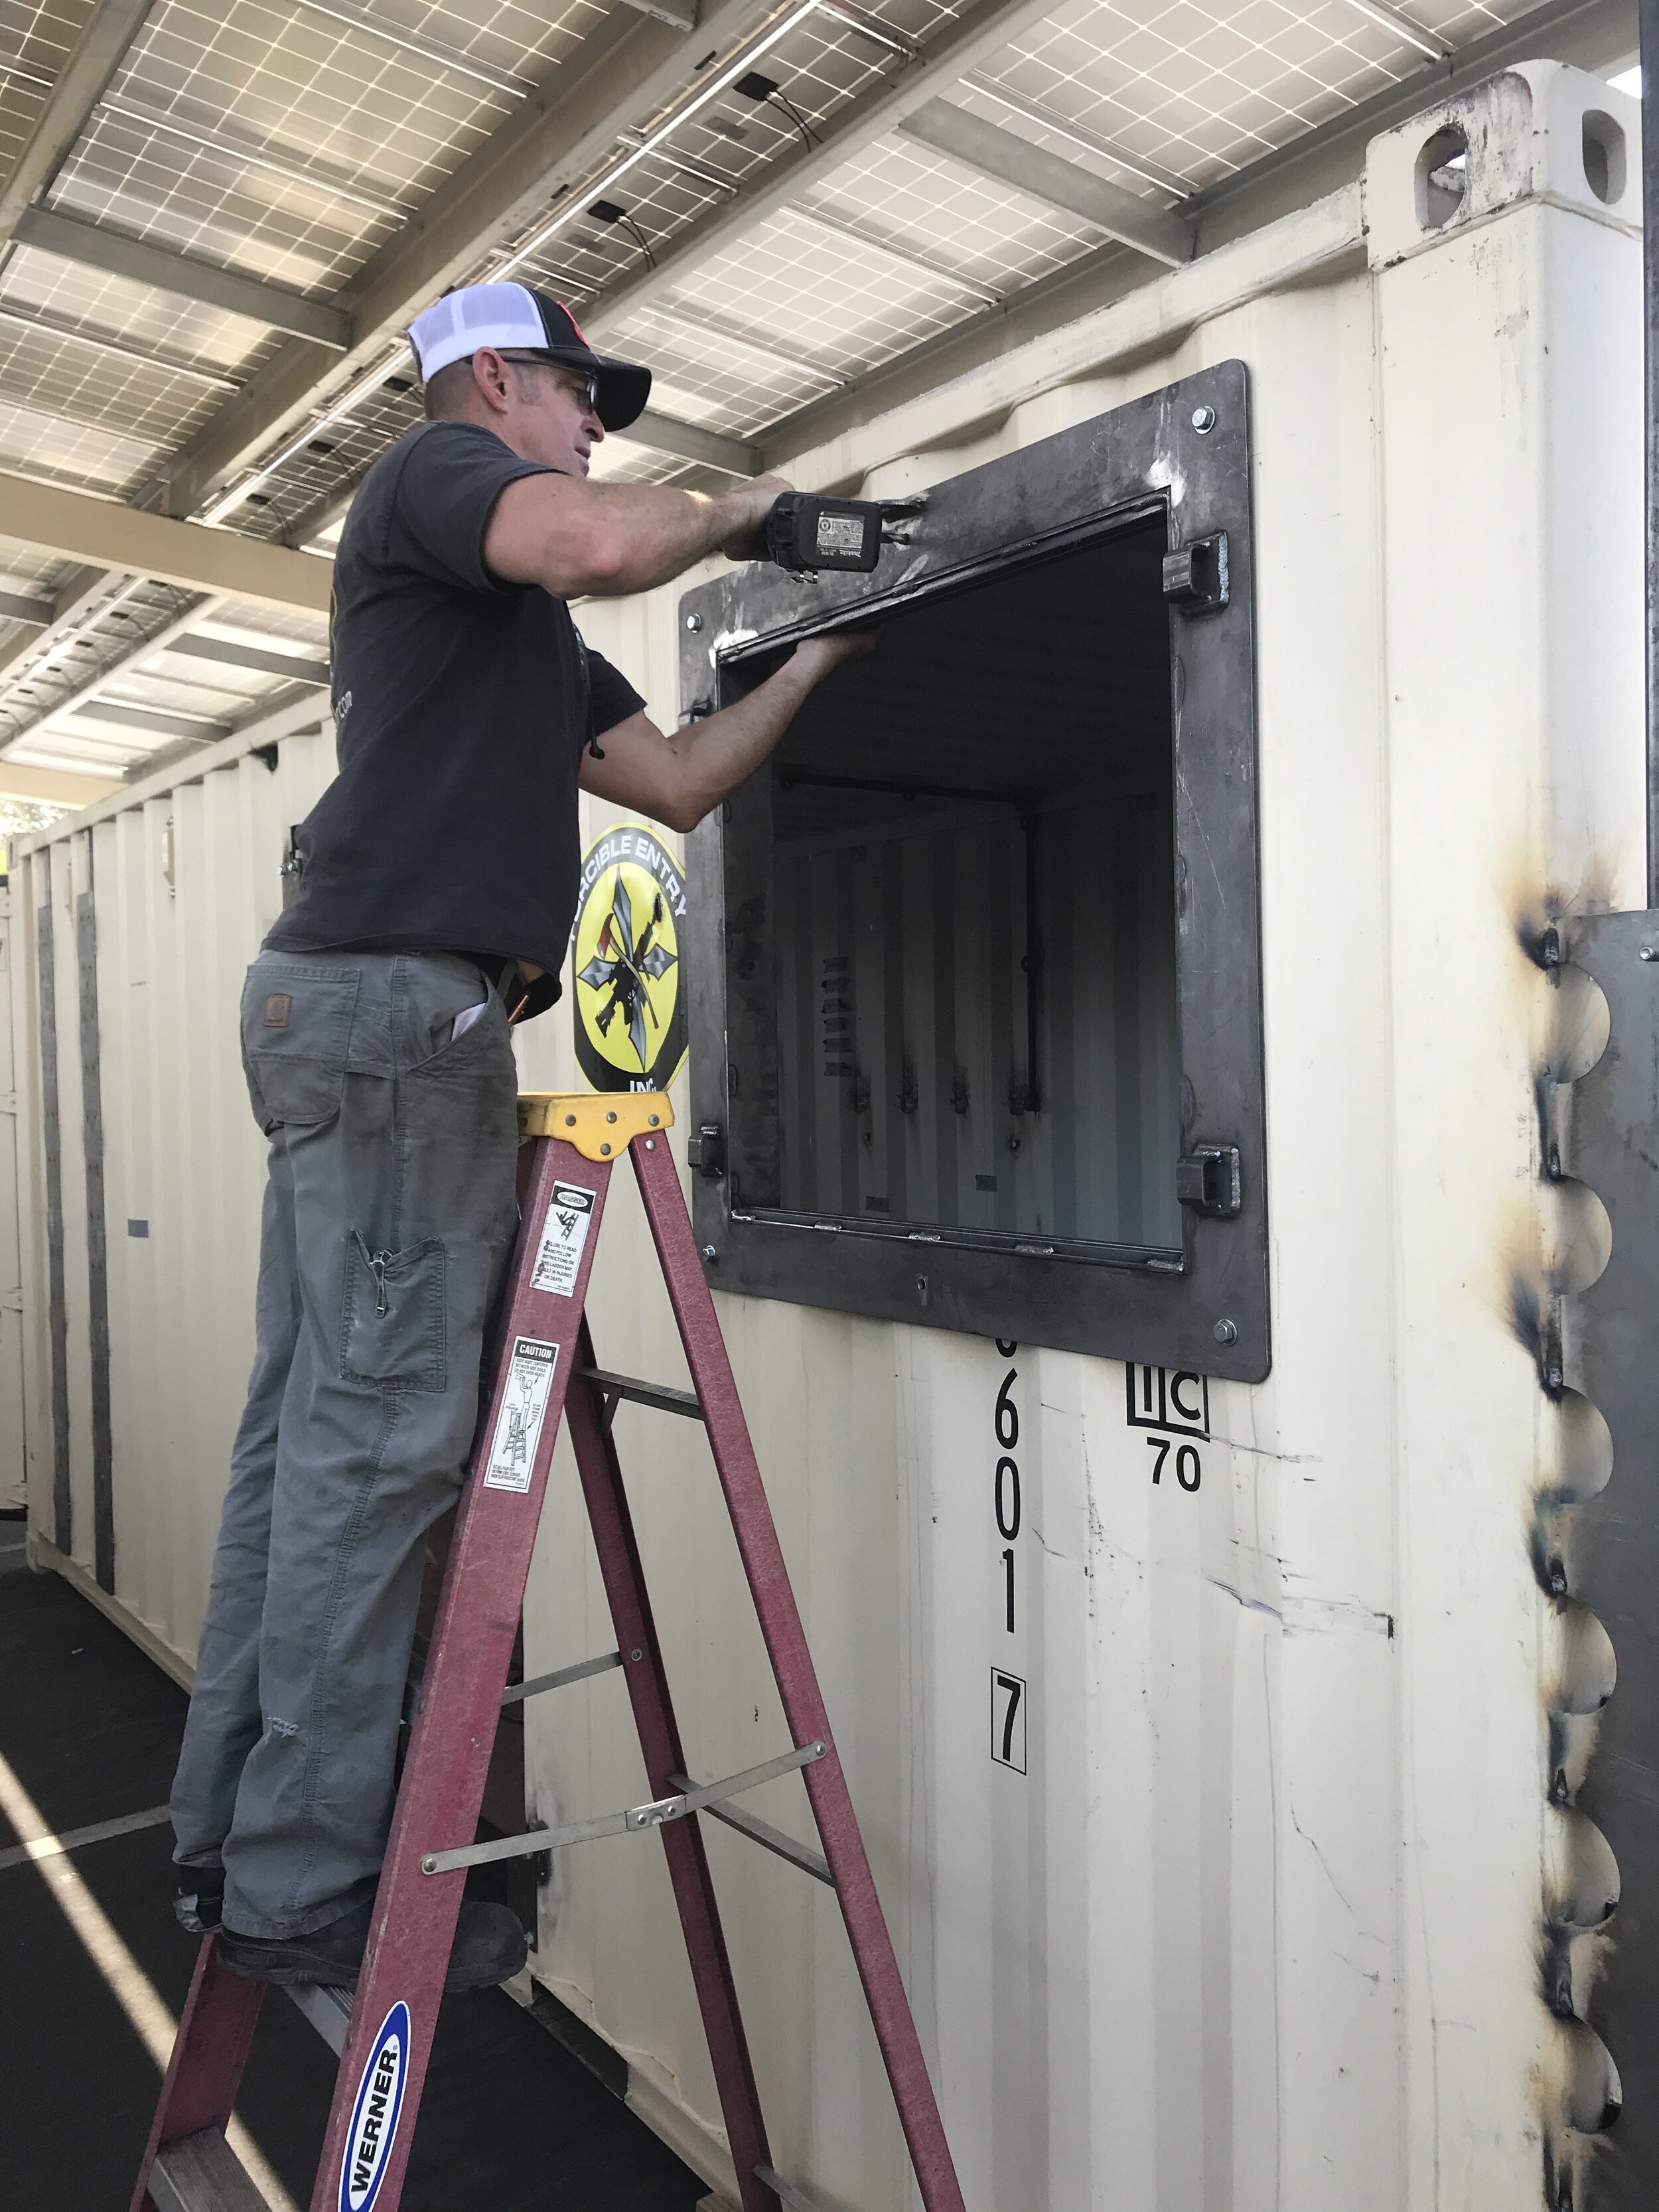
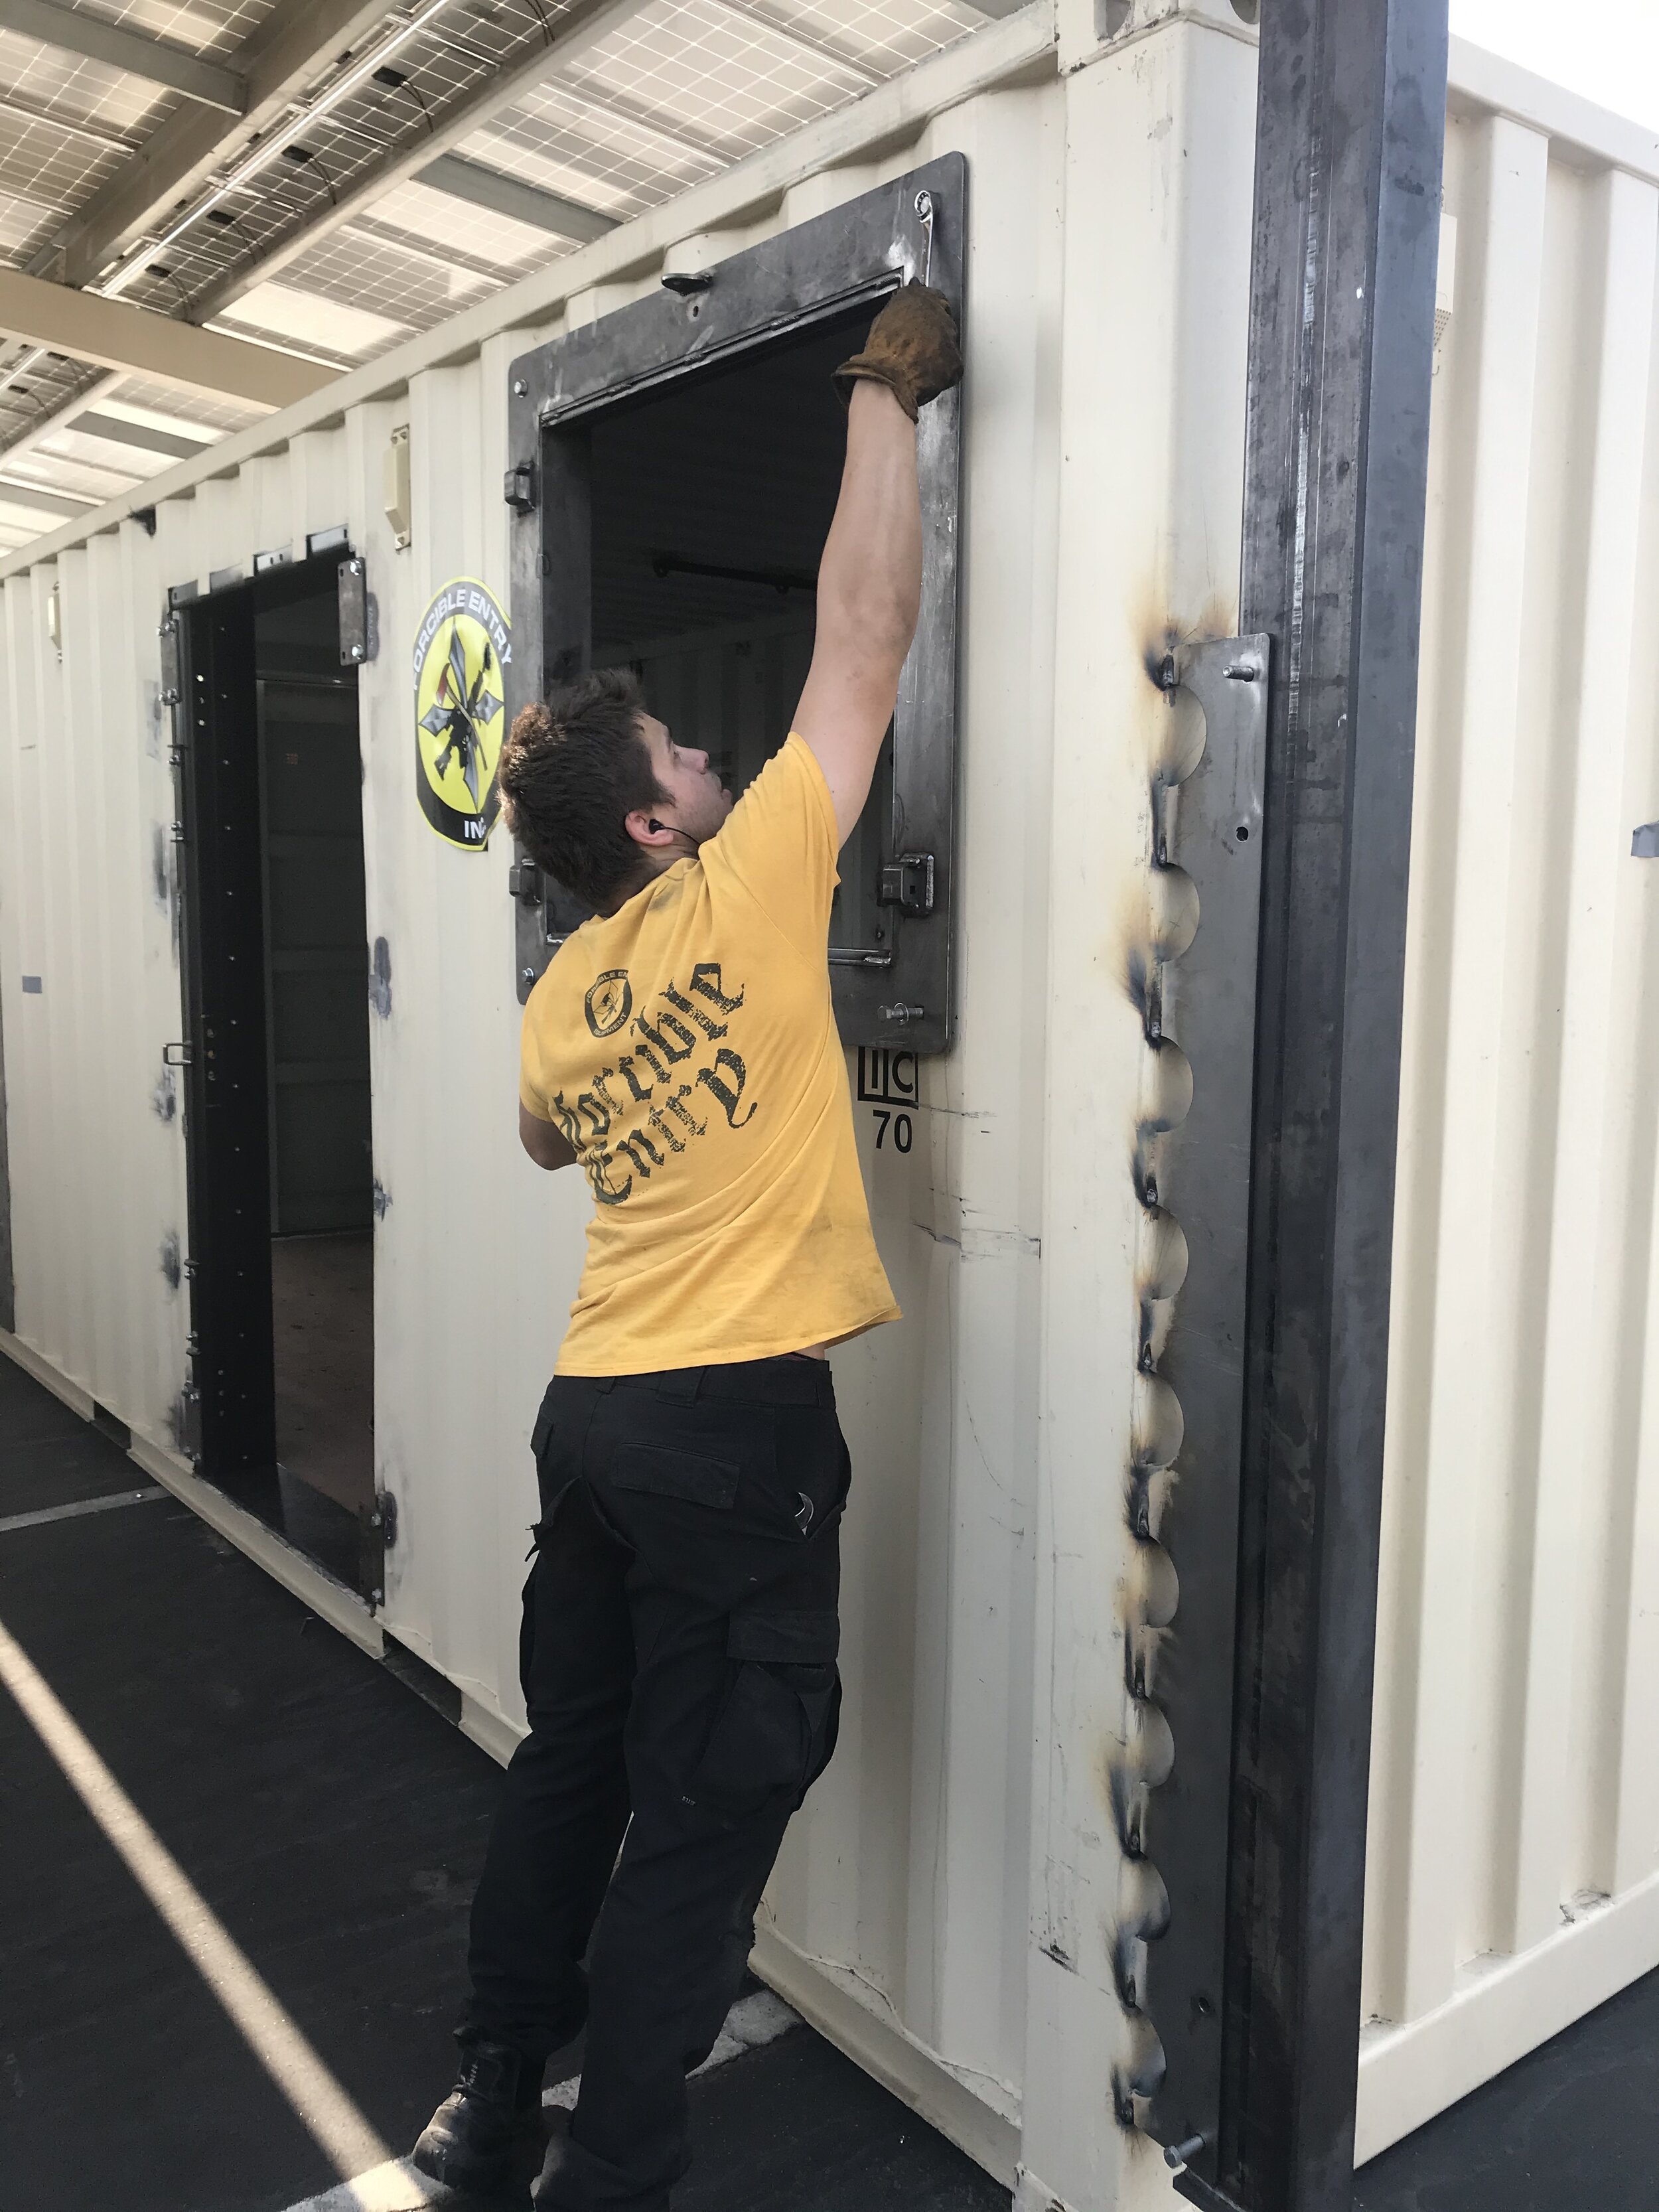
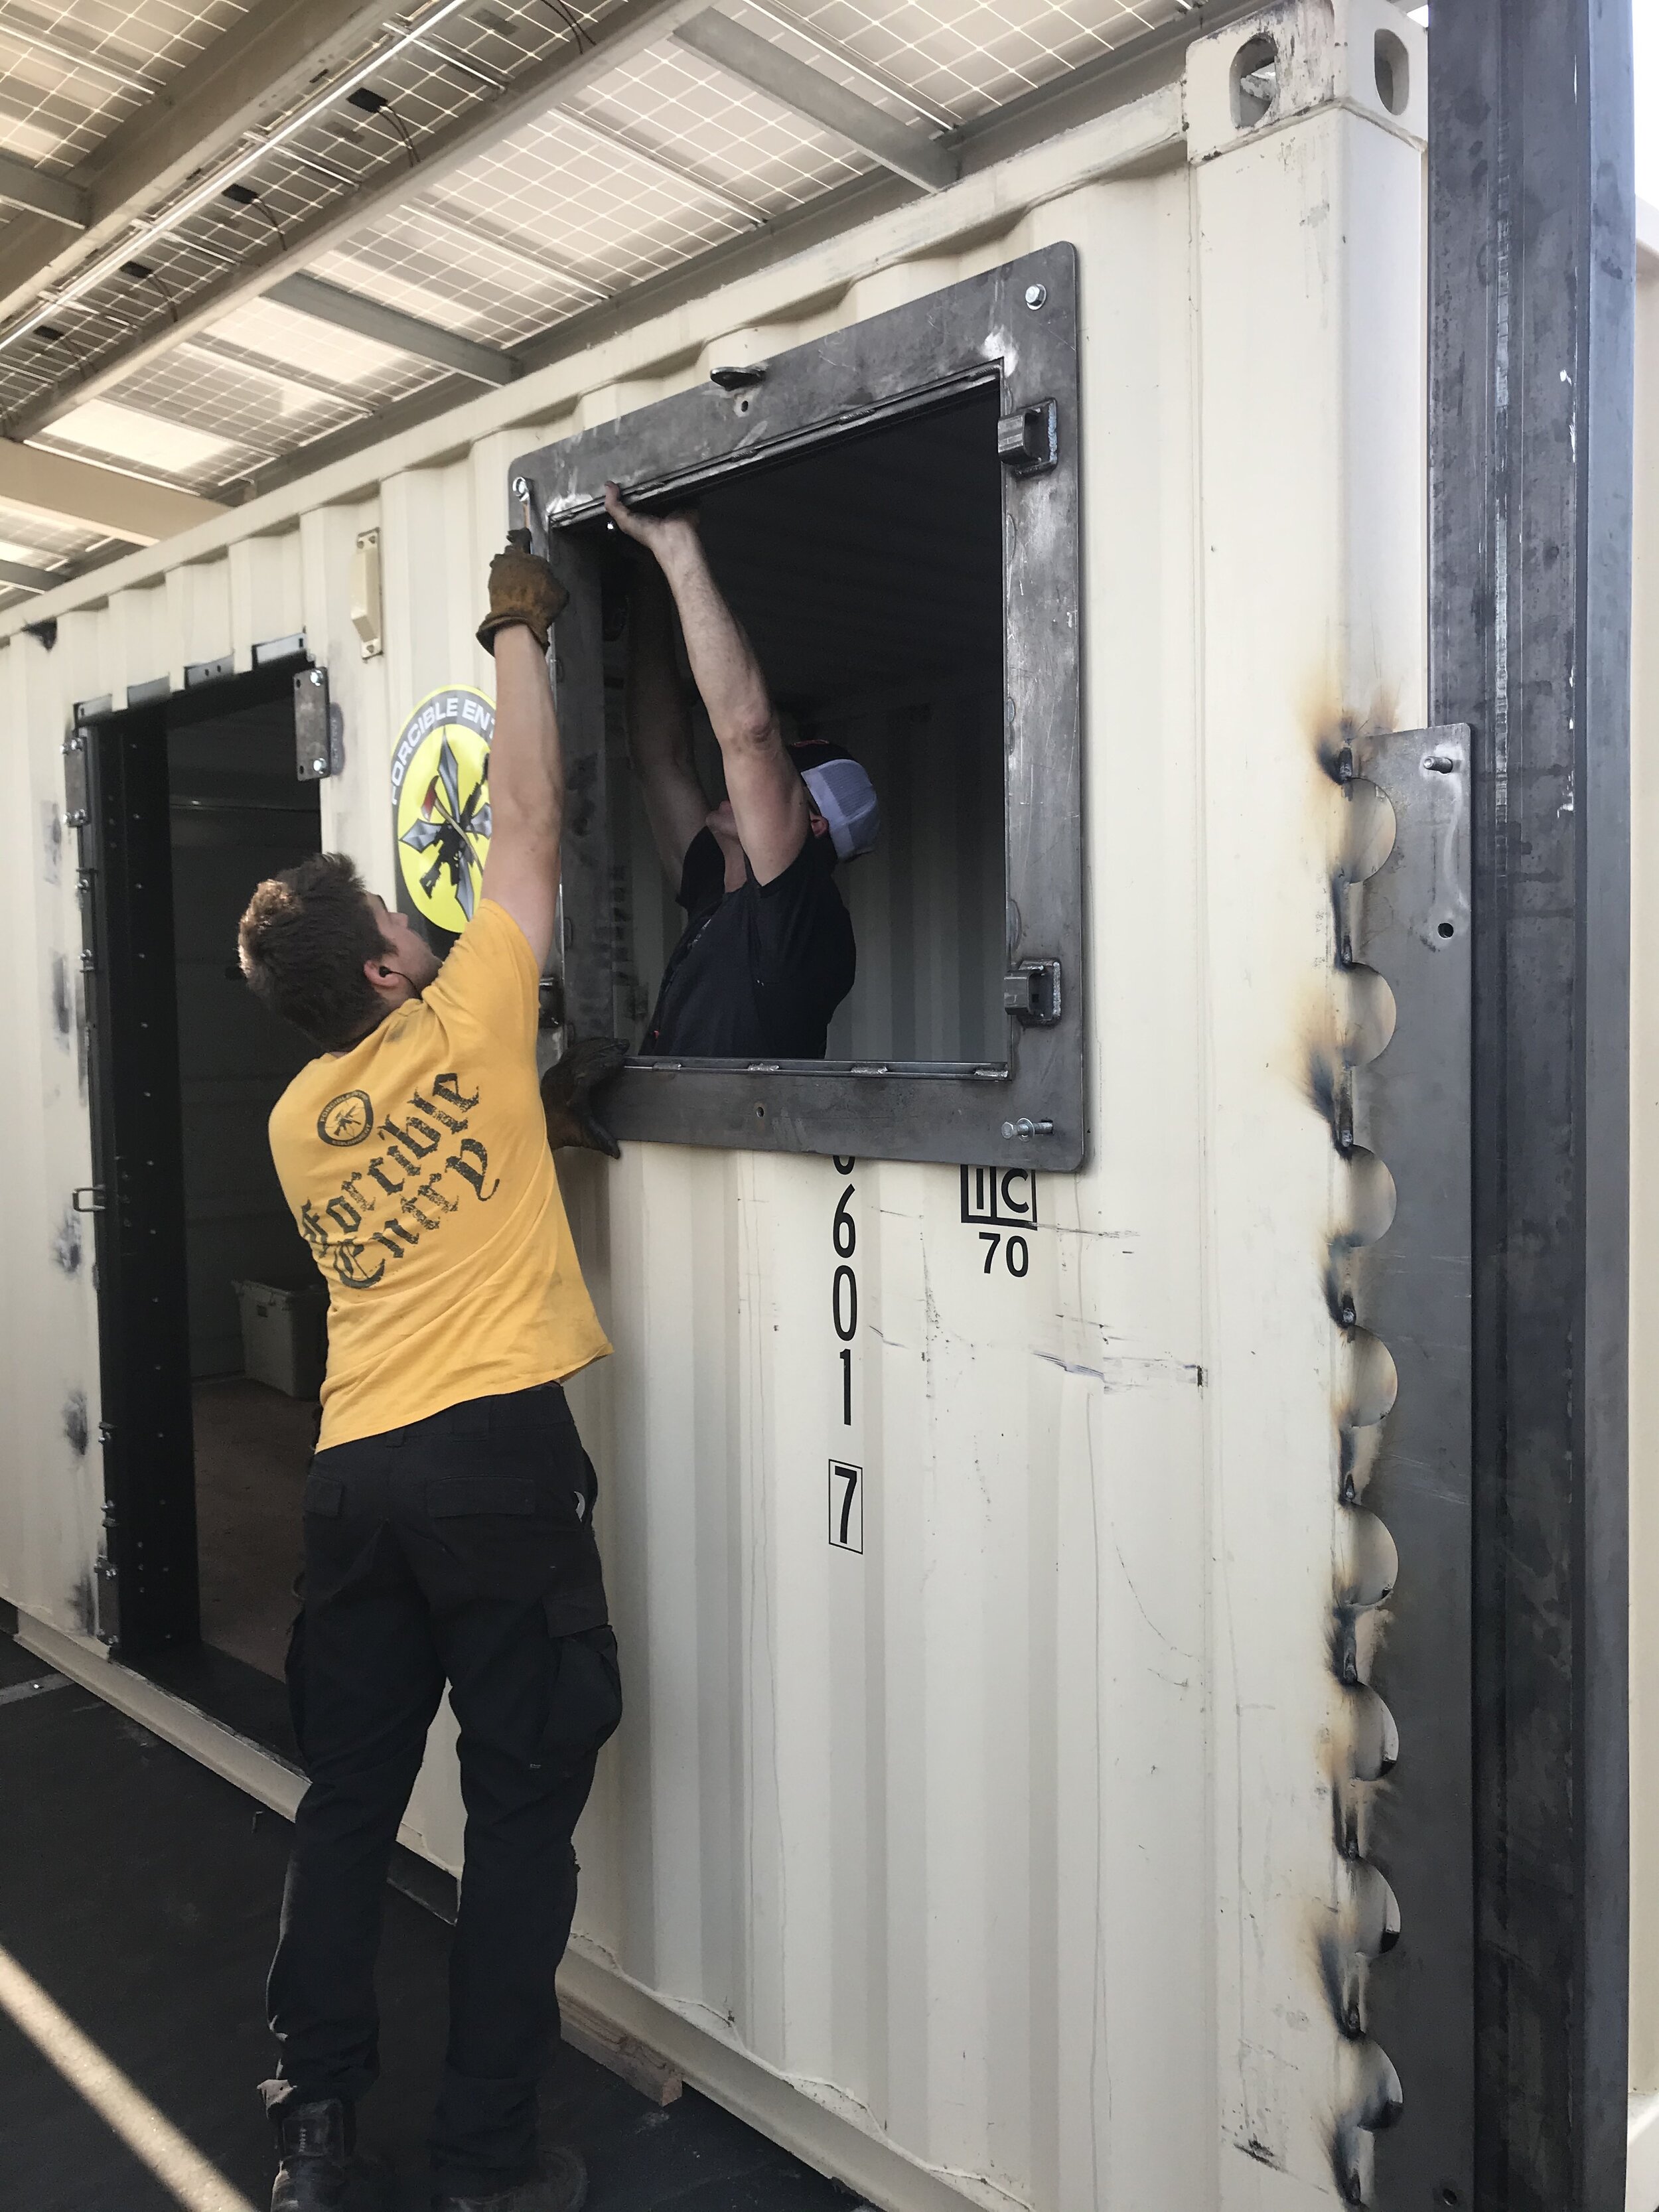
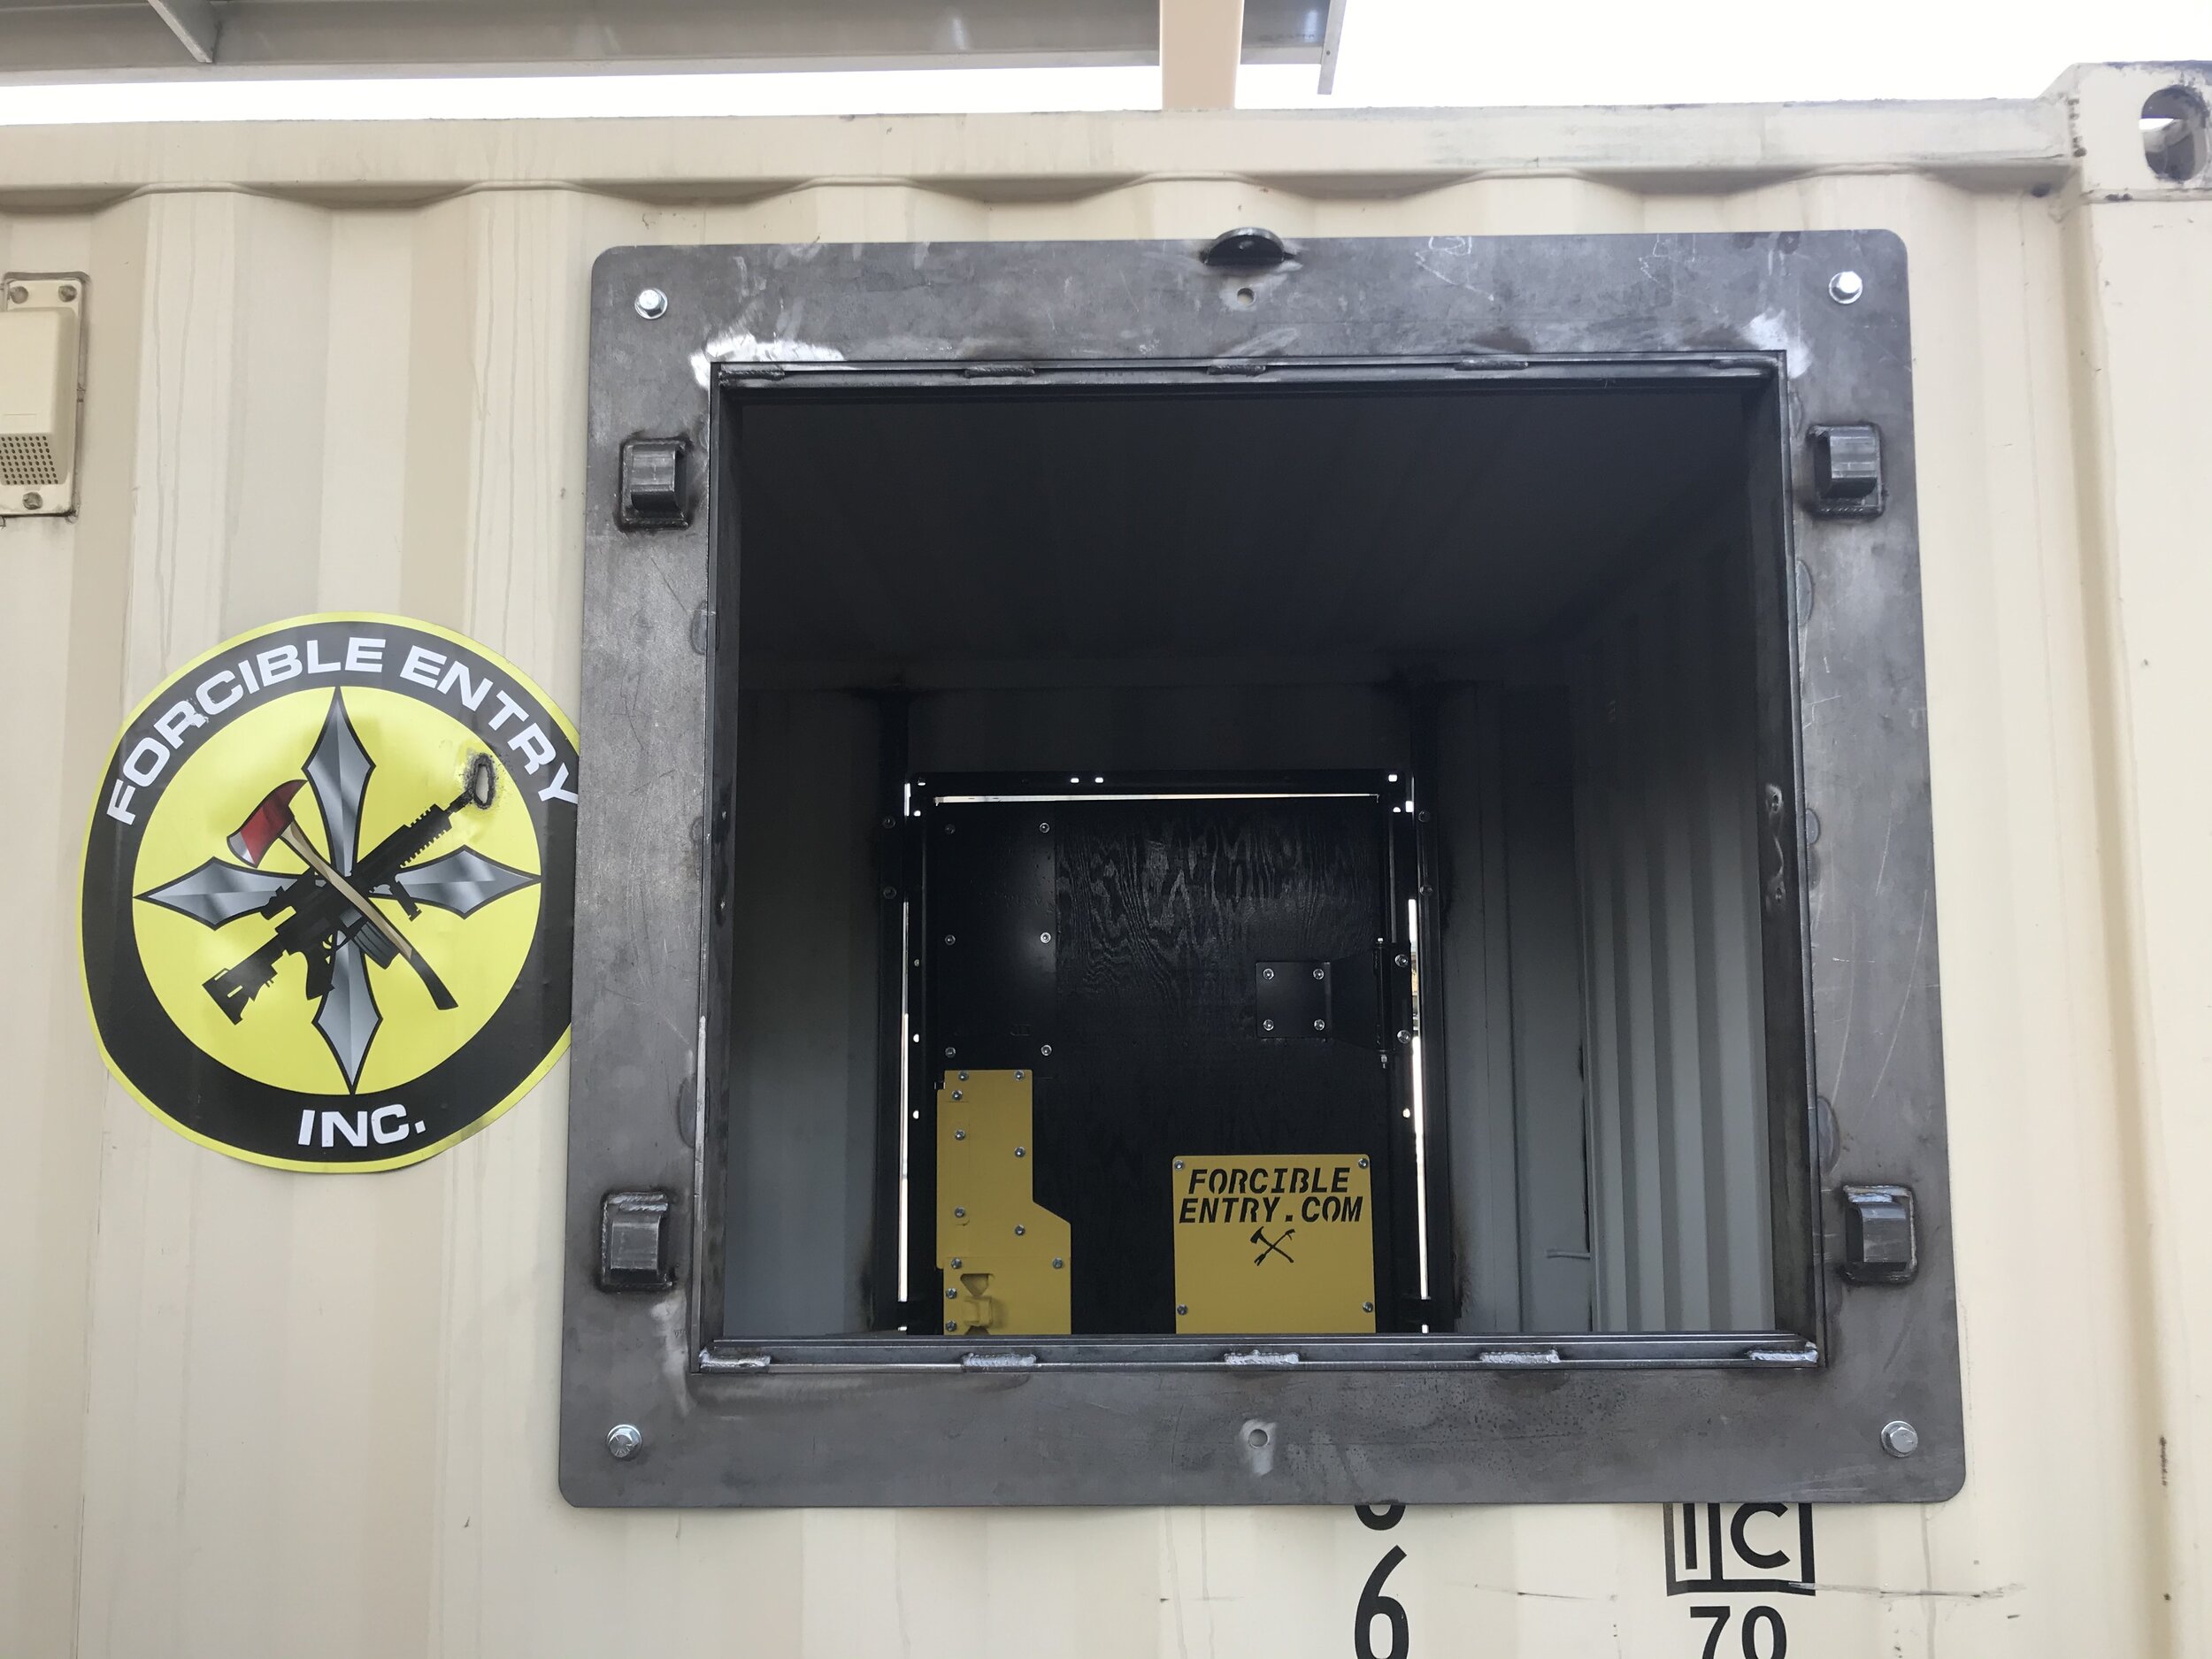
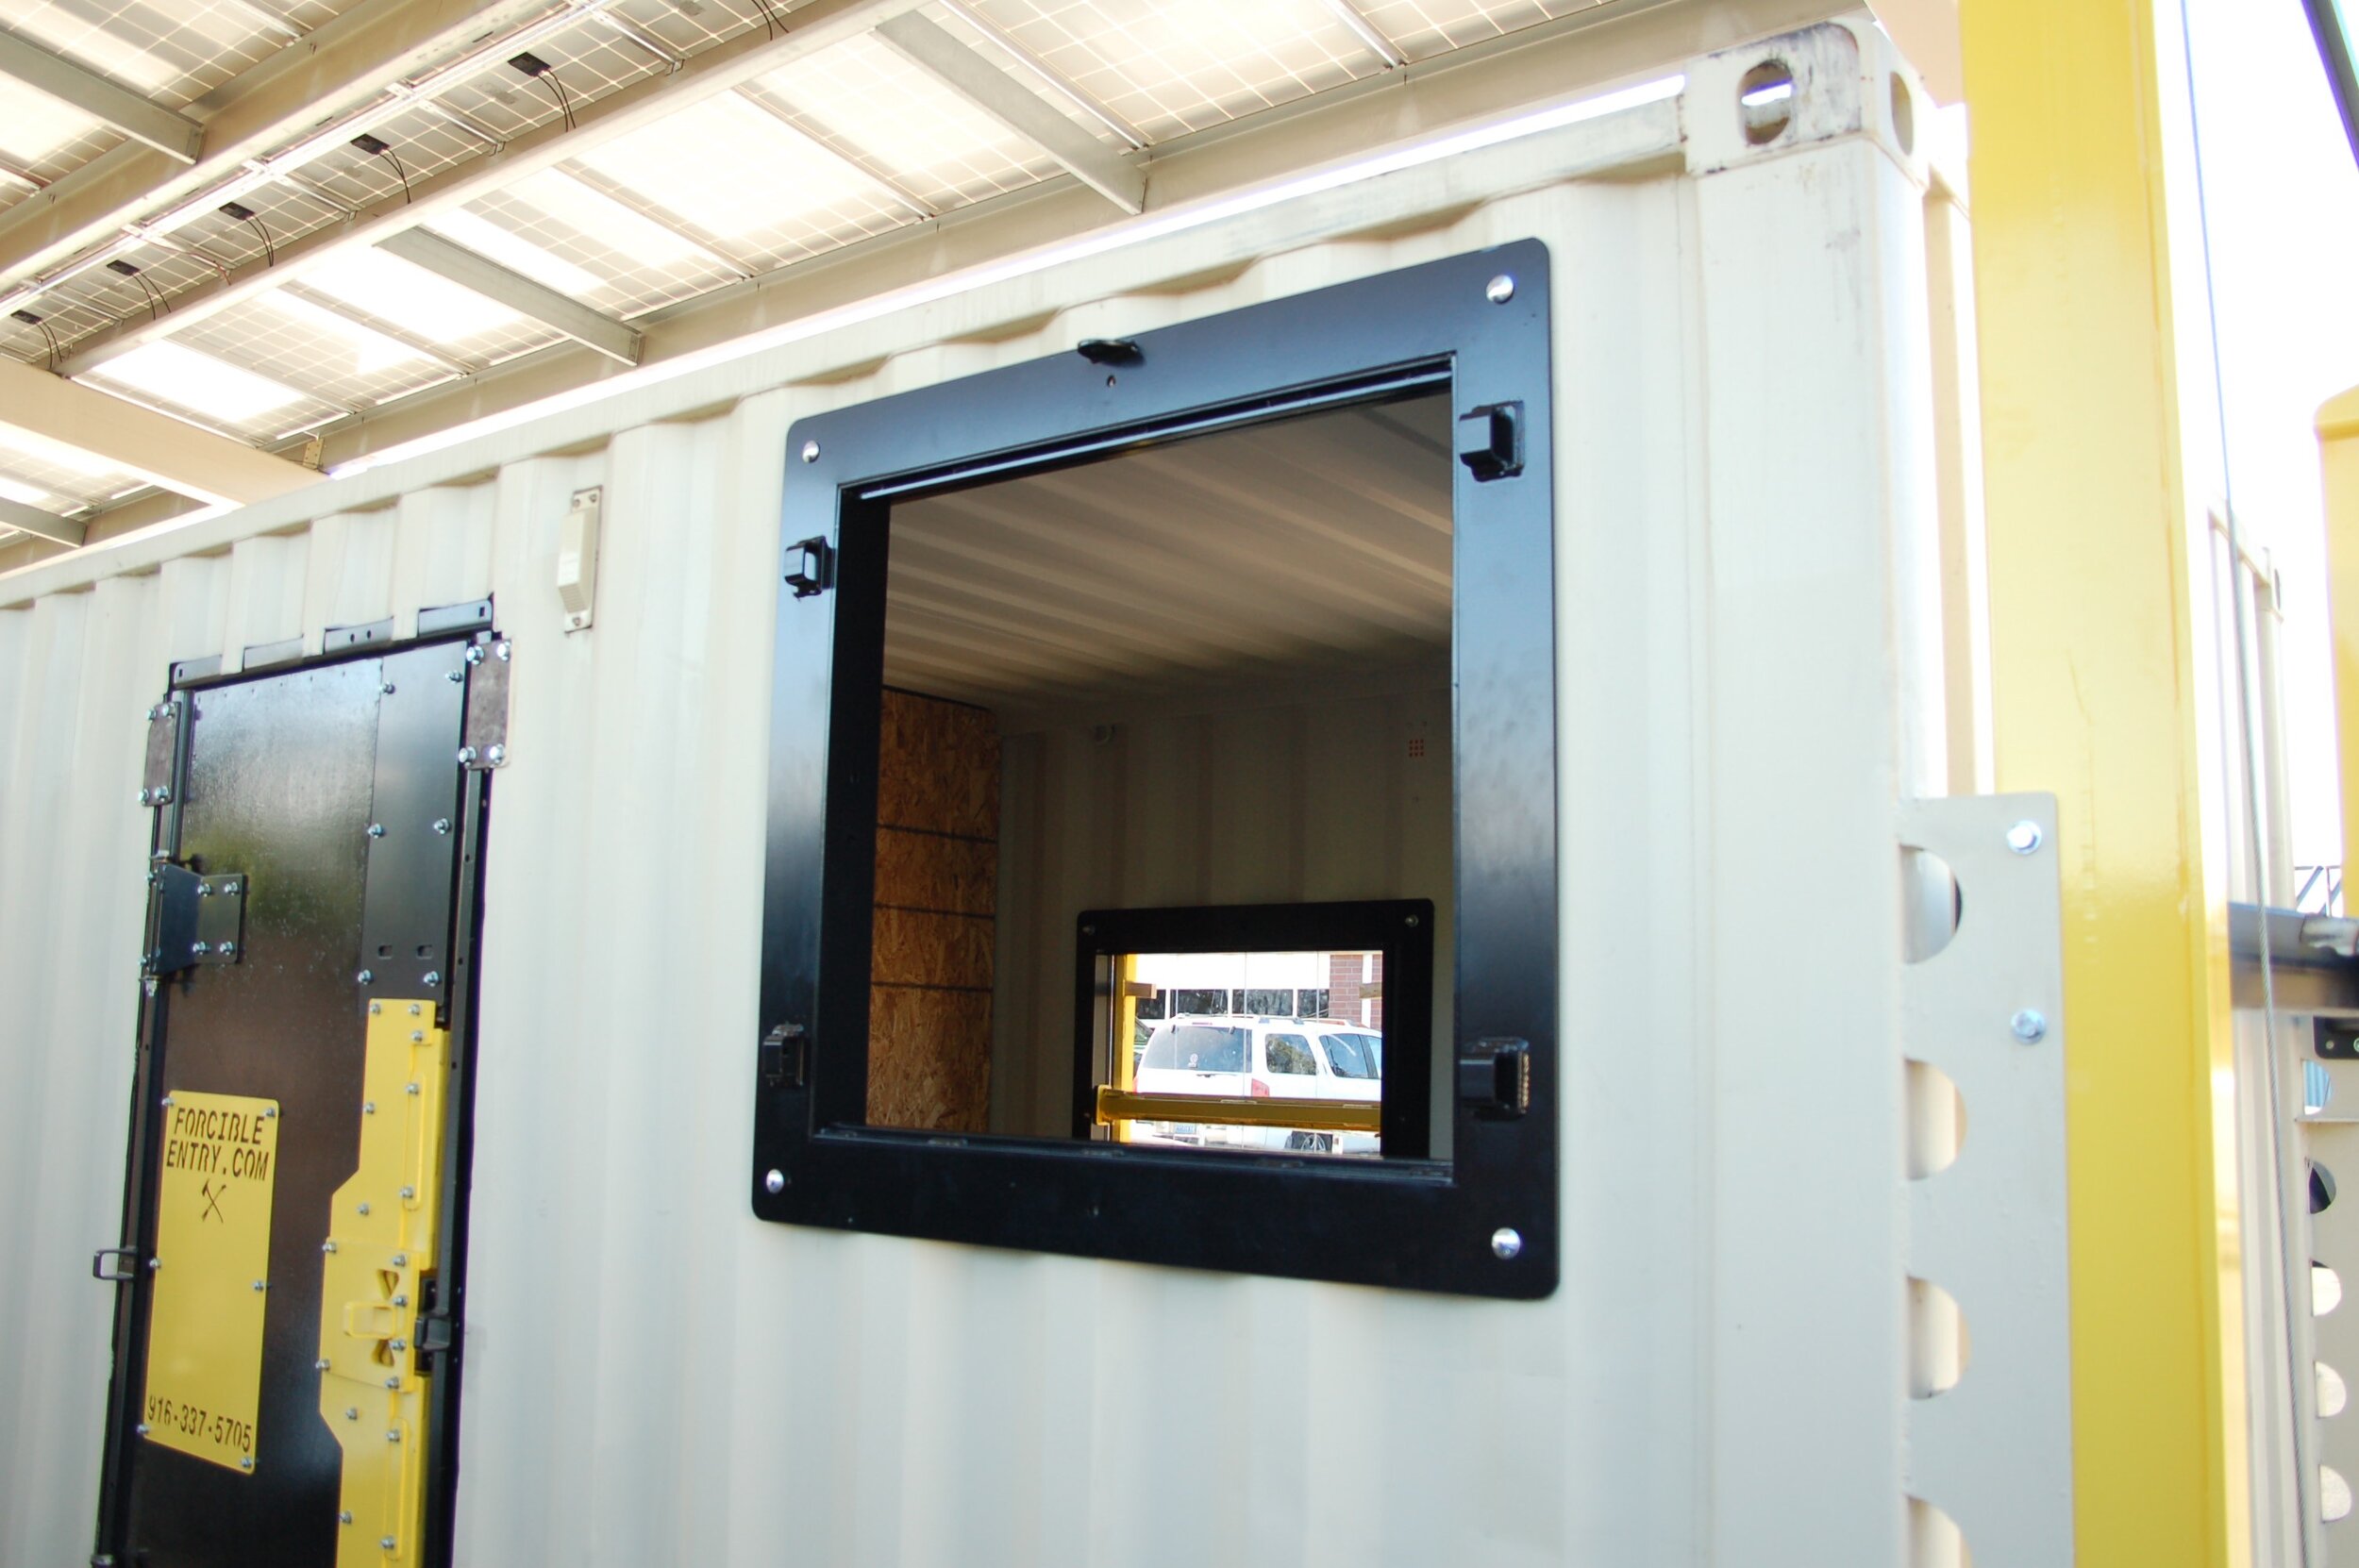
Phase 3: Install the VES 3-in-1 Window (w/ Window Bar) Prop
- Measure / Cut rough opening
- Frame / Mount
- Bolt-in inner and outer frames of the VES Window


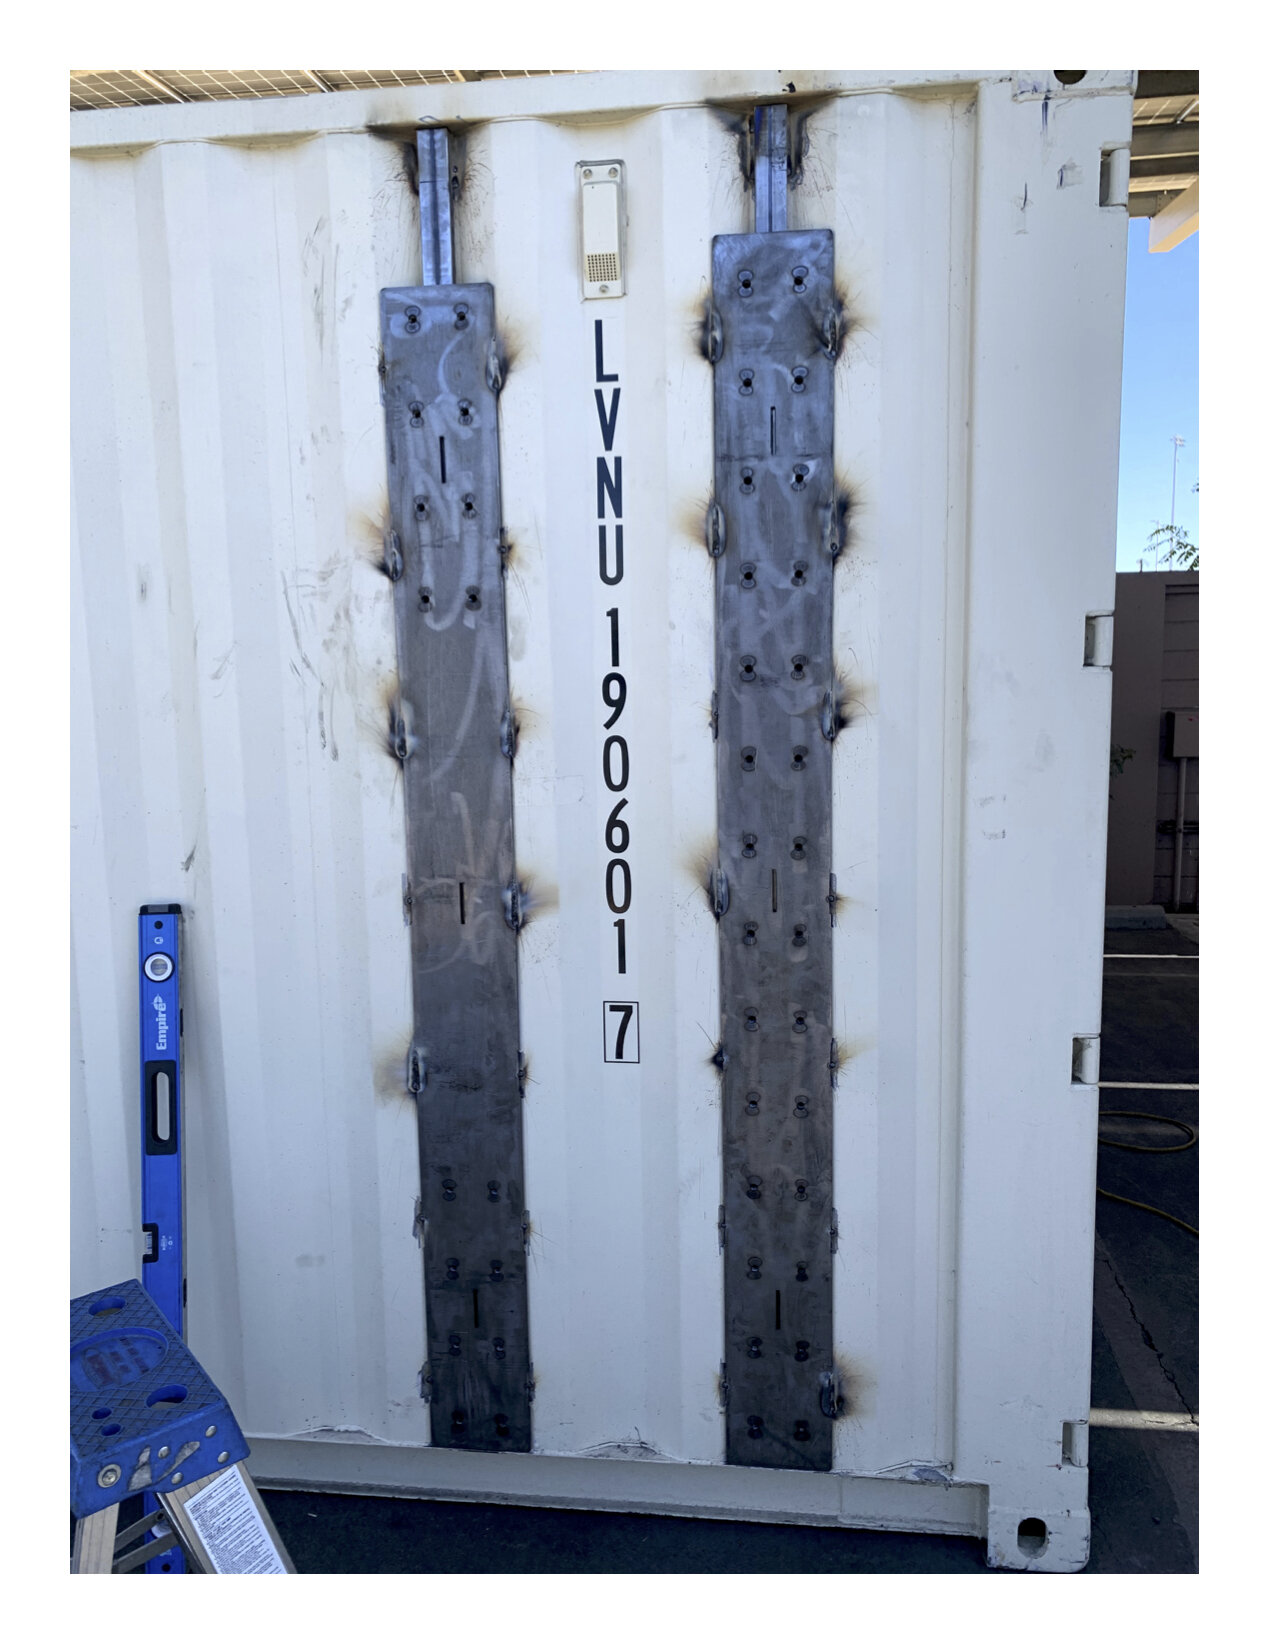
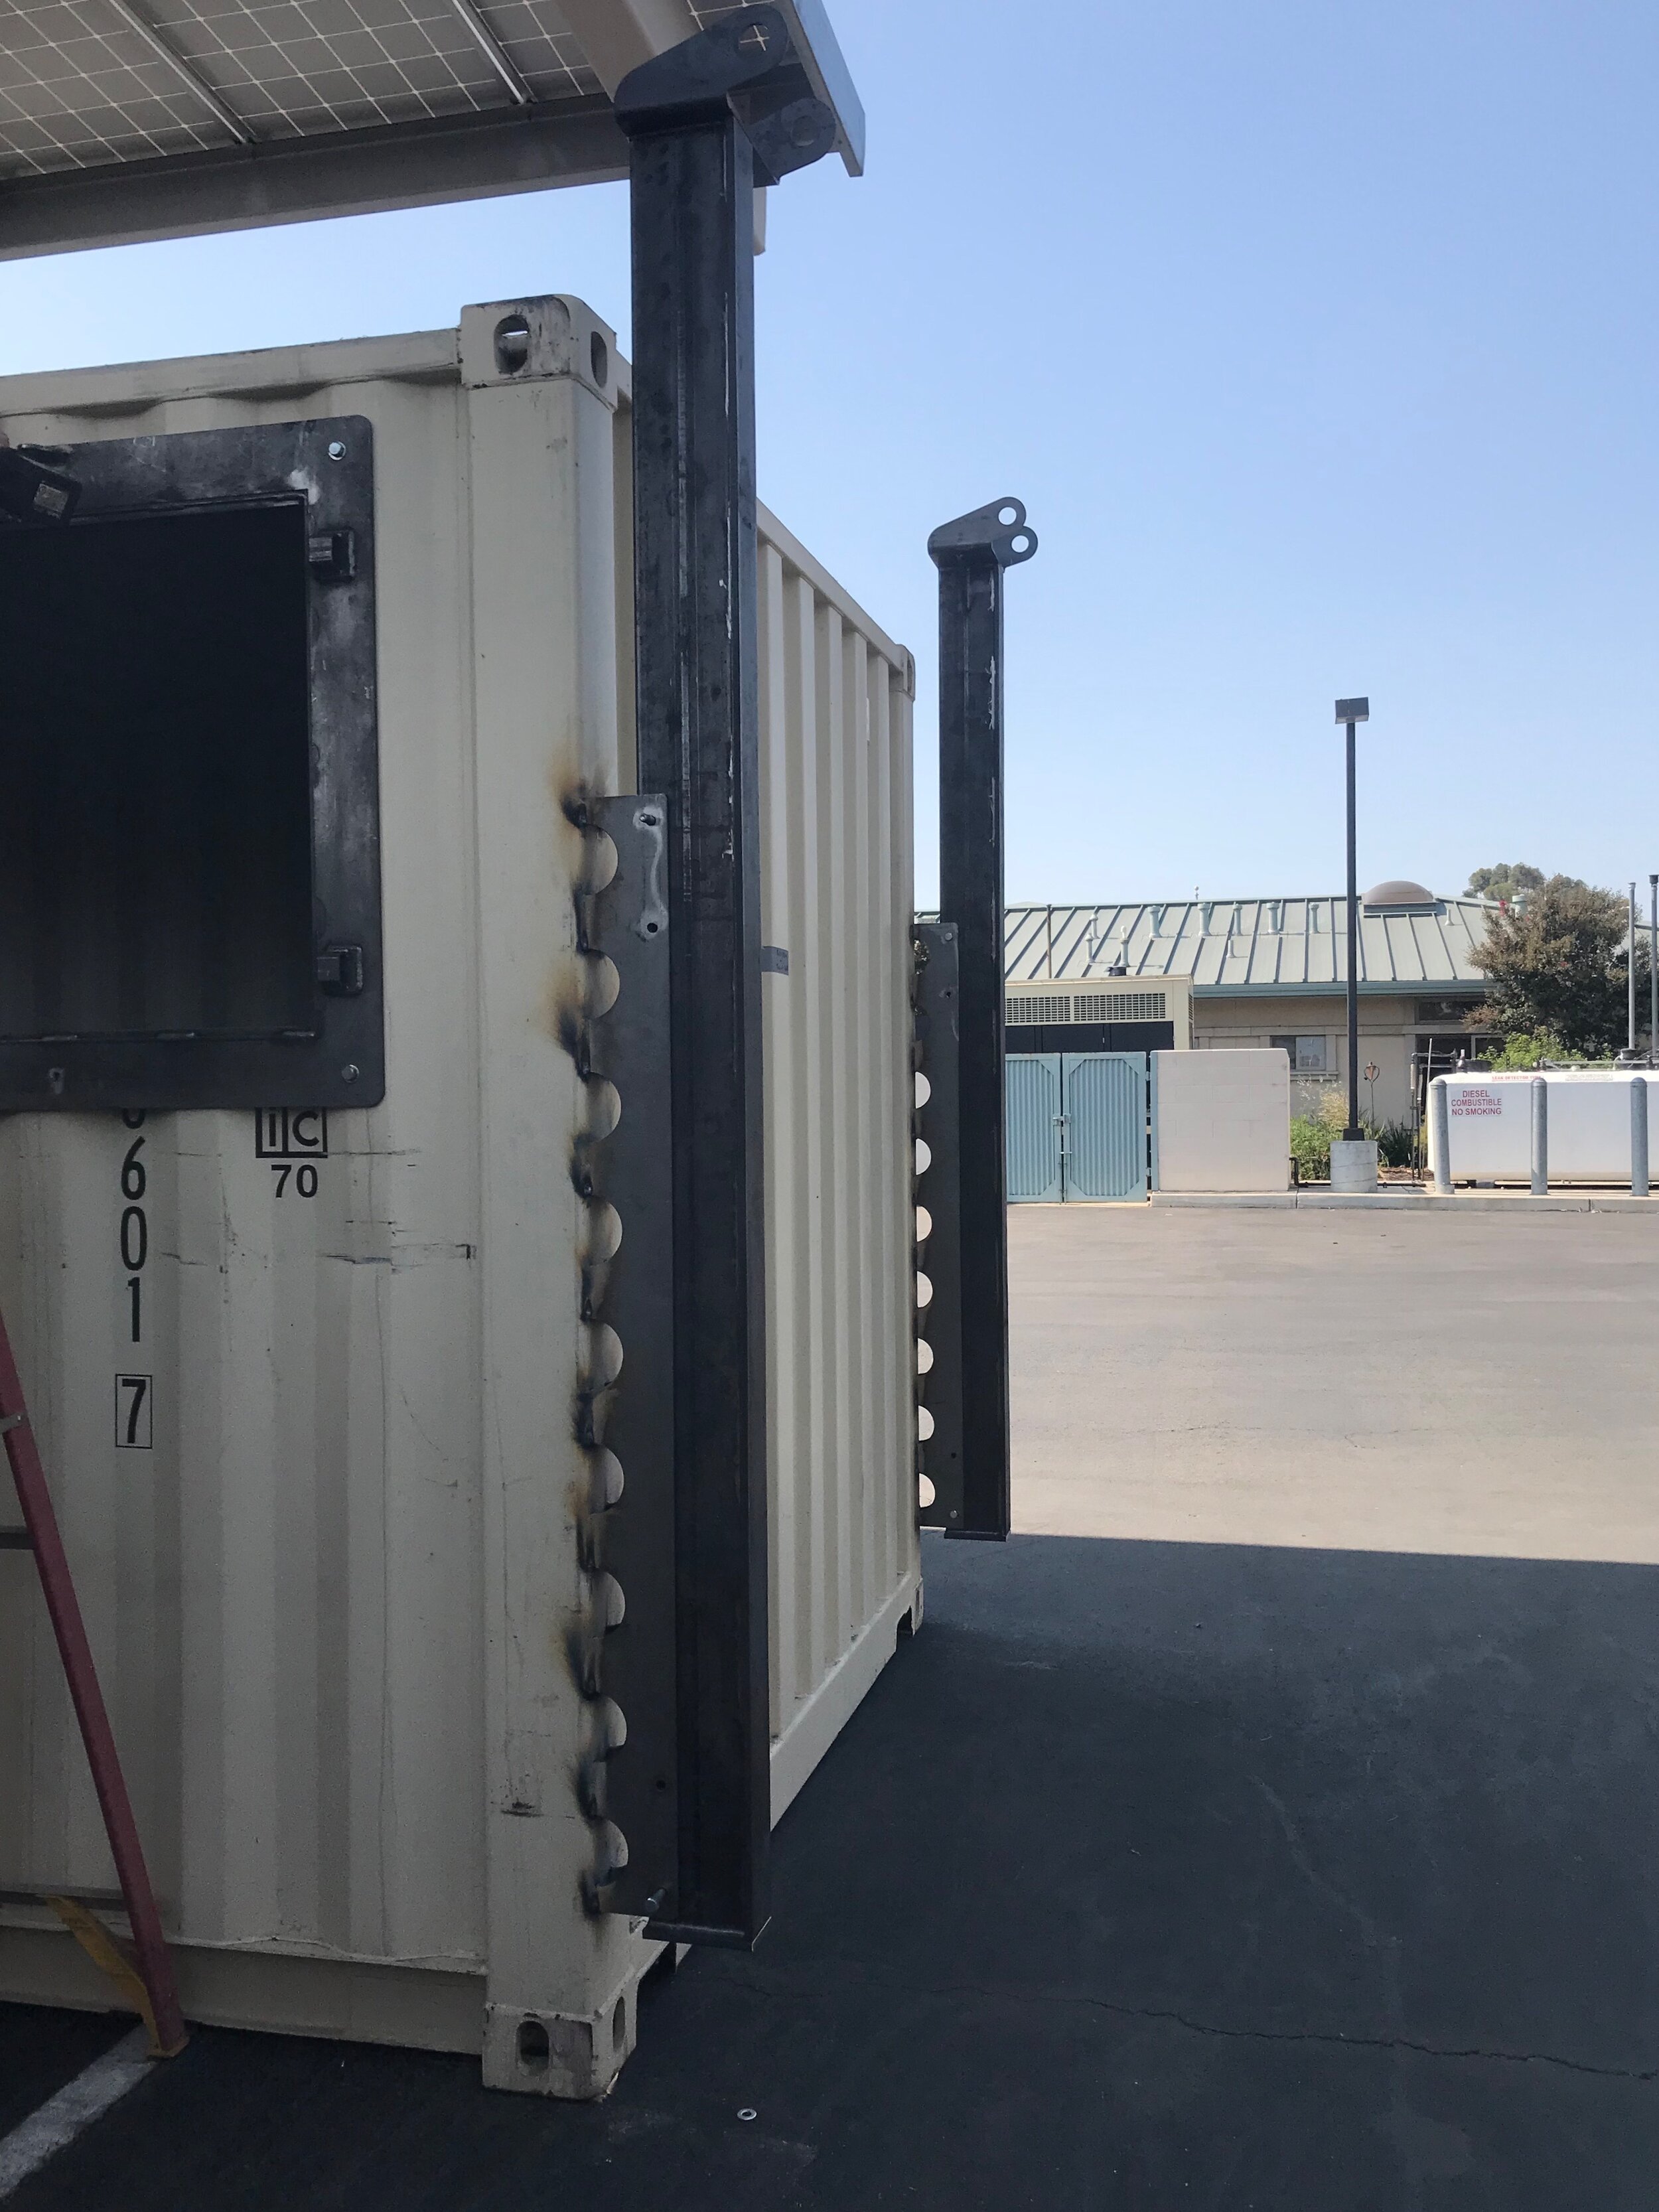
Phase 4: Install the Roll-Up Door +/- Roll-Up Door: Man Door Bird Beak option
- Measure / Mount I-Beam sleeves
- Weld I-beam sleeves into Conex Box
- Weld mounting plate for hand crank and bolt-on hand crank


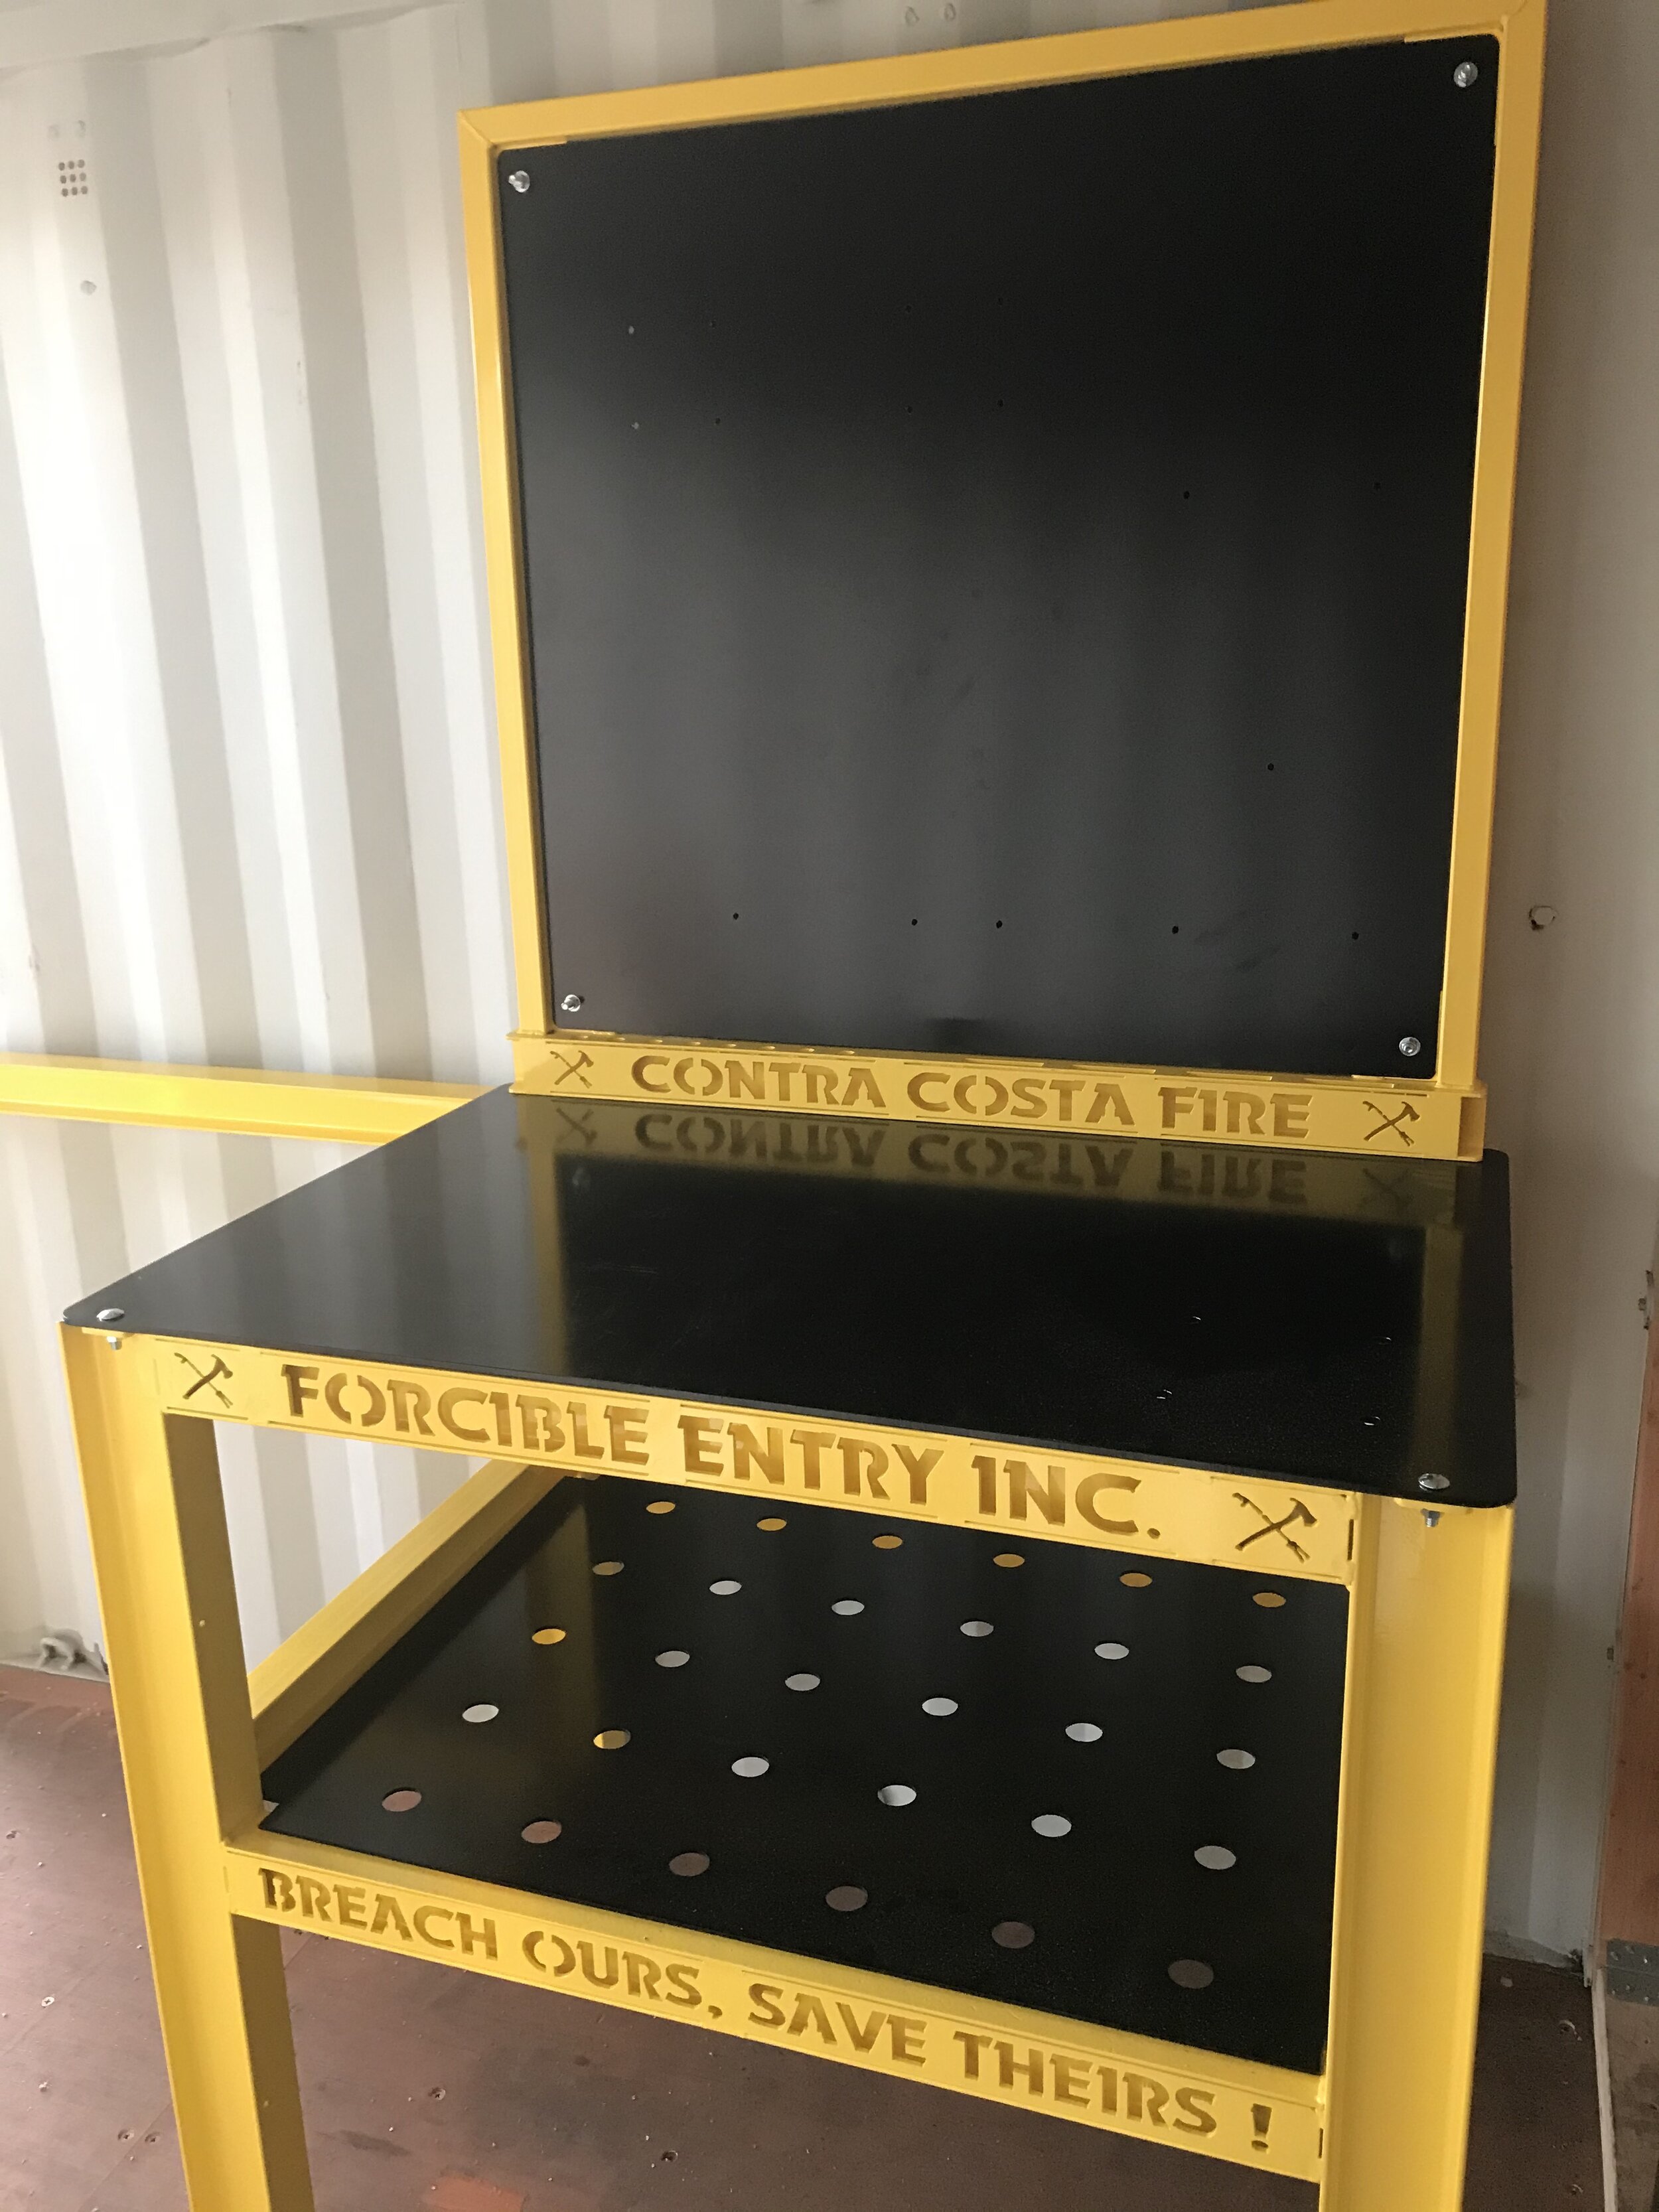
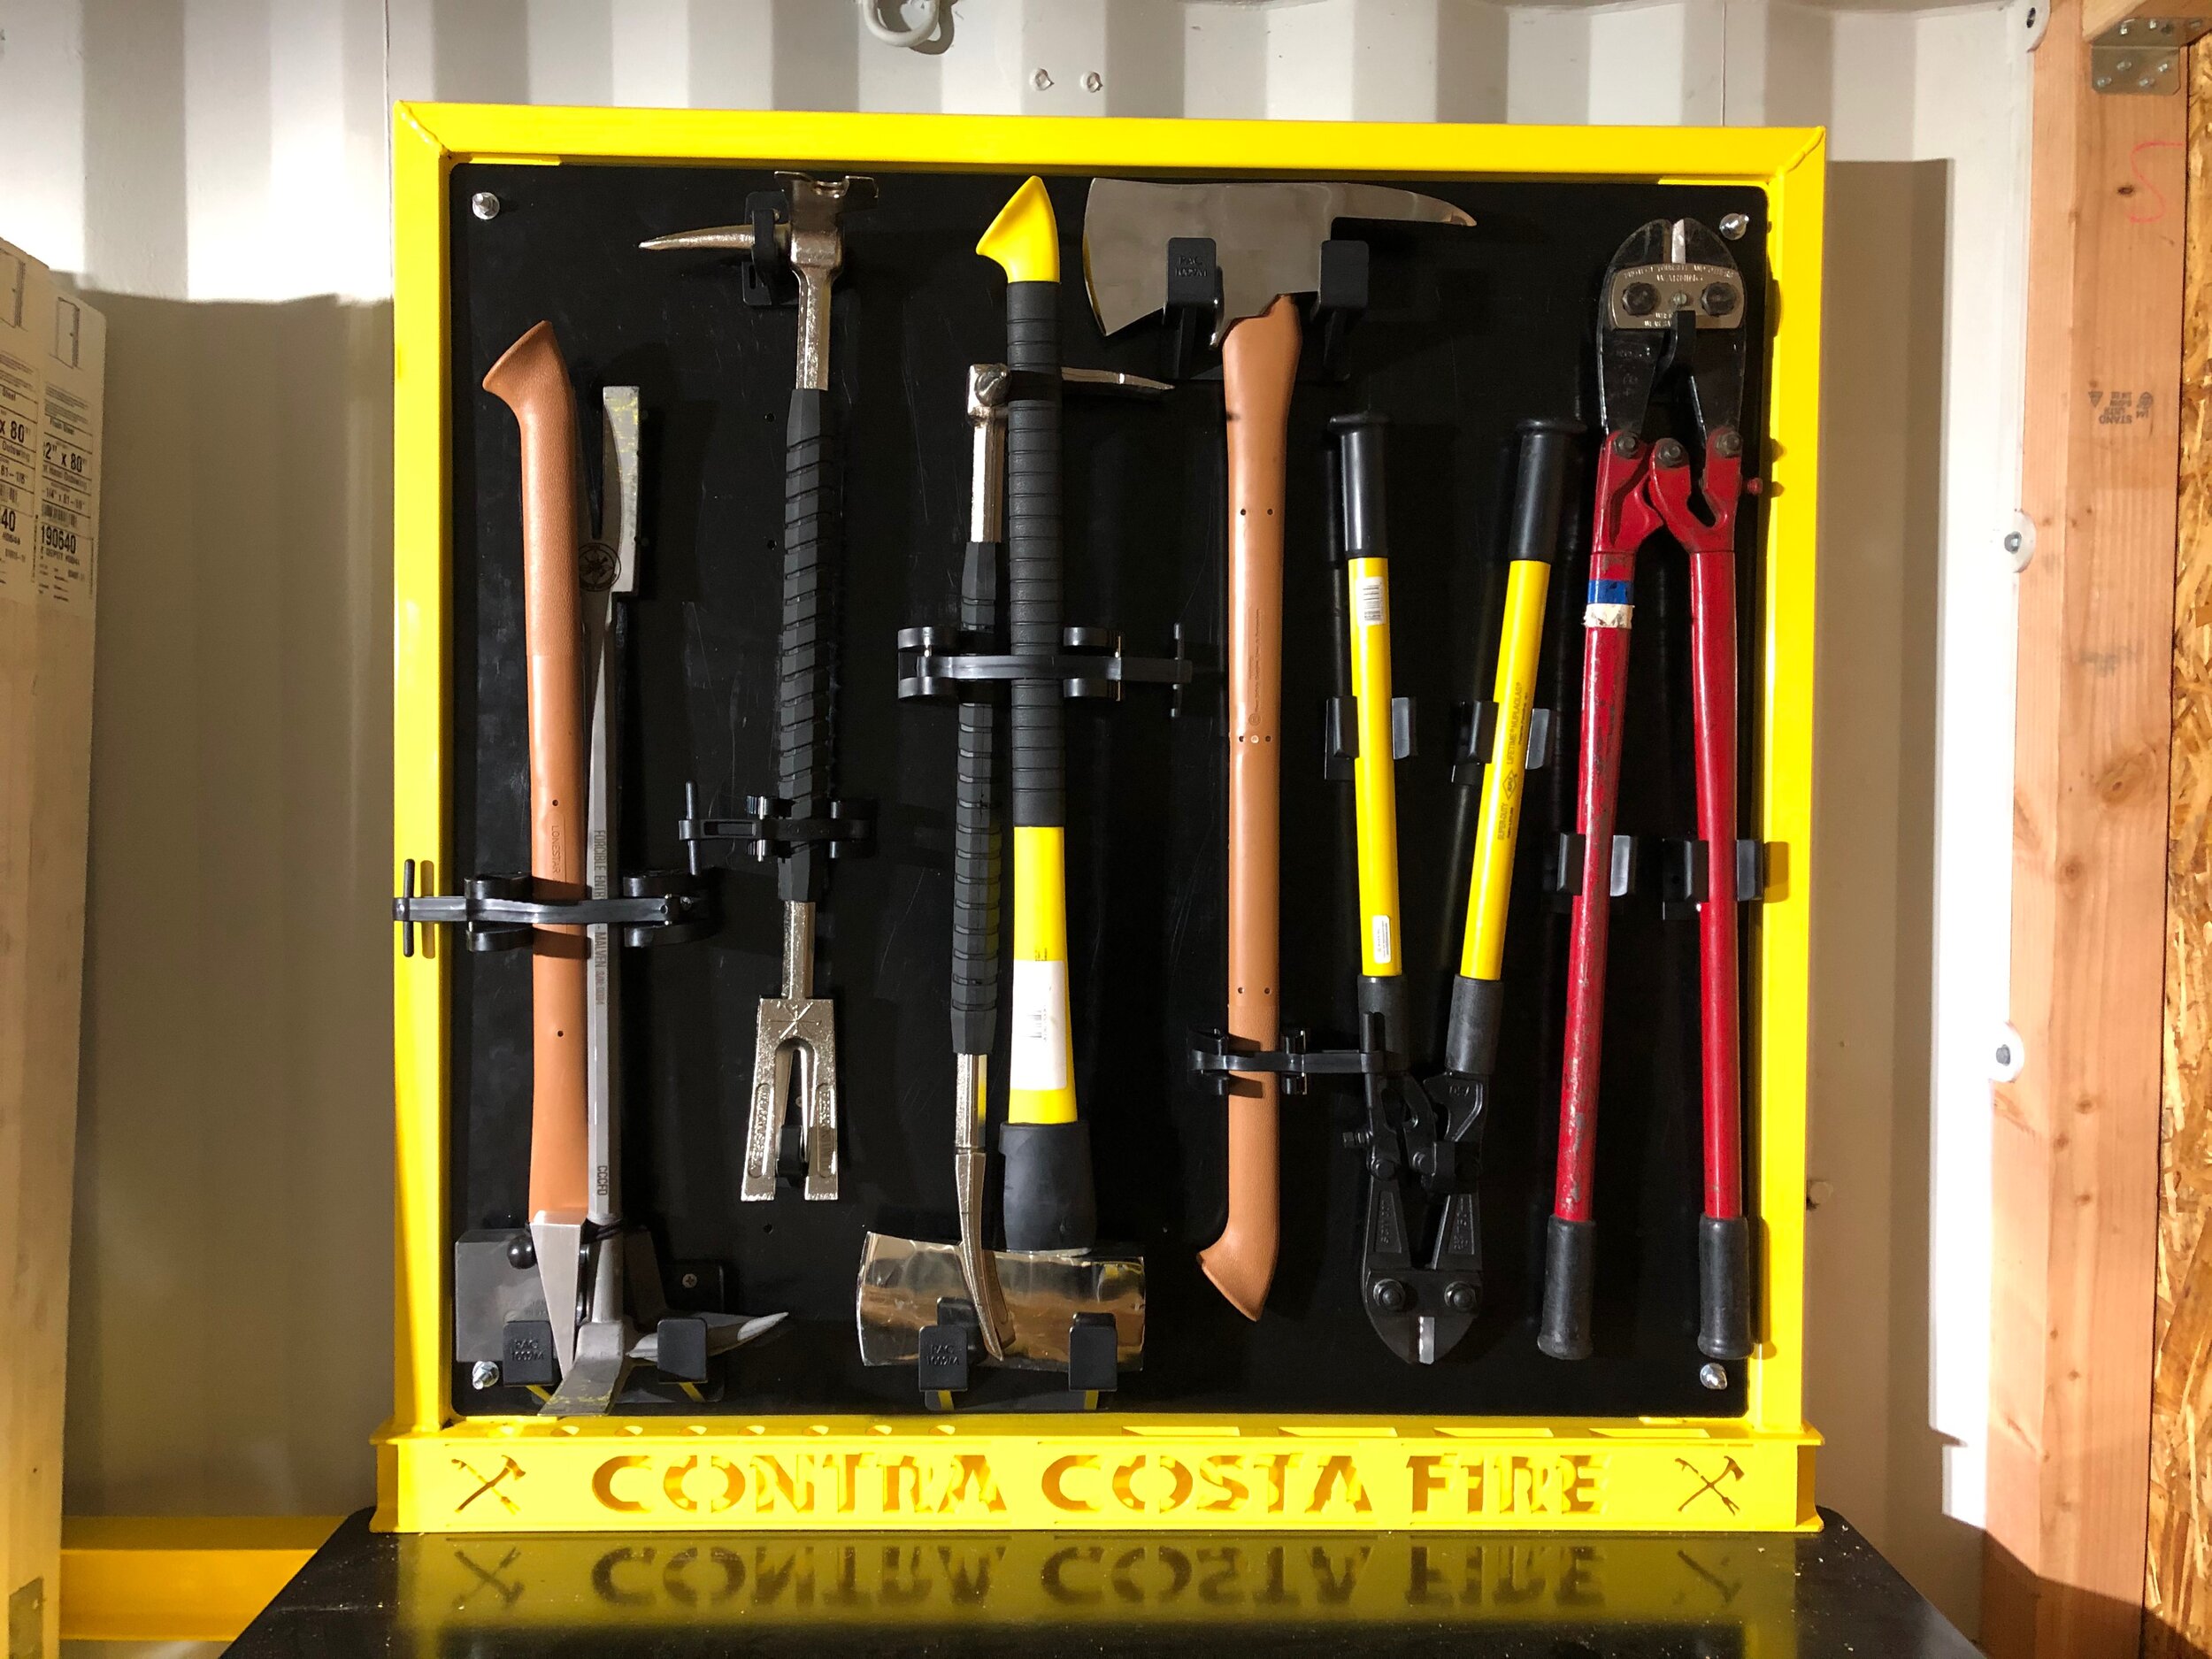
Phase 5: Interior Renovation (optional)
Based on your design, we may be installing an additional wall; wall mounting brackets, a rack(s) to hang tools, saws, and irons; whiteboards; storage containers; workbenches; etc.